My wife will *surely* disagree with me on this, but I make mistakes. And in this, Part 2 of our desk build, I will reveal some of them. One of my mentors is fond of saying, “The measure of a woodworker is how good he (she) is at fixing what they screwed up.” There’s a lot of truth to that. I like to think that my mistakes are getting smaller as I get better. I like to think that, but I still make some whoppers. Fear not, client, we’ve still got a good thing going here!
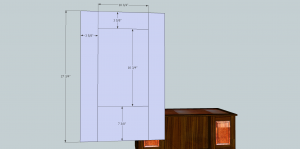
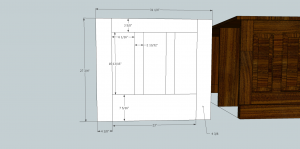
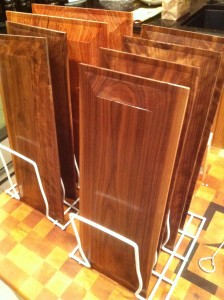
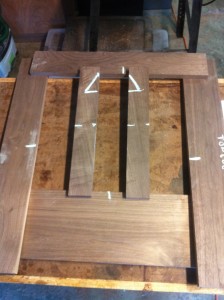
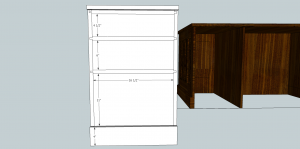
In the last post, we’d made the desk-top and the raised panels for the desk. Now that I know the final dimensions on the panels, I can use those to reverse engineer the dimensions of the back panels of the pedestals:
The bottom rail looks disproportionally tall, but there will be 4 inches of base molding covering the bottom of these panels and circumnavigating the rest of the desk. Ok, so let’s make us some panels:
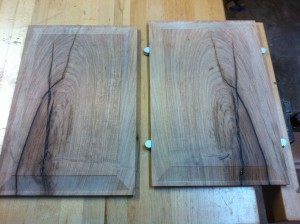
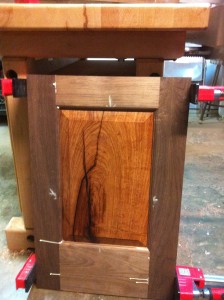
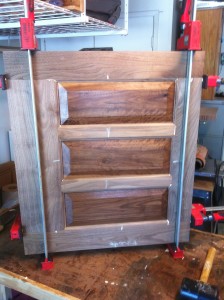
A note on the joinery here. I used ‘cope and stick’ router bits for these panels, which is a type of joinery similar to that used on many cabinet doors in high-end kitchens. The advantages of this type of joinery are the decorative molding it creates and the relative ease of construction. It is not as strong a joint as a traditional mortise and tenon, but it should be perfectly sufficient for this project. I will also be reinforcing the joinery on the inside of the carcass.
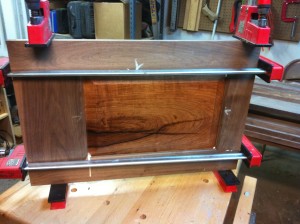
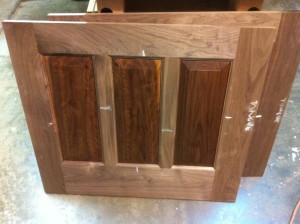
Now for the side panels of the desk:
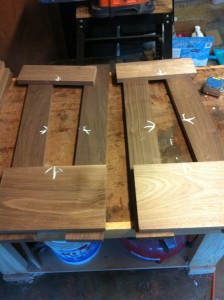
The stiles (vertical pieces) separating the raised panels are called muntins (who knew?). I messed up the measurements on those twice. As is always the case, I made them too small which allowed me to start over completely from scratch. Otherwise, I could have just cut them down to size.
By the way, I use sidewalk chalk A LOT on my projects. All the scribbles on the wood above help me to remember the proper the orientation of each piece. The hash marks tell me where to make my cope and stick cuts. Once everything is glued up, the chalk disappears with the first kiss of sandpaper.
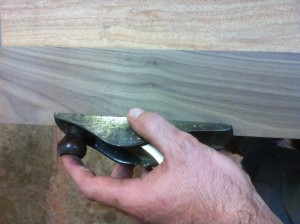
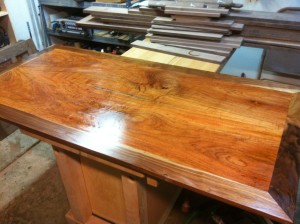
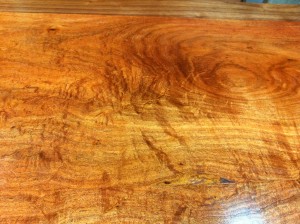
While the glue cures, it is time to go back to the desk top… I sanded away all of the water splotches from my 2 year old, working my way through the grits to 220. The next step is to ‘treat the edges.’ When it is fresh from the jointer/planer/tablesaw, the edges of a piece of wood are sharp… like, ‘cut you’ sharp. For obvious reasons, then, we’ve got to soften those edges. Most furniture edges are ’rounded over’ with a roundover router bit. For a cleaner, more contemporary look, sometimes I will just scuff the edges with some 150 or 220 grit sanpaper. On this desk-top, I decided to chamfer the edges using a block plane. The plane is held at a 45 degree angle to the edge and the sharp corner is cut off in a series of very fine passes, creating a ribbon of walnut. It’s a nice touch, I think. I’m pleased with the appearance on this project.
With the chamfering done and my 2 year old threatened in a most frowny way, I put the first coat for the second time on the desk top.
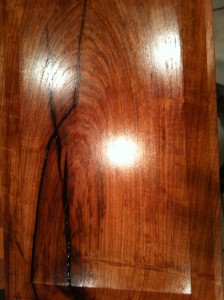
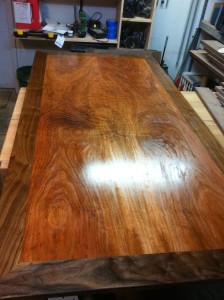
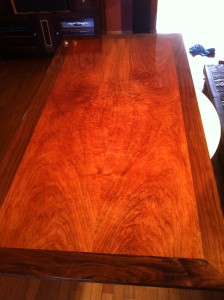
So the Arm-R-Seal finish can says to use 2-3 coats. I wish that were the case. Truth is, you keep applying coats until you get it where you need it to be. If you look at the picture below, on the right side of the light reflection, you will see splotchy/streaky areas. With 1 coat of wet finish, you get that all over the surface. By coat 3, there was slightly less. After each coat, I use 0000 steel wool to scuff the surface and knock off any dust nibs or other little thingies that settled in the finish. So you apply, and sand out, and apply, and sand out. 2 steps forward, 1 step back.
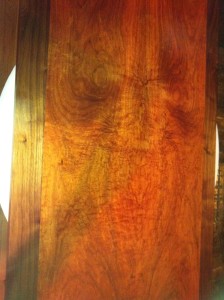
In this case, it took 9 coats before I was happy with where we were. This was a 7 day process. The last two coats I did inside because finish won’t dry properly if it’s under 50 degrees in the shop.
Ok, back to the desk itself. The drawer fronts will all be inset (rather than overlay). I decided to join the drawer dividers using sliding dovetails. The dovetails add a nice aesthetic touch as well as a mechanical one. They sort of declare, “I am a nice, hand-made piece of furniture.” You can see them in the drawing below.
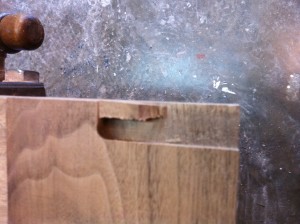
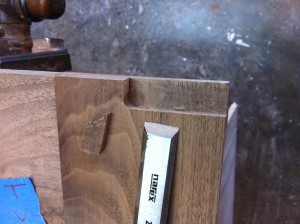
So I bought a new, sharp carbide dovetail bit and began hogging out the sliding dovetail cavities in the sides of the panels. Things didn’t feel right. The router was working way too hard. Did I stop? No. I pressed on! And got awful results. One of the cuts totally blew out, the other 3 looked ragged. So after making cuts for only the divider that goes at the very top of each pedestal, I stopped. I will clean up and repair each of these and then use pocket hole screws for the remaining drawer dividers. Not what I wanted, but stuff happens.
All the panels are made now, so it’s time to glue the pedestals up. I didn’t take pictures of this when it was happening, but the side panels are joined to the end panels using tongue and groove joinery. I also made a plywood bottom for each pedestal and put a tongue on the front and back of it and a sliding dovetail on the sides of it. Sliding dovetails on plywood don’t work particularly well, but I wanted the dovetails to help me pull everything together. If I were doing it over again, I’d just use tongue and groove for the plywood.
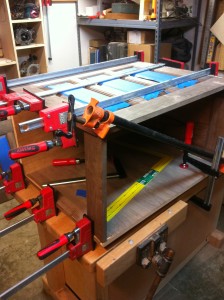
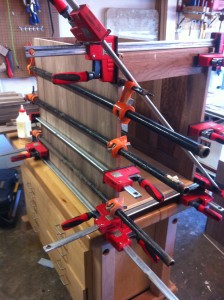
You can never have too many clamps. Raised panels are covered with blue painter’s tape to protect them during the construction process.
This is a complicated, frantic glue-up, where lots of pieces have to go together at once. My wife puts on her ‘make the best of it’ smile when I enlist her help and then bark at her when she doesn’t read my mind. She is eligible for sainthood. Part of what makes this challenging is ensuring that everything is square and true. Note the 1 diagonal clamp, which is helping to pull things square. If things aren’t square, it will be all too clear when the drawers bind and don’t slide in and out properly. Have to get it right here or I will be cursing later. I think I got everything close.
So what’s left to do?
– Make and install drawer dividers
– Make drawer fronts
– make drawers
– make drawer pulls
– sand everything and finish
– put it all together
All that, in our next and final installment.

