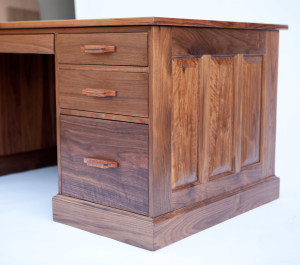
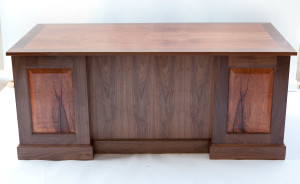
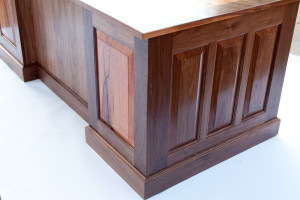
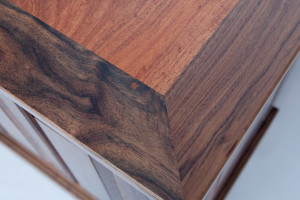
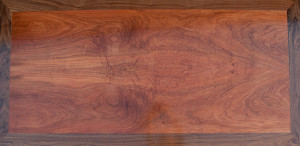
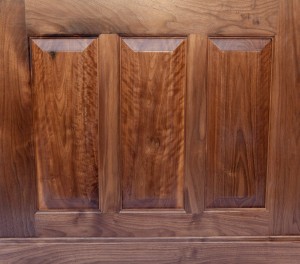
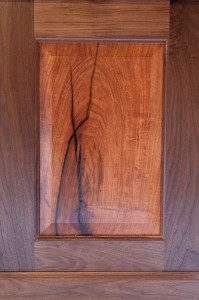
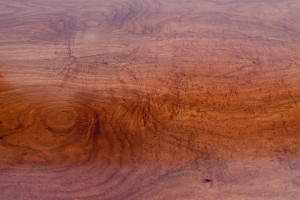
Well, the desk is finished. Delivered last week, photographed (thanks, Christy!), shop purged and cleaned. Definitely bitter-sweet, as I am now done with something that occupied hundreds of hours of my life. So, are you going to jump to the bottom to see the final pictures? Or are you going to dutifully stick with the narrative and not read ahead? Choose your own adventure, my friends.
Back to the narrative… Boxes are now out of the clamps, so it’s time to make drawer dividers.
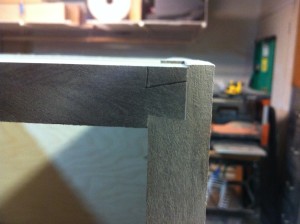
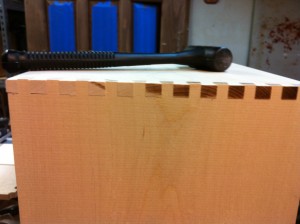
You might remember in our last post that there was a ‘blow-out’ on the dovetail that required repair. This forced me to re-think my drawer dividers, and use pocket hole screws on the lower dividers in order to avoid the risk of more damage. Here’s a close-up of the repaired dovetail:
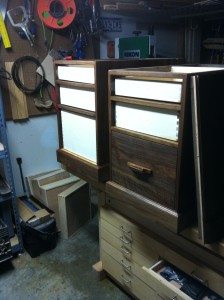
After repairing and installing the drawer dividers, I created base molding using solid walnut and a cove and bead router bit. I flipped the pedestals upside down and carefully mitered each piece, then glued and nailed them home:
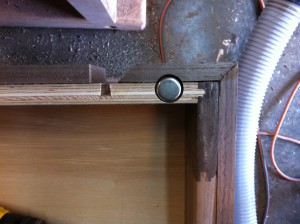
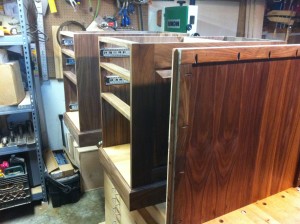
Next, I installed four adjustable ‘leveling feet’ in each pedestal. Ok, there’s a lot going on in this next picture so I’ll describe it a bit. As is generally the case, the secrets to this piece of furniture are revealed only when you look at it from the bottom (or the inside) of the case. Here, the joinery is revealed, so you can see whether corners were cut or whether it was done ‘right.’ I took this picture to show one of the eight ‘leveling feet’ that I put under the pedestals, which can be used if the desk is on an irregular or non-level floor. But the picture shows a whole lotta stuff. This photo shows:
1) Lots of solid walnut. Walnut plywood is used on the side panel, but I prefer not to use plywood unless the project really calls for it.
2) Sliding dovetails to join the modesty panel to the pedestals
3) Tongue and groove joinery (just to the right of the metal ‘foot’)
4) Cope and stick joinery for the raised panels (bottom center/right of the picture)
5) Walnut base molding is mitered (upper right of the tongue and groove). There is an imperfection here, as my miter is not perfect. I filled the hairline with a small amount of walnut wood putty. I glued and nailed the molding to the base.
Time to make some drawers. (Get your filthy paws off my silky drawhs)
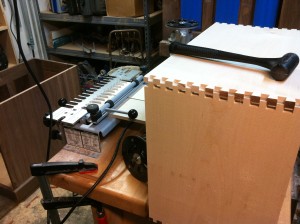
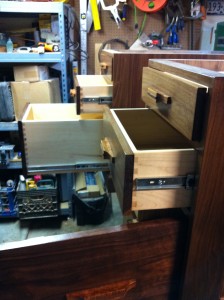
Ok, confession time. Drawers are a real challenge for me. Doing them properly takes a LOT of time, and it is kind of thankless time. I’m skipping about 10 steps of the drawer-building process in this narrative, mostly because it’s not very interesting. But there’s rabbet-cutting, rounding over, sanding, finishing, fitting, etc. And everything (both the case and the drawer) has to be square and true, or the drawer won’t fit and slide properly. I’ve lost a lot of hair making drawers. That said, I’m not going to cut corners on them. Most furniture makers these days just make their drawers out of cheap plywood, and use a nail gun to quickly nail the parts together in a ‘butt joint’. Open a drawer in your kitchen (or in a piece of your store-bought furniture) and tell me if that’s what you see. It probably will be. That is a sign of bad craftsmanship, in my opinion. It is fast and easy, but it is not built to last.
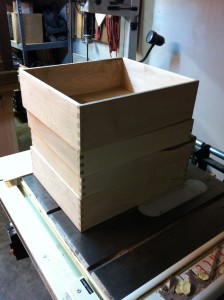
Unfortunately, I missed the mark on FOUR (4) drawers. Two were a hair too wide; two were a hair too long. I didn’t realize this until they’d been glued up and putting them in the case was like fitting a size 12 foot in a size 4 shoe. So here they are, my ‘Island of Misfit… Drawers.’
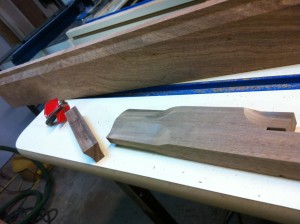
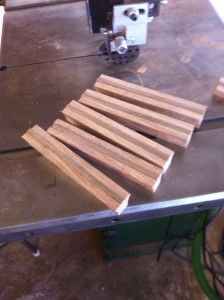
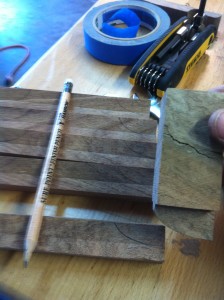
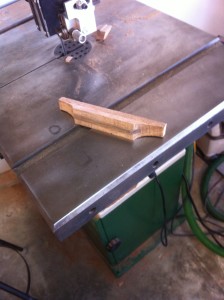
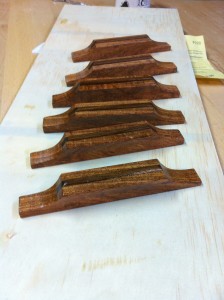
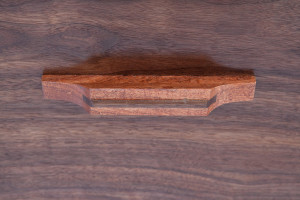
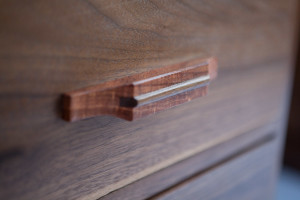
I spent a lot of time testing out different looks for the drawer pulls. I sketched and cut and played around with different looks. Ultimately, I took some inspiration from a ‘Greene and Greene’ style, and chose to use mesquite inset with walnut.
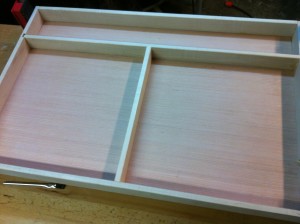
The client asked for a ‘pencil drawer,’ so I made one. This drawer is extremely wide and quite shallow, so I reinforced it with internal dividers. Of everything I made on this project, I am least satisfied with this result. Because of the shallowness of the drawer, there are only 2 full dovetails providing mechanical strength. But if I had made the drawer ‘taller,’ it would bump into the client’s knees. I’m not sure how I would have handled it differently if I were doing it over, but it’s bugging me like a sore tooth.
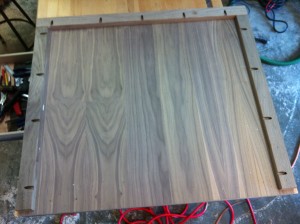
The ‘modesty panel’ is the piece that connects the two pedestals of the desk. I made it out of A1 walnut plywood for dimensional stability. I also made the design decision for this piece to be a ‘knock-down’ using pocket hole screws. The final desk is huge and extremely heavy. By using screws here, I am allowing the possibility of dismantling the desk into 4 major pieces (top, 2 pedestals, modesty panel) in the future for easier moving and/or ingress/egress through narrow doorways. So this panel is ‘seated’ into each pedestal with sliding dovetails, then locked into place using pocket hole screws. Does anyone care about this but me? Probably not. But I felt it was the ‘right’ way to do it.
Many people have asked me about the ‘secret compartment.’ I confess I spent way too much time researching, thinking, plotting, and scheming about it. When I presented the desk to the client, he spent a few minutes trying to find the compartment before giving up and asking me to show it to him. He seemed really pleased with the result. Rather than describing all of the design process in detail, I thought it would be easier just to show it in pictures. So here’s an image of the compartment:
And here’s a close-up of how it works mechanically:
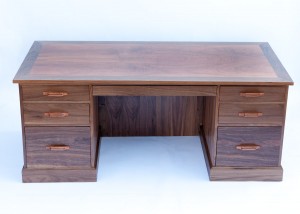
Hope that helps. And finally, here are the pictures of the finished desk:

