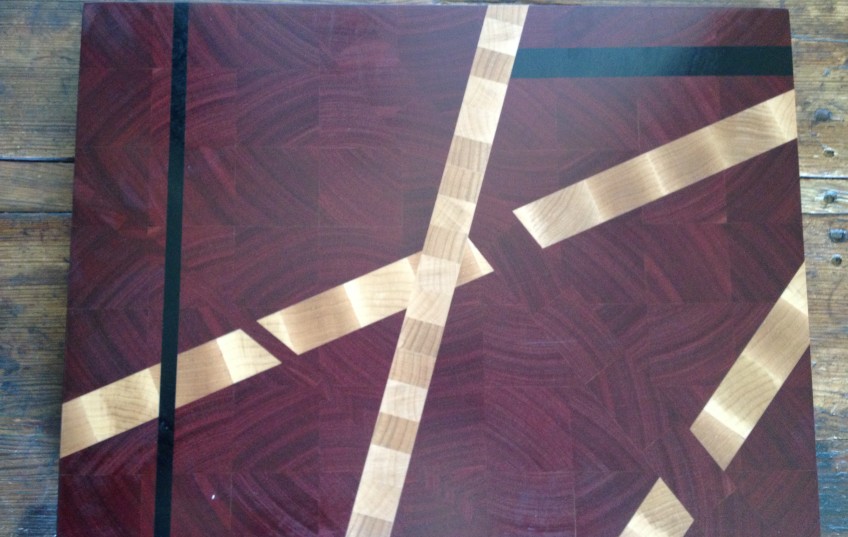
At long last, I wanted to document the process of building this crazy cutting board, the one purchased (in part) with the dalbergia cochinchinensis in the previous two posts. I’ve also been wanting to write about fear for about six months now, but that will have to wait.
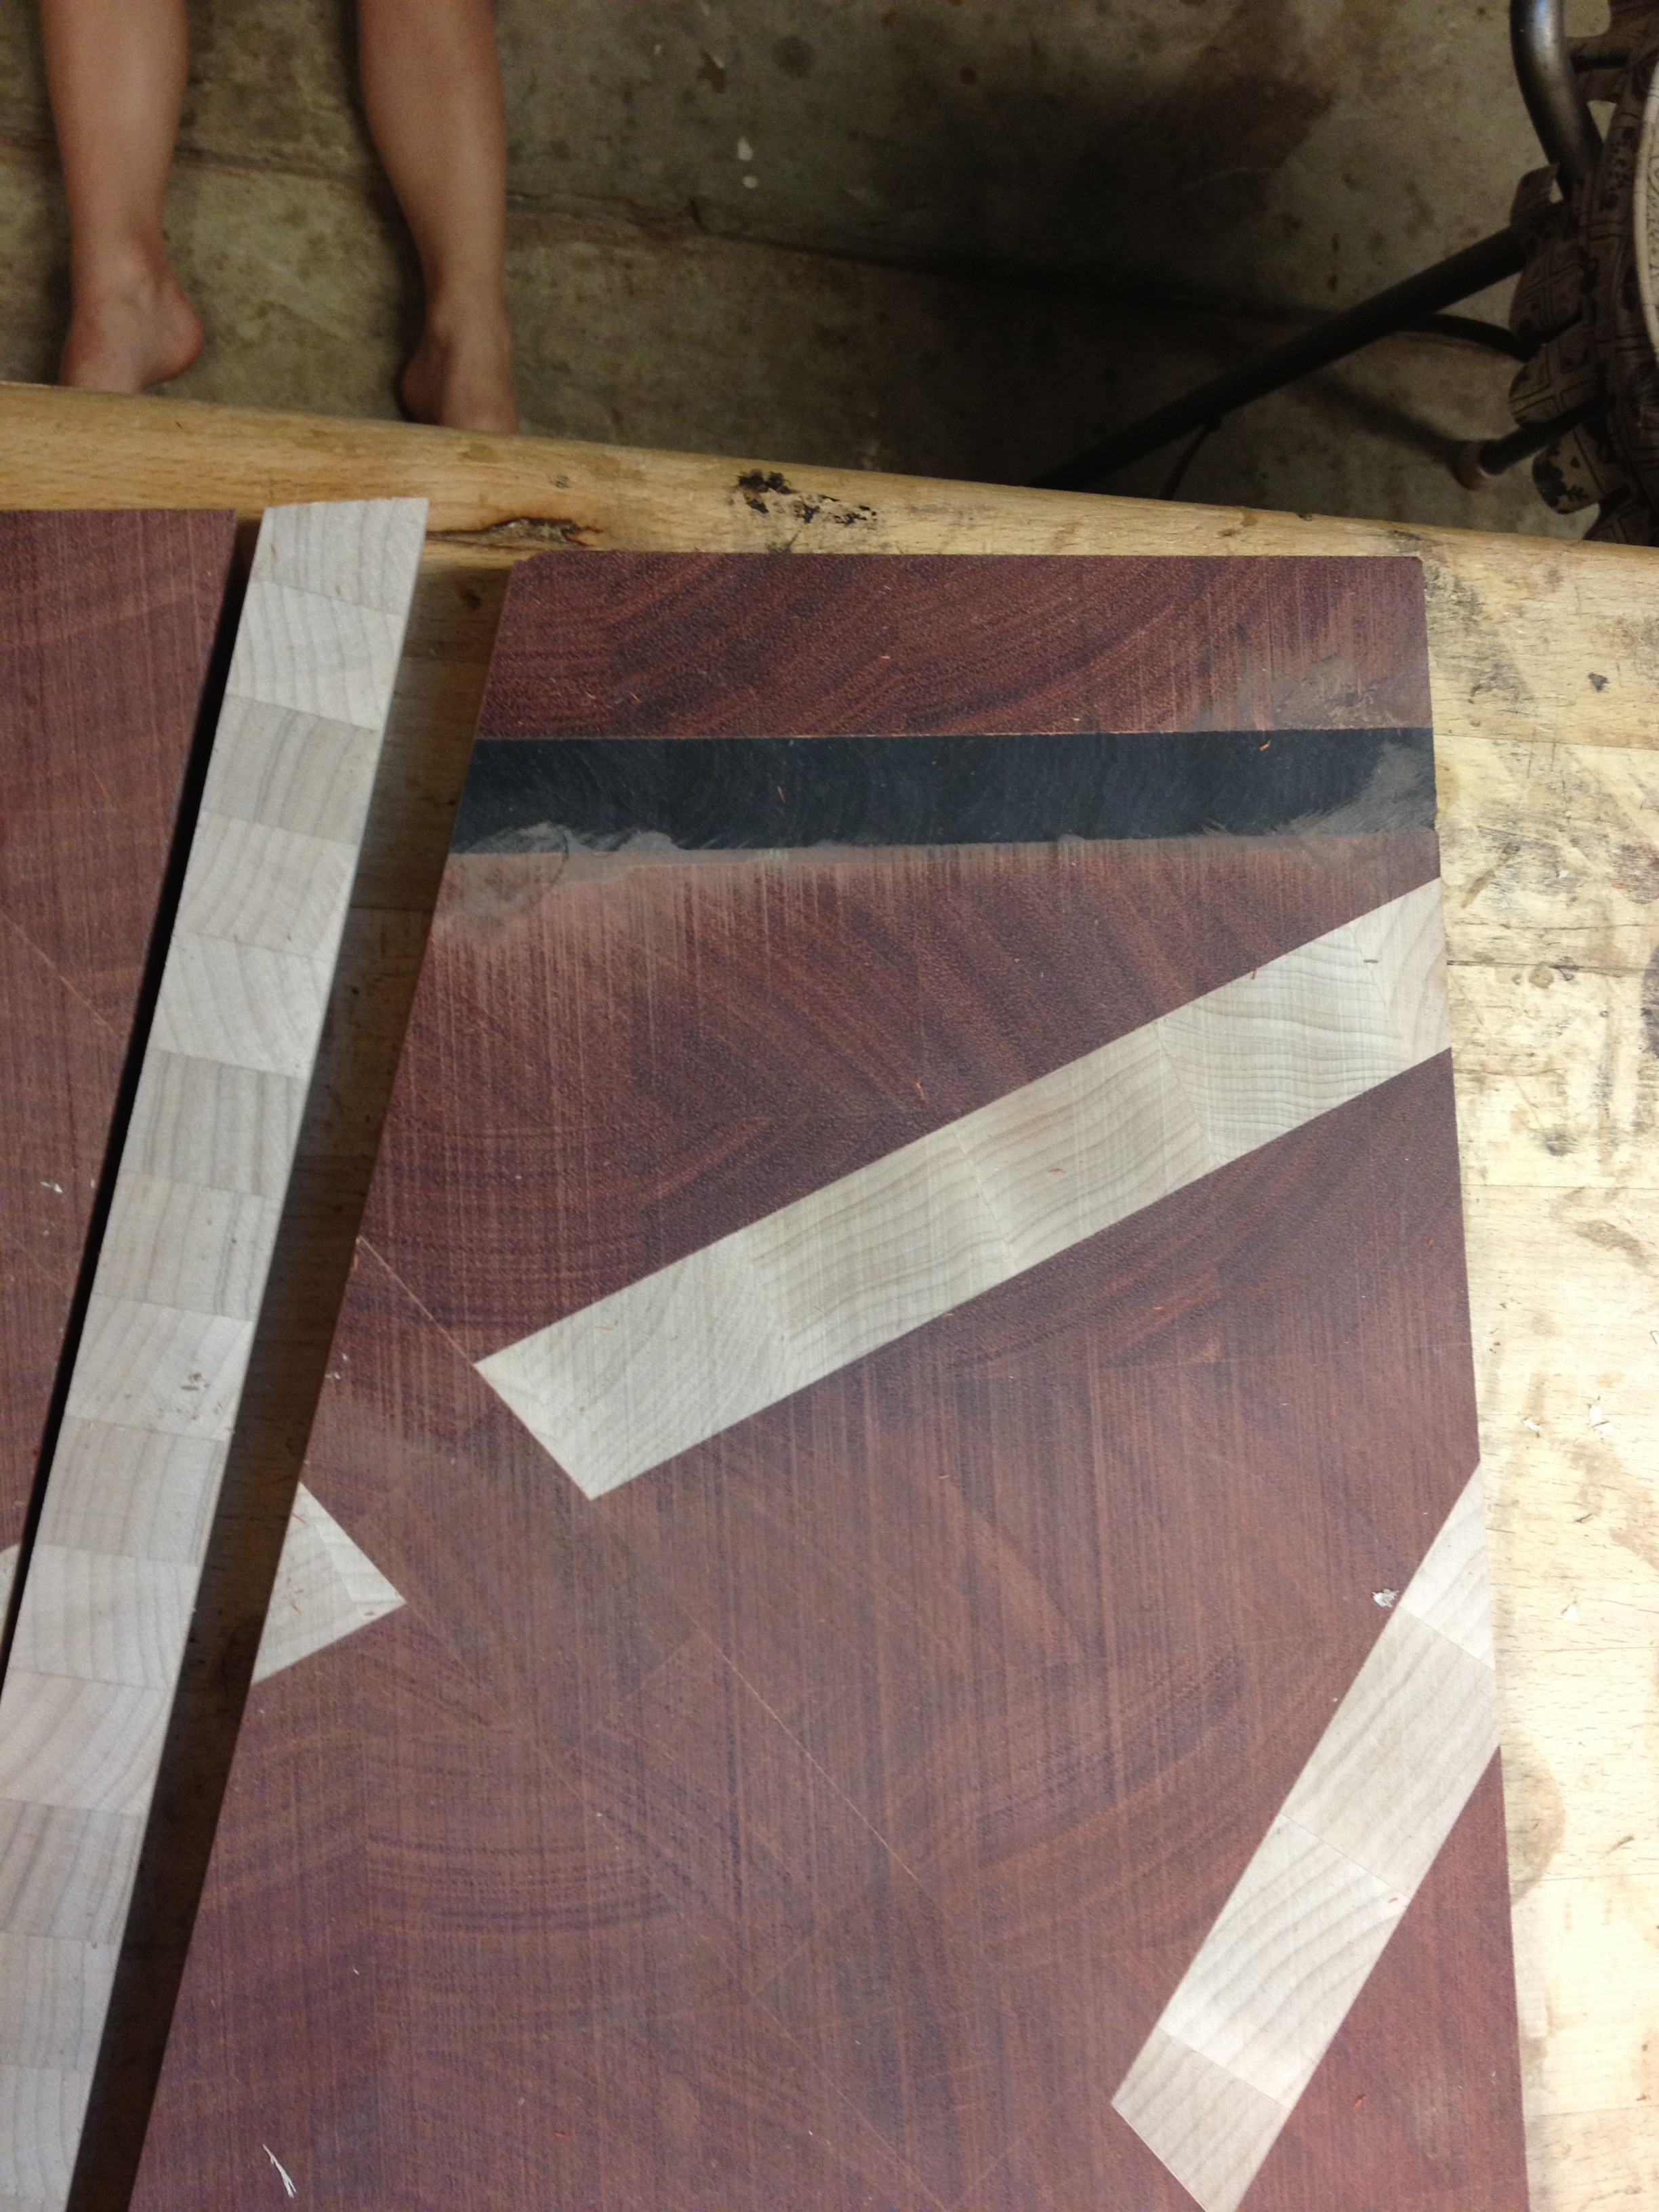
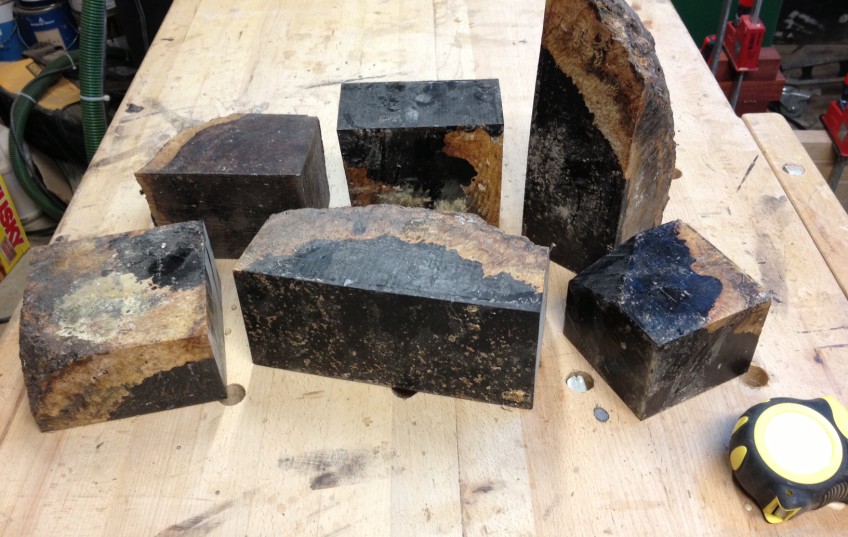
Anyway, you might or might not recall that Lee, the customer, asked me to build the cutting board that I’d always wanted to build but had never attempted. The only other guidance he gave were the rough dimensions and the woods he wanted used. He selected bloodwood, a rare, reddish-maroon South American exotic hardwood, blackwood, a really rare, African hardwood, and Rock maple.
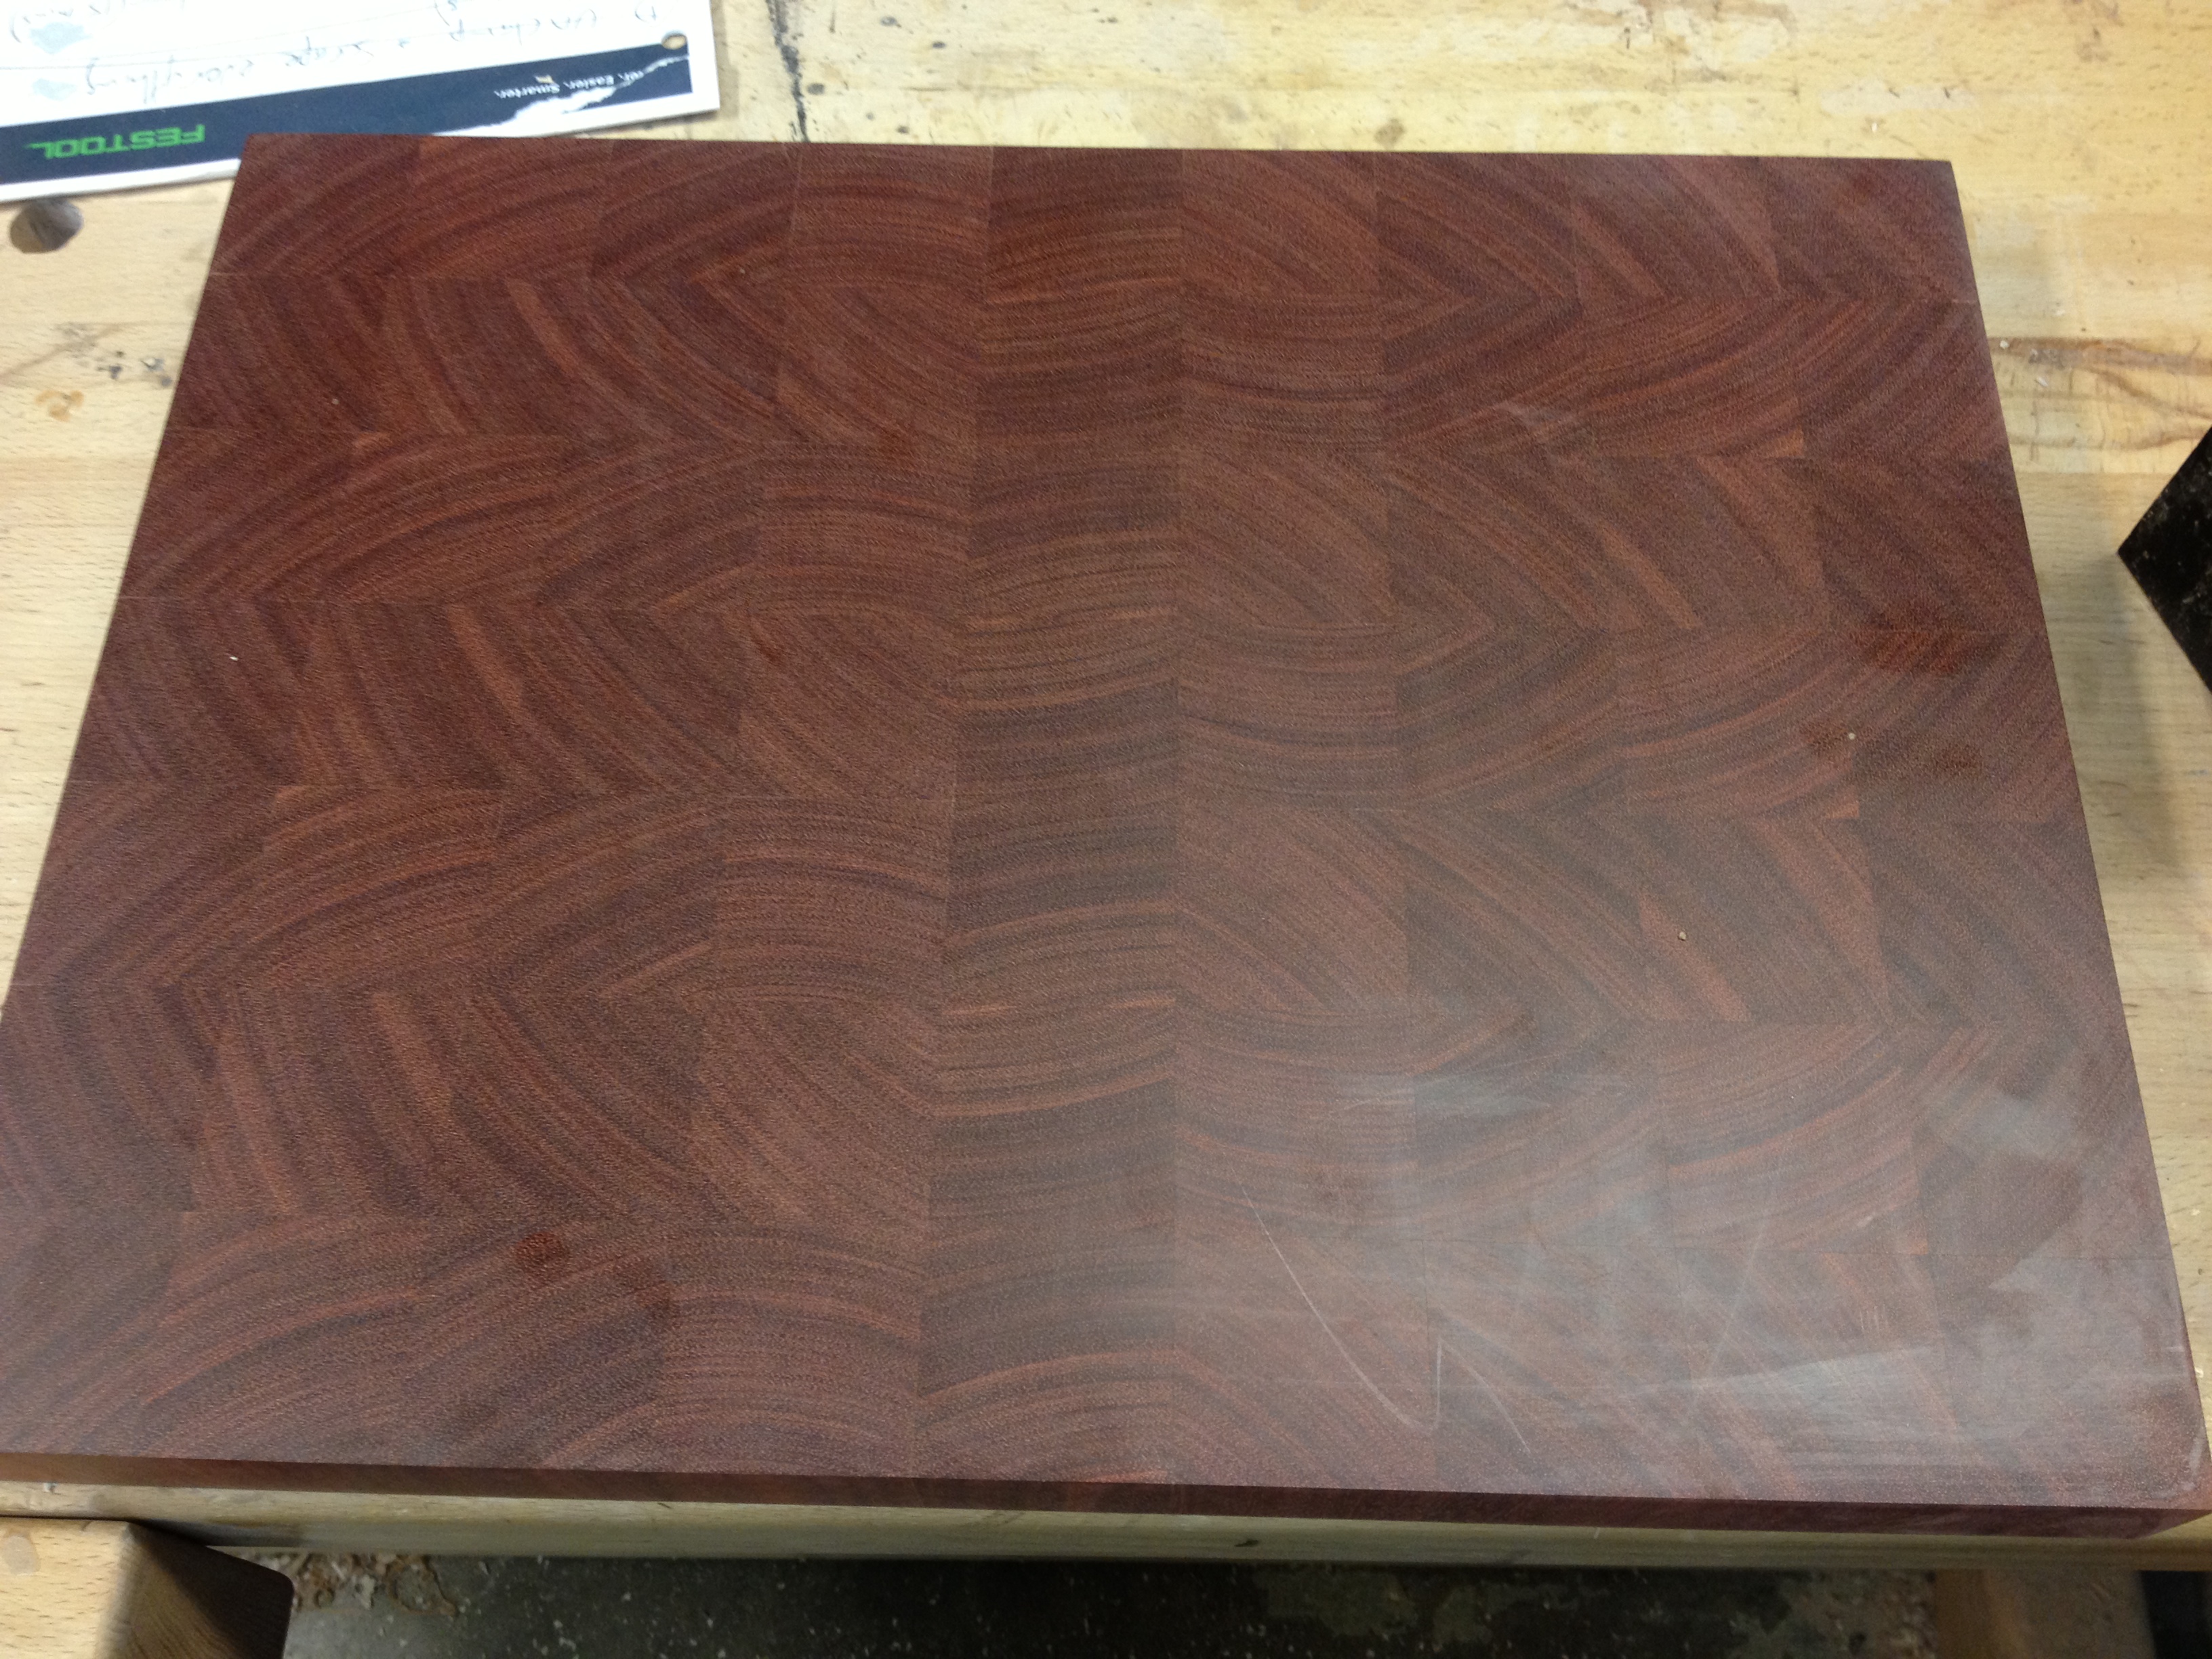
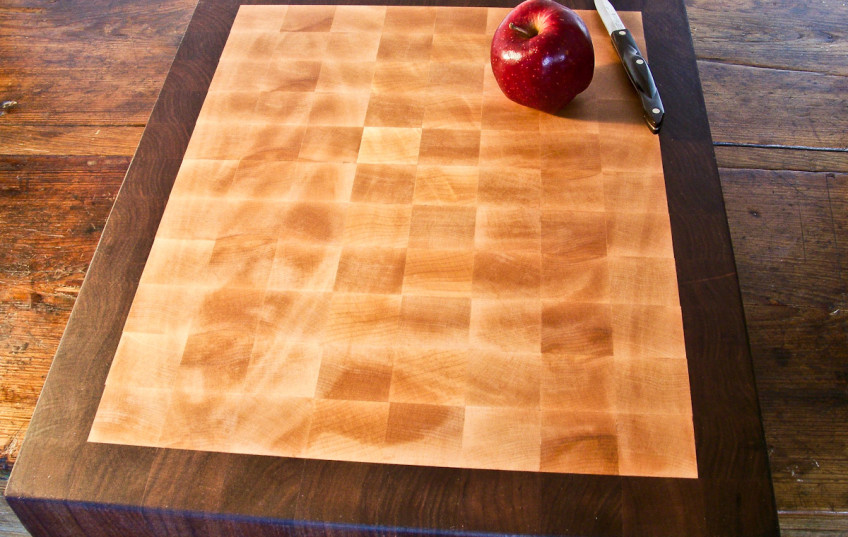
This is an end-grain cutting board, AKA butcher block. Making stripes in end grain wood is deceptively complex. In fact, this cutting board required 16 different glue-ups over the course of a month. The bloodwood and blackwood are so expensive that I was pretty nervous each time I made a cut. During the course of all the glue-ups and board flattening, I sanded away over 1/4″ of the thickness of the cutting board (that’s a lot of sanding). For you non-woodworkers out there, it might be better just to skim the pictures to avoid going into a coma from the wood-nerditry.
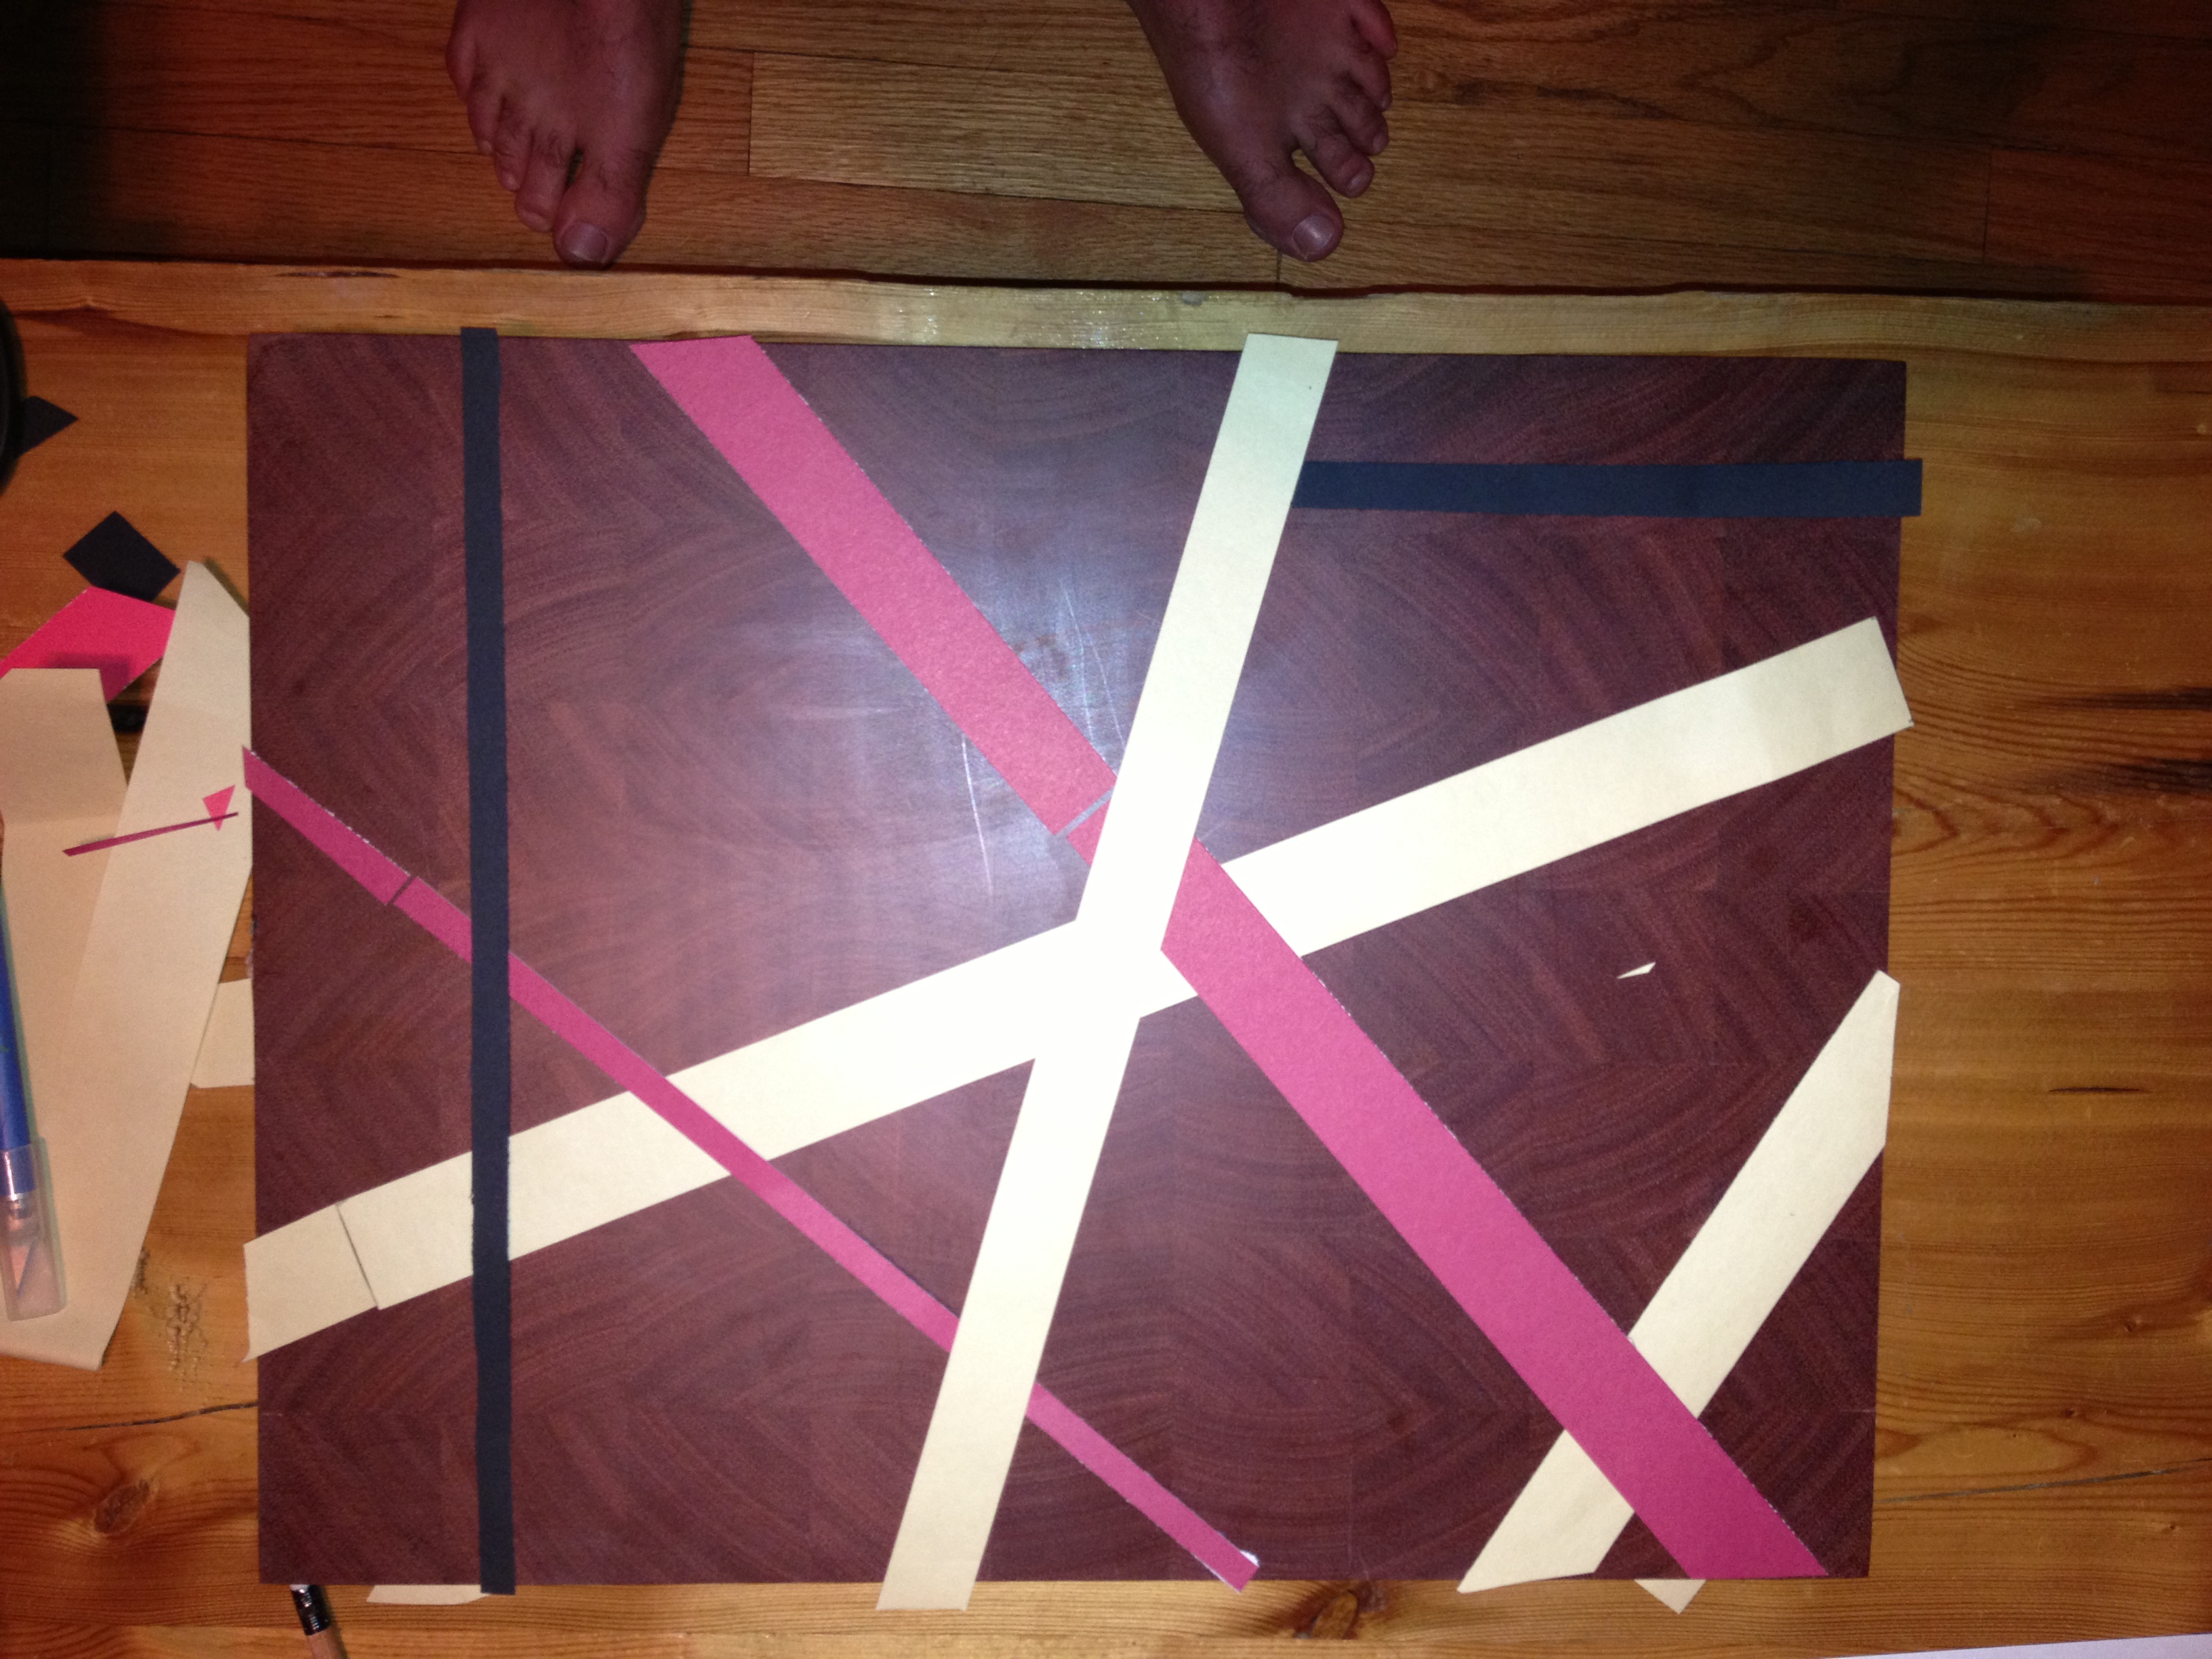
The first step for me was settling on a design. I went through a bunch of iterations on Sketchup, then brought in an artist friend and we played arts and crafts with construction paper until we got a layout we liked.
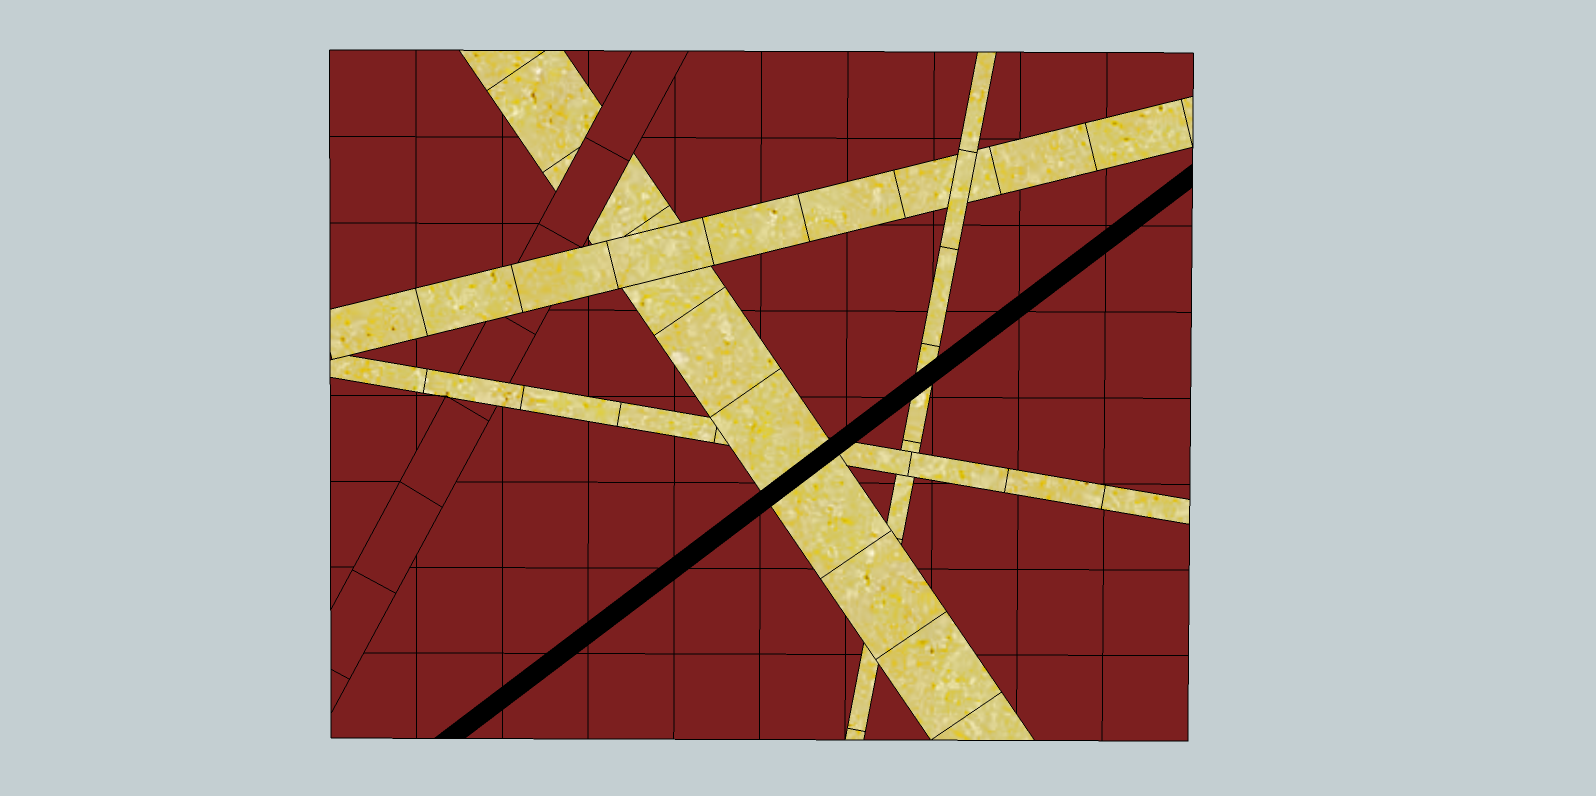
Sketchup design 2
I’ll be honest; I’ve never made red sawdust before. Bloodwood has an unbelievable smell when it is cut… like warm cotton candy.

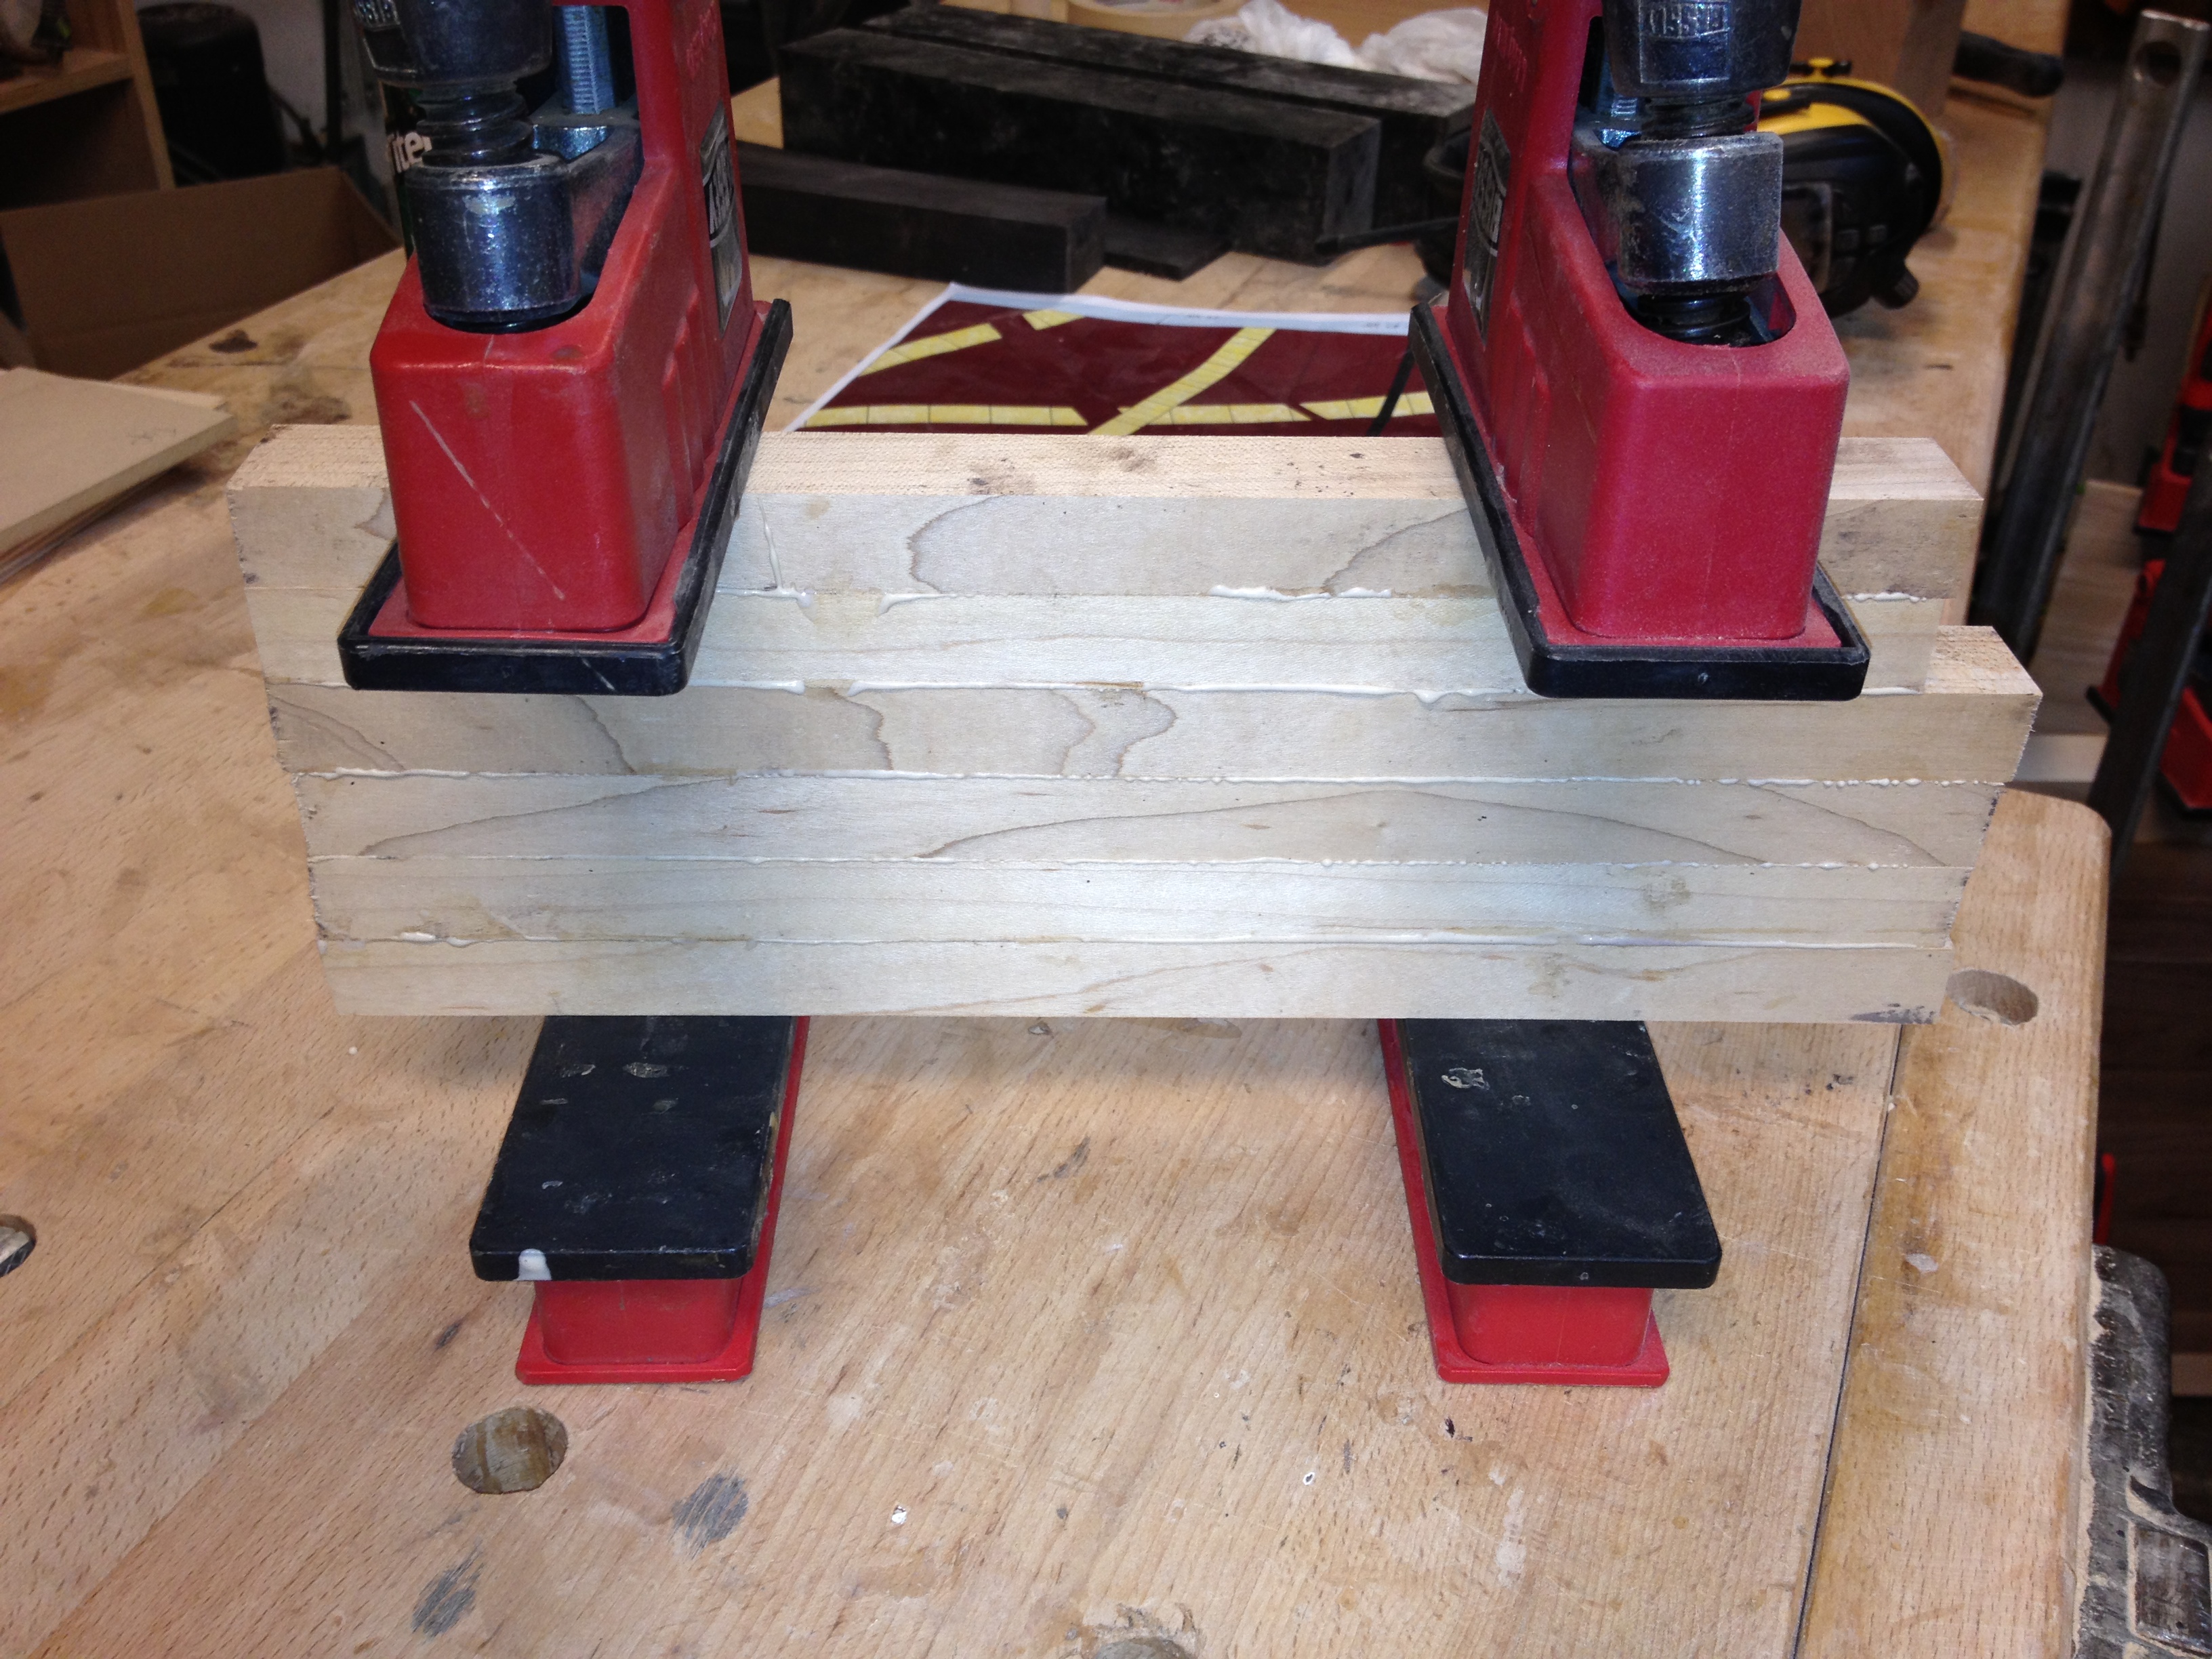
First, glue it up into strips…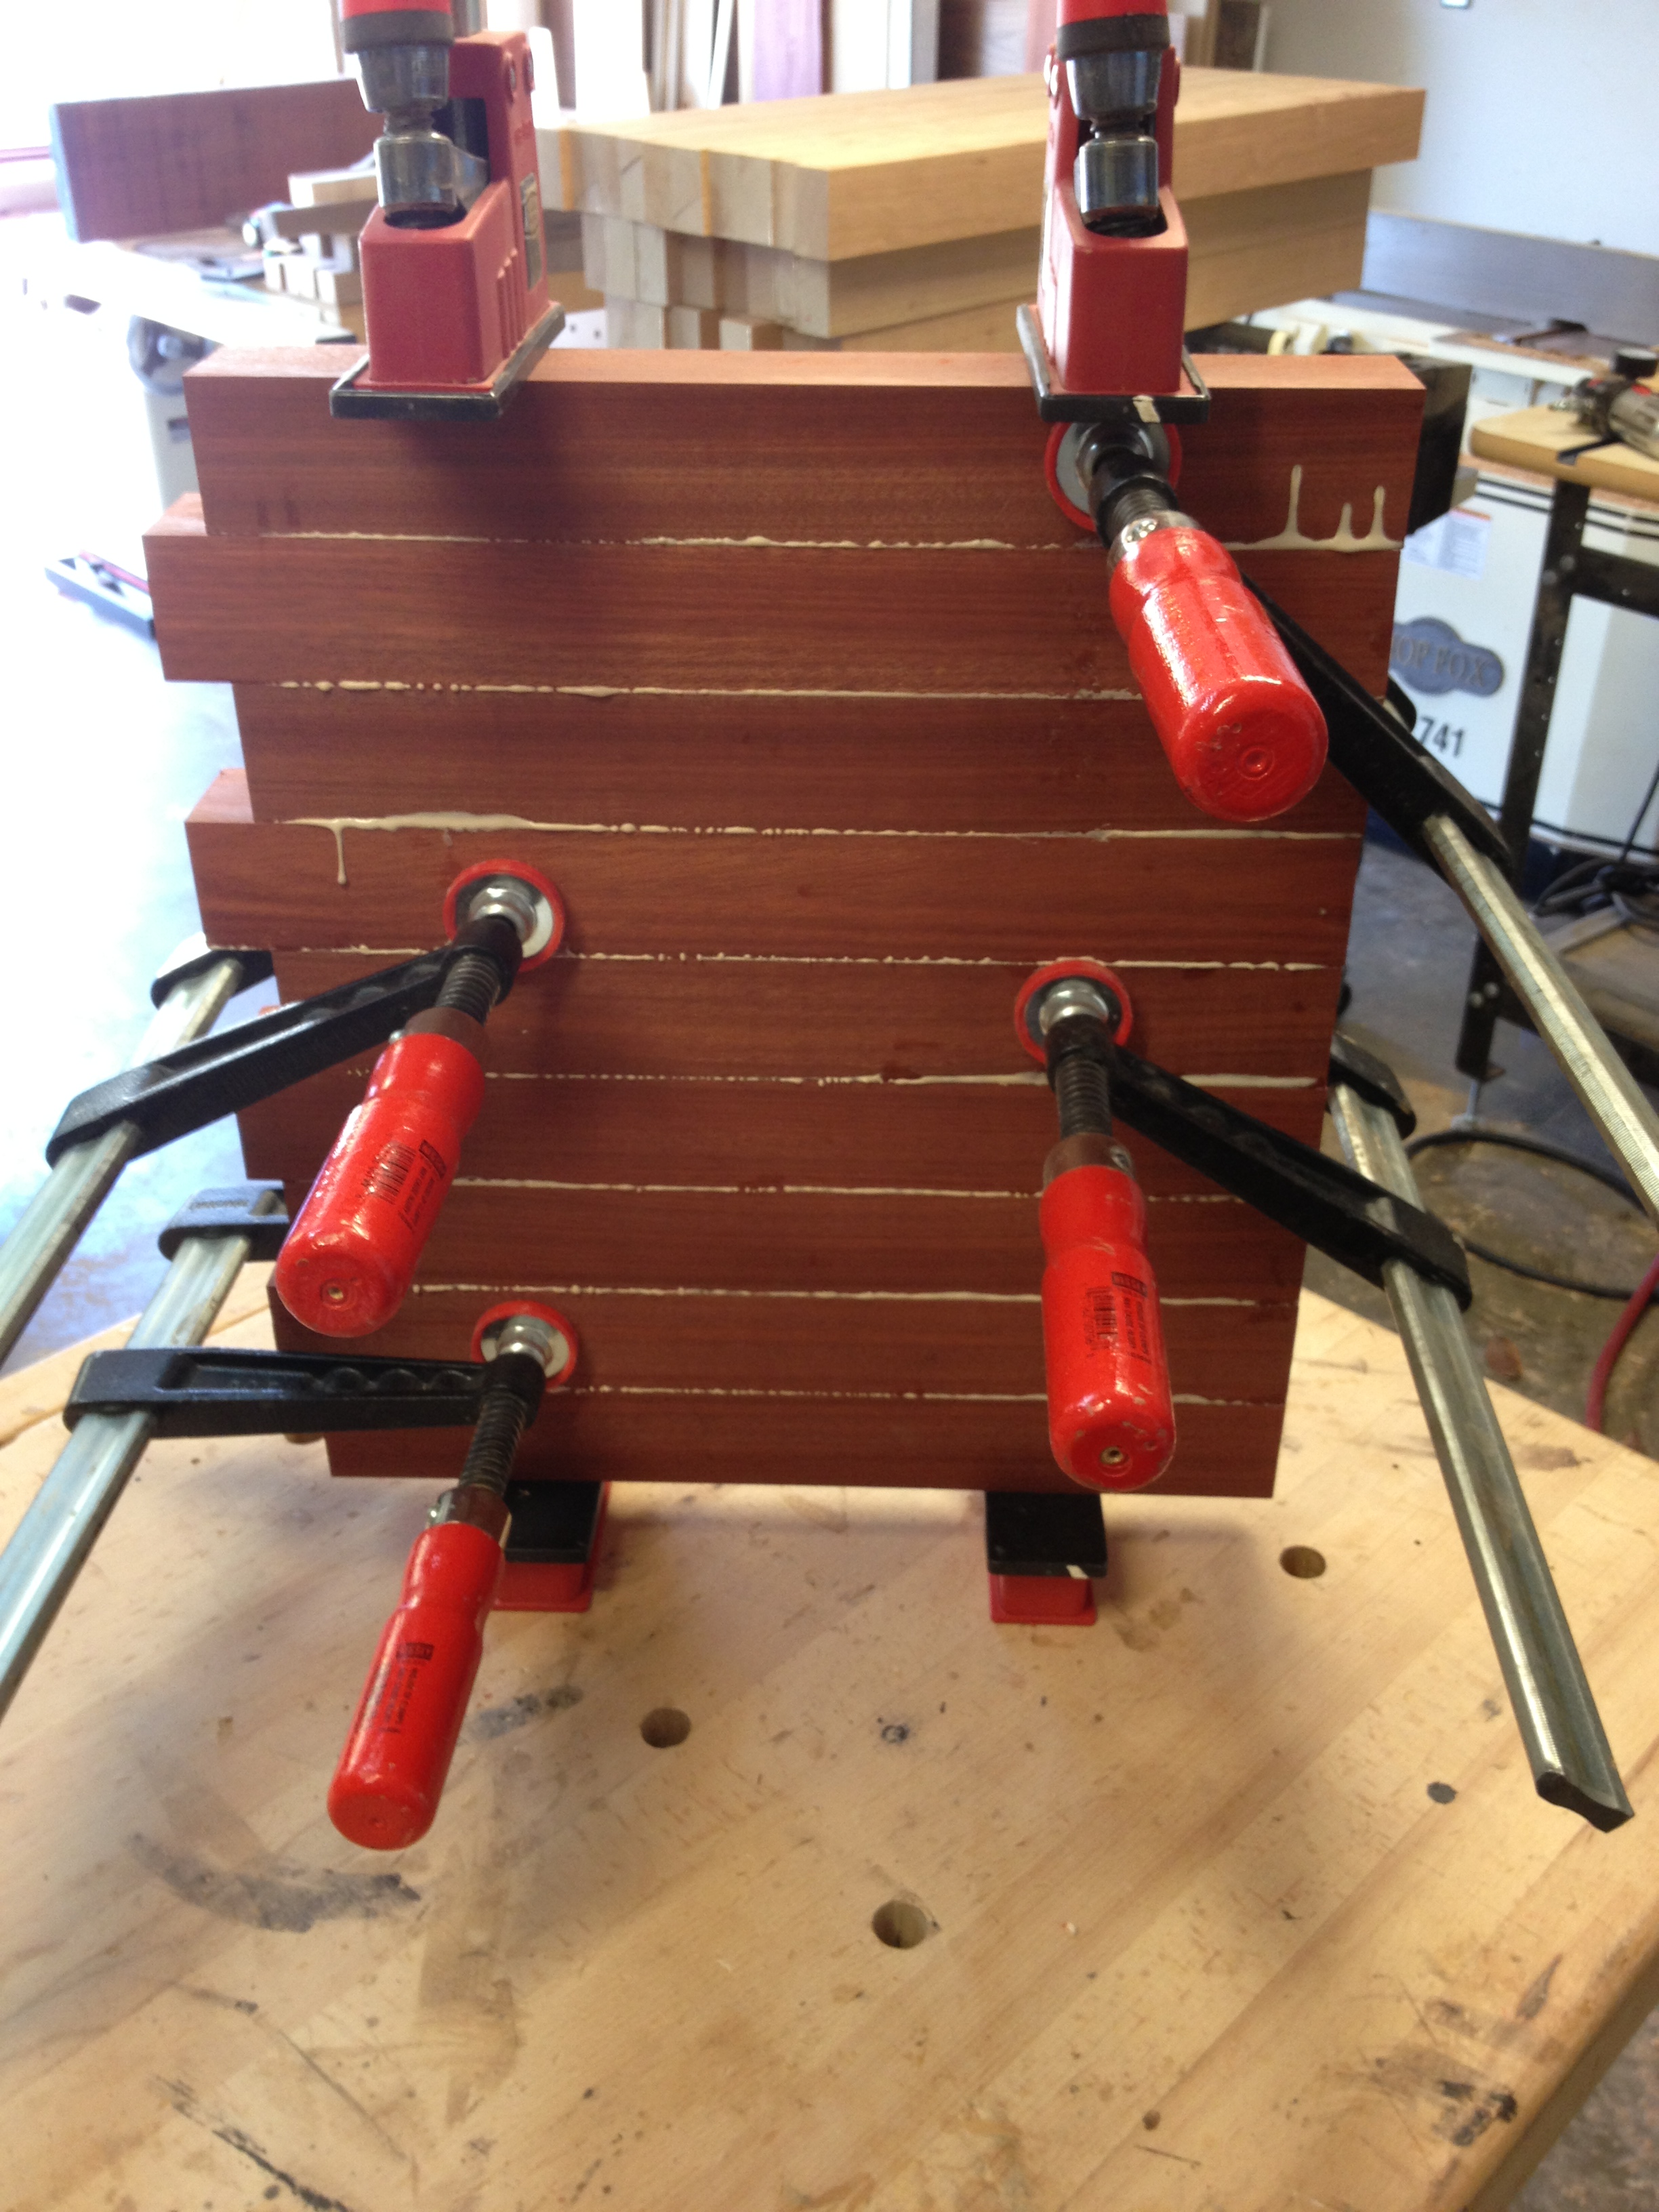
Then, cross-cut those strips and clamp up…
Blank Canvas.
Arts & Crafts design tweaking with April Ashton. Note the bohemian lack of footwear (hobbit feet mine, not April’s).
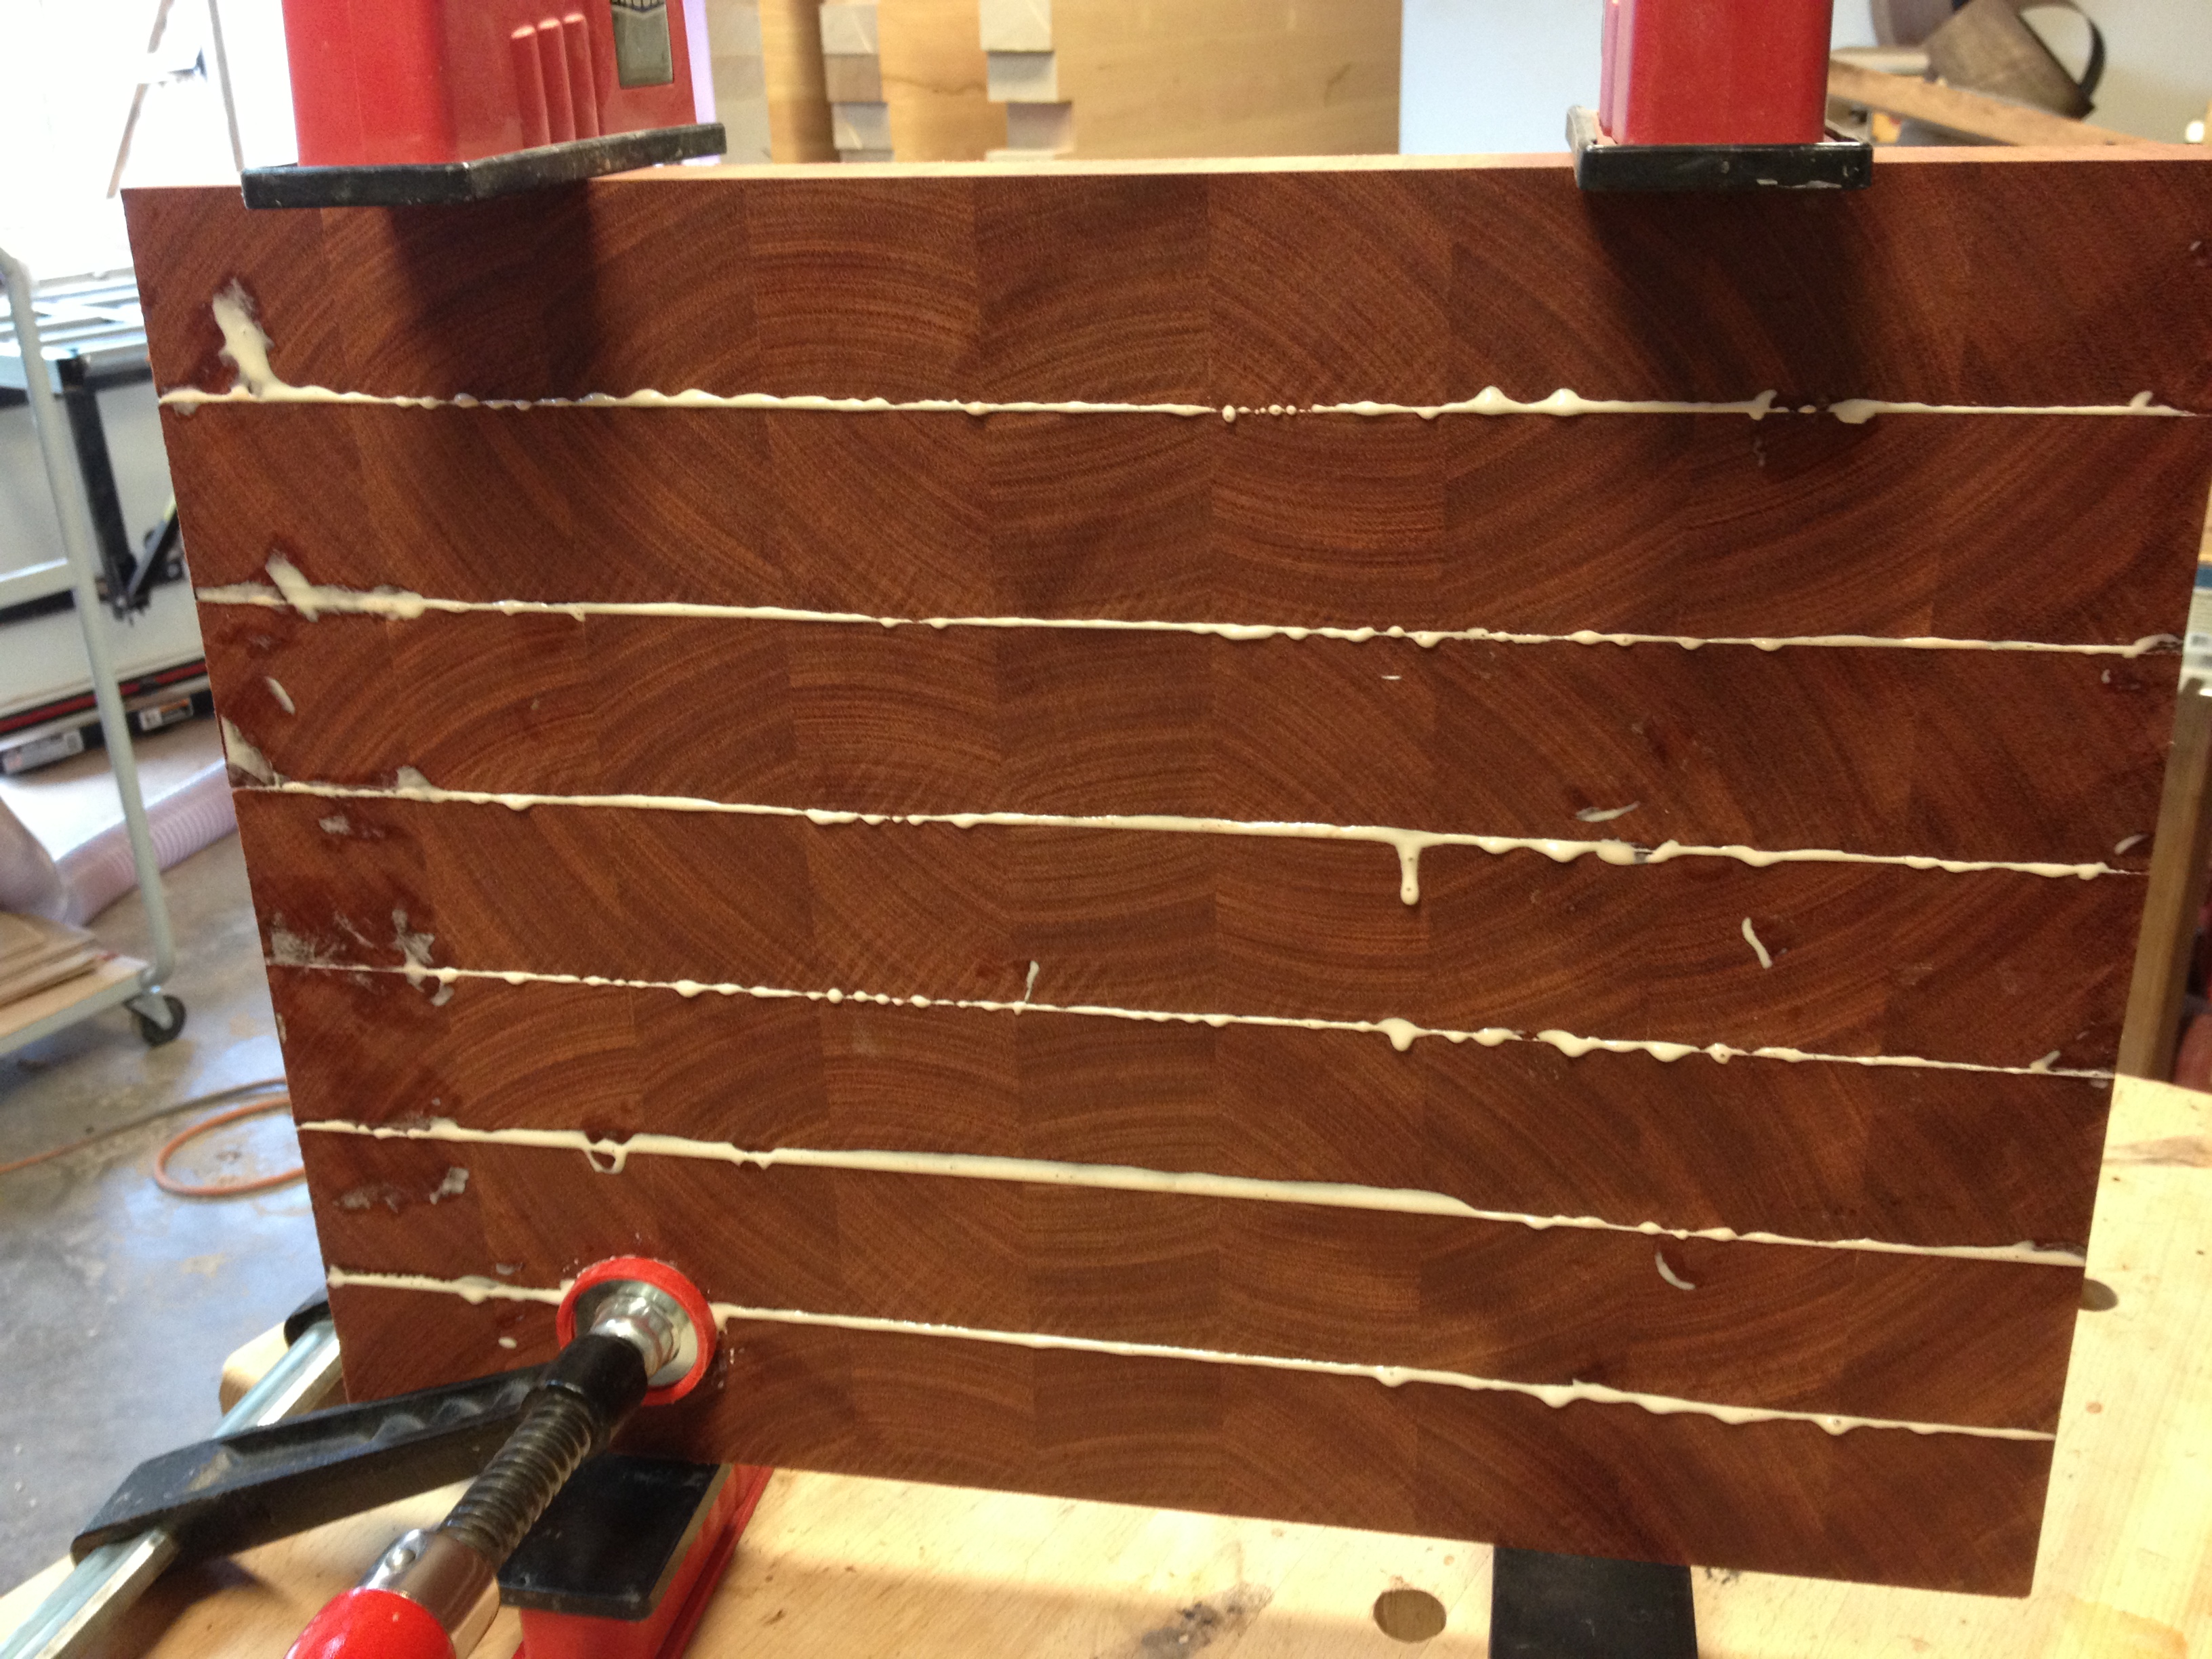
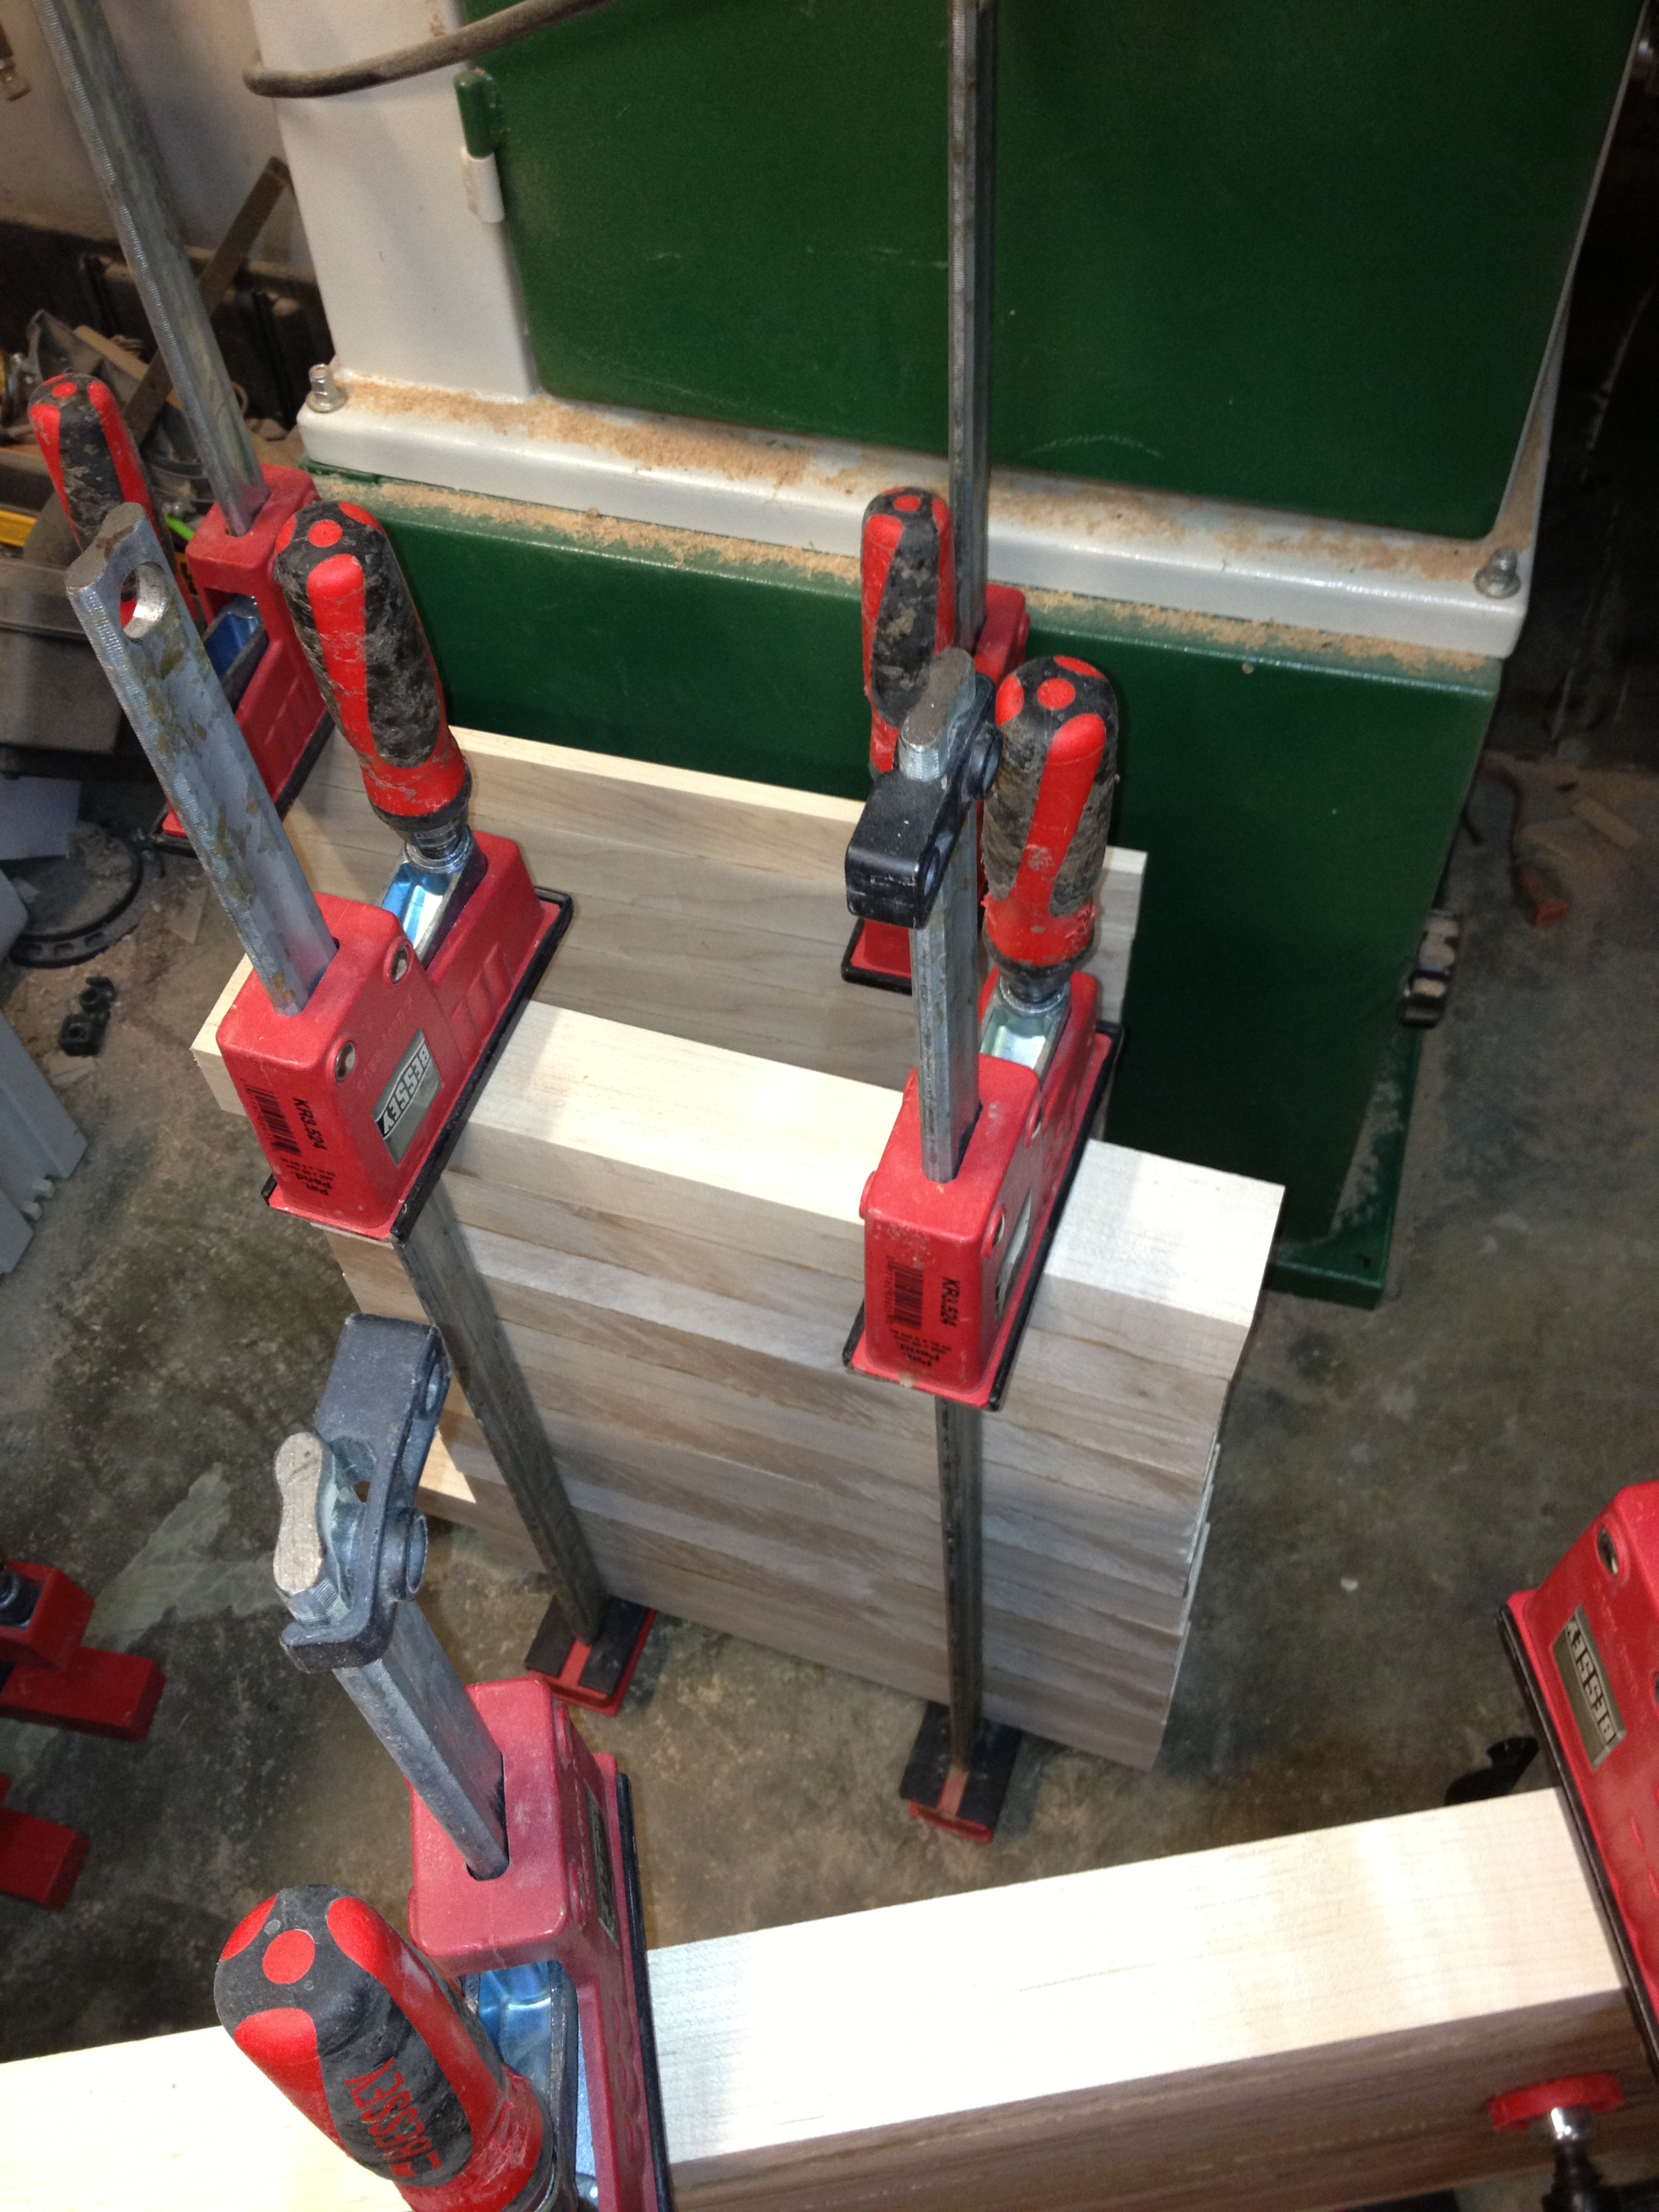
Lots of glue-ups for the different stripes…

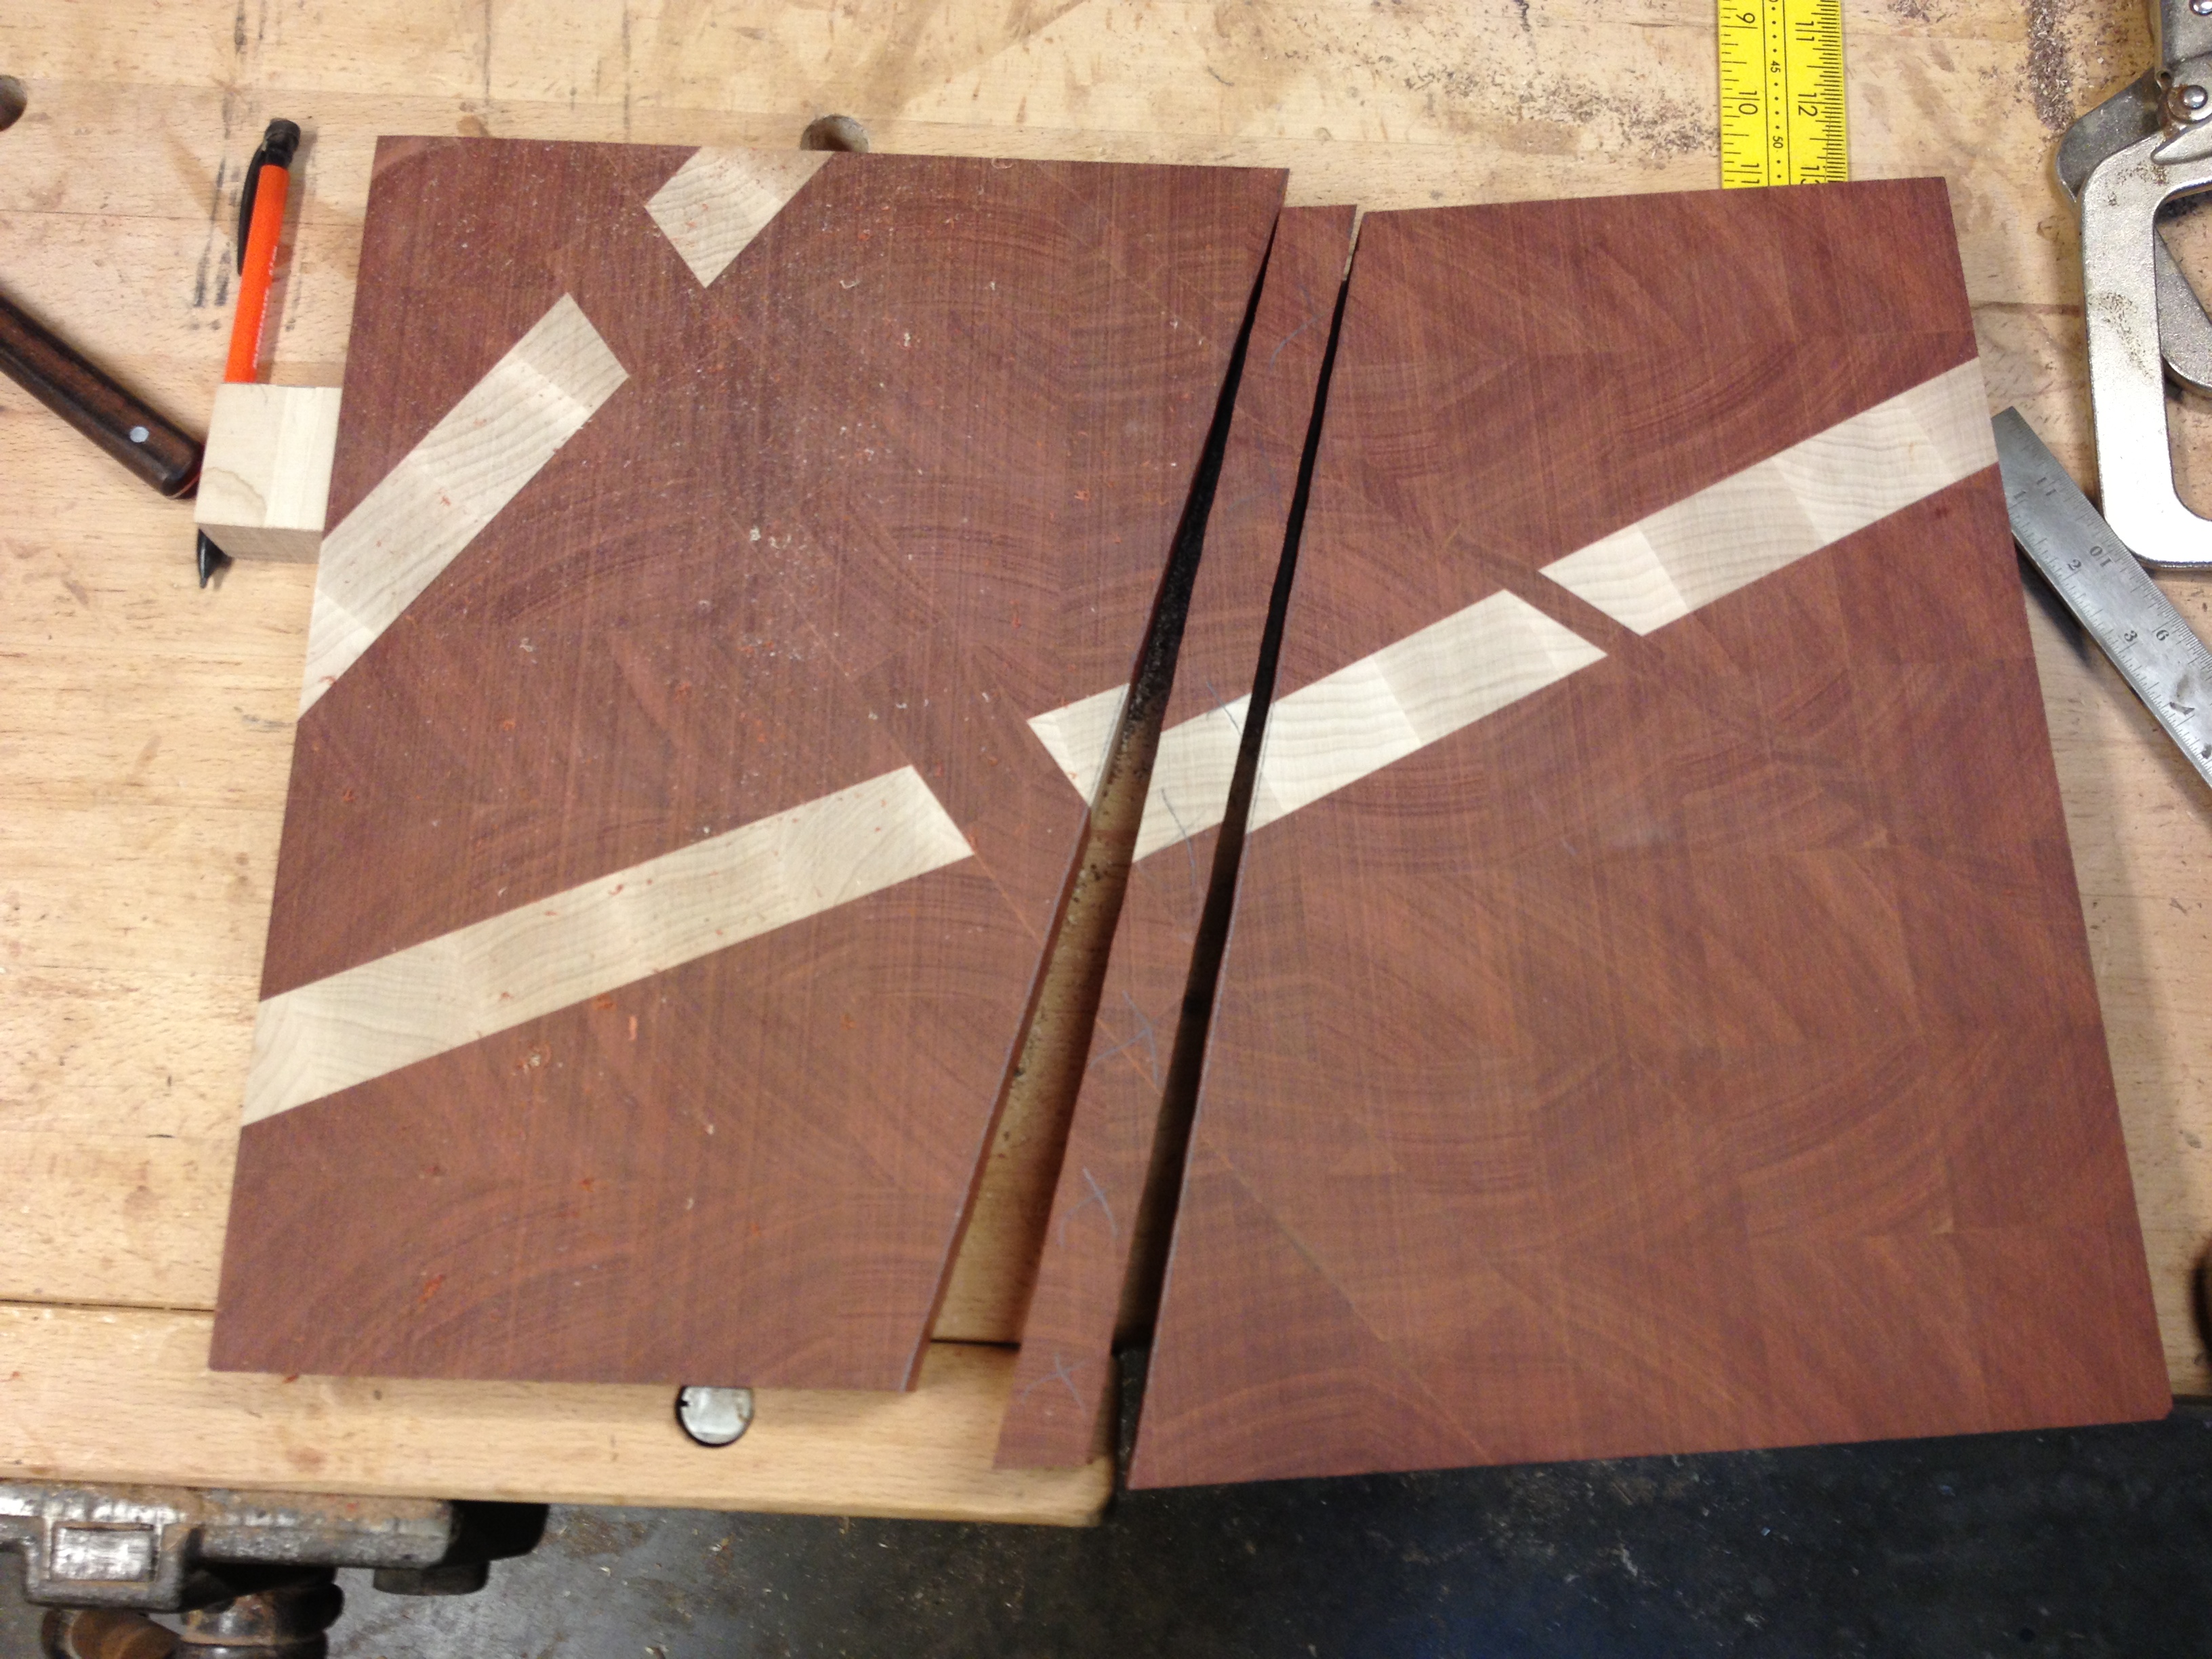
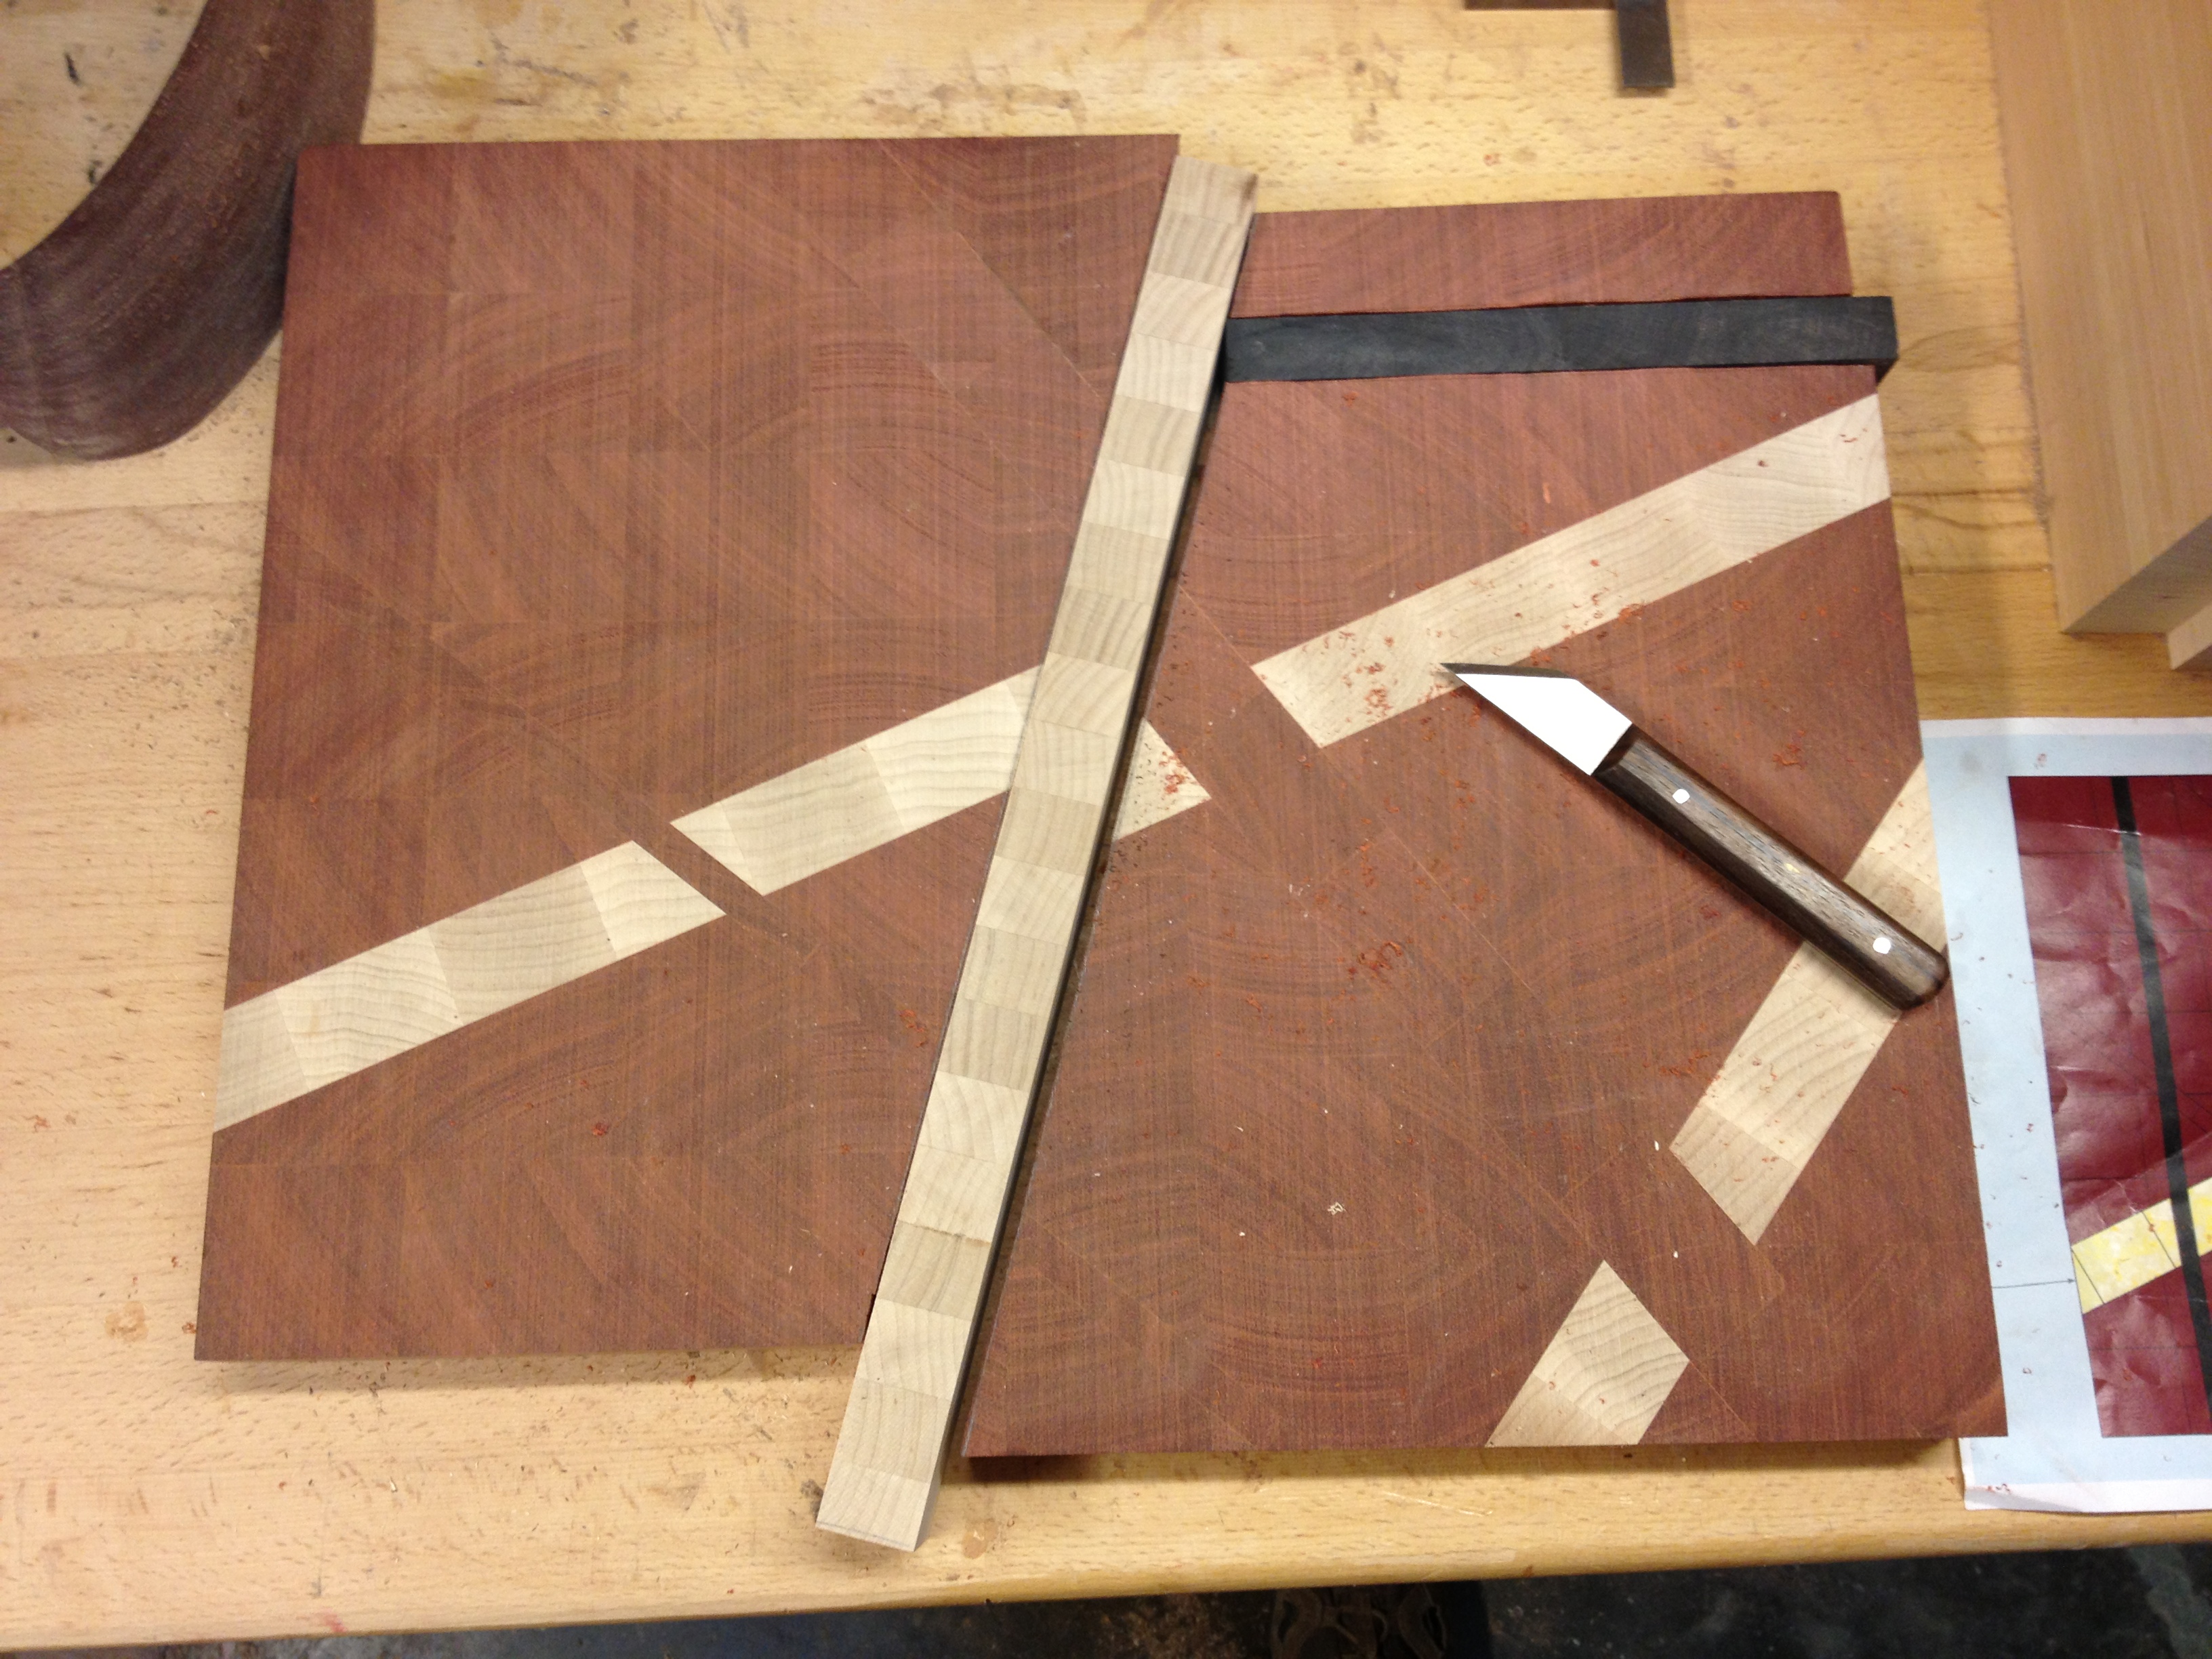
Now we start cutting up the board. Note for woodworkers: If you are going to add a 1″ wide stripe, you must remove 1″ in width from the cutting board. You can’t just make a slice through the cutting board and call it ‘good.’ If you do that, nothing will be square or line up. The easiest way to do this is to lay the actual stripe you will be using on your cutting board, and scribe lines on each side of it. This will show you what needs to be removed.
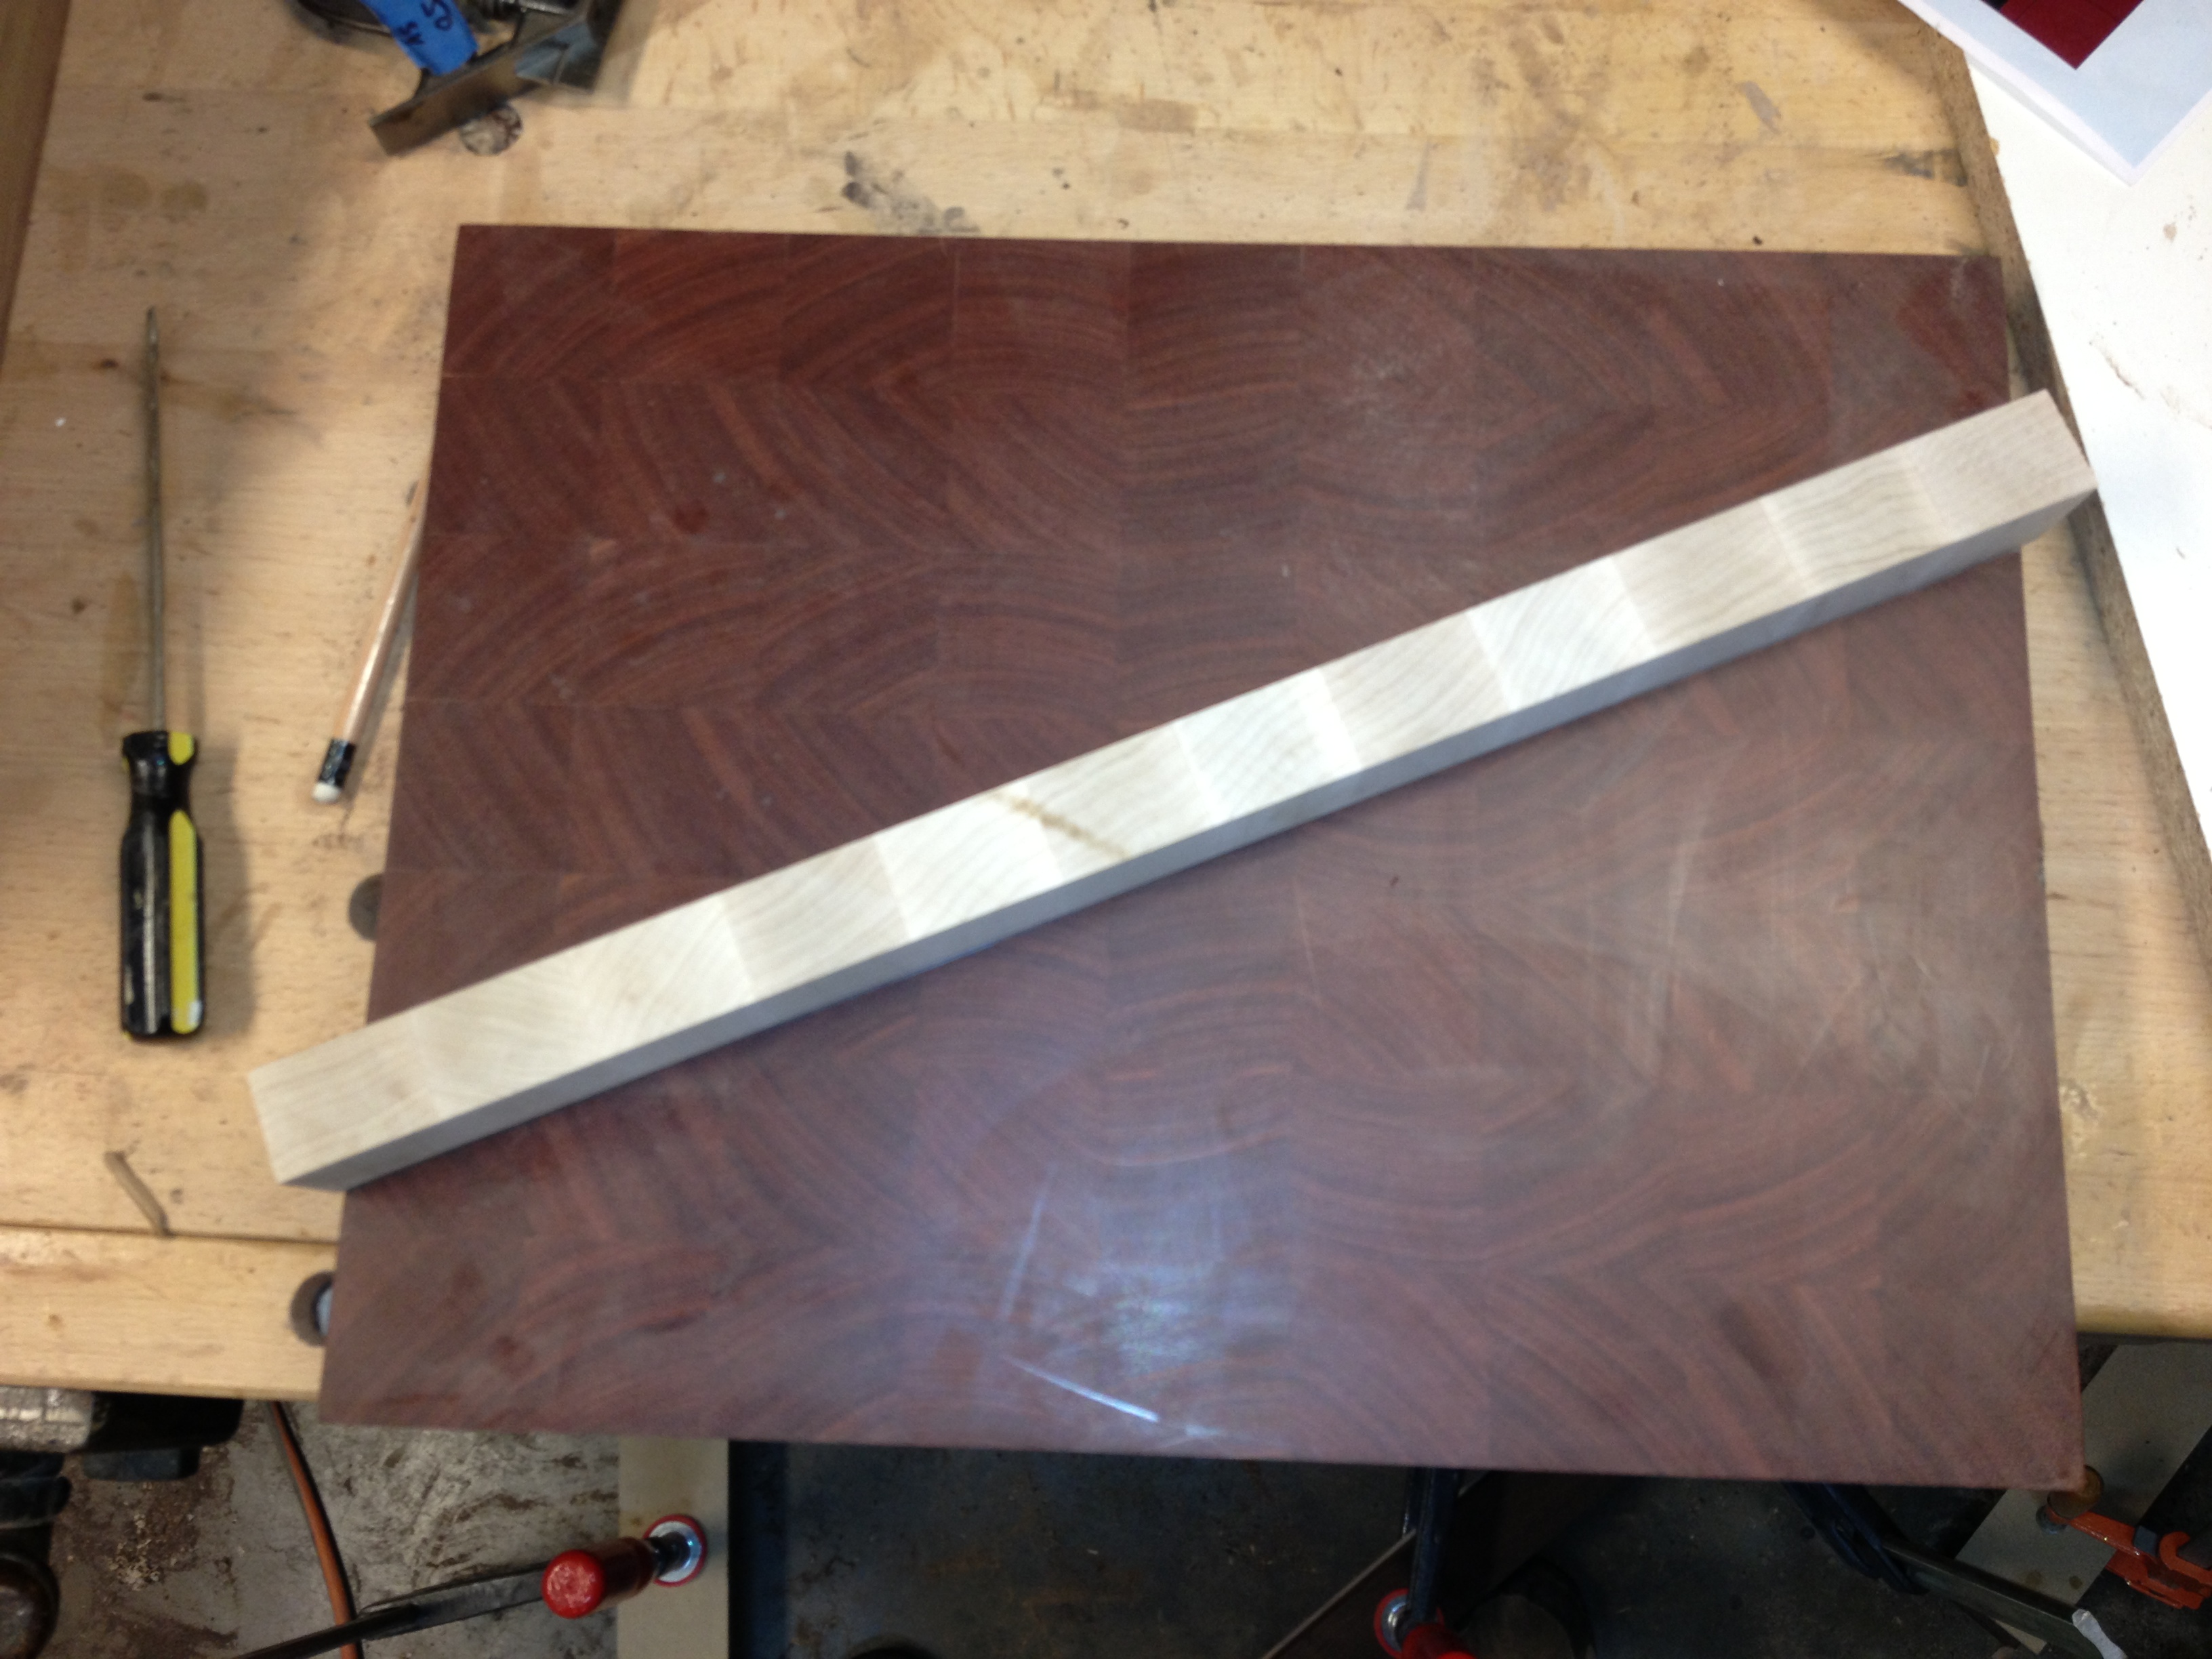
Laying out the first cut
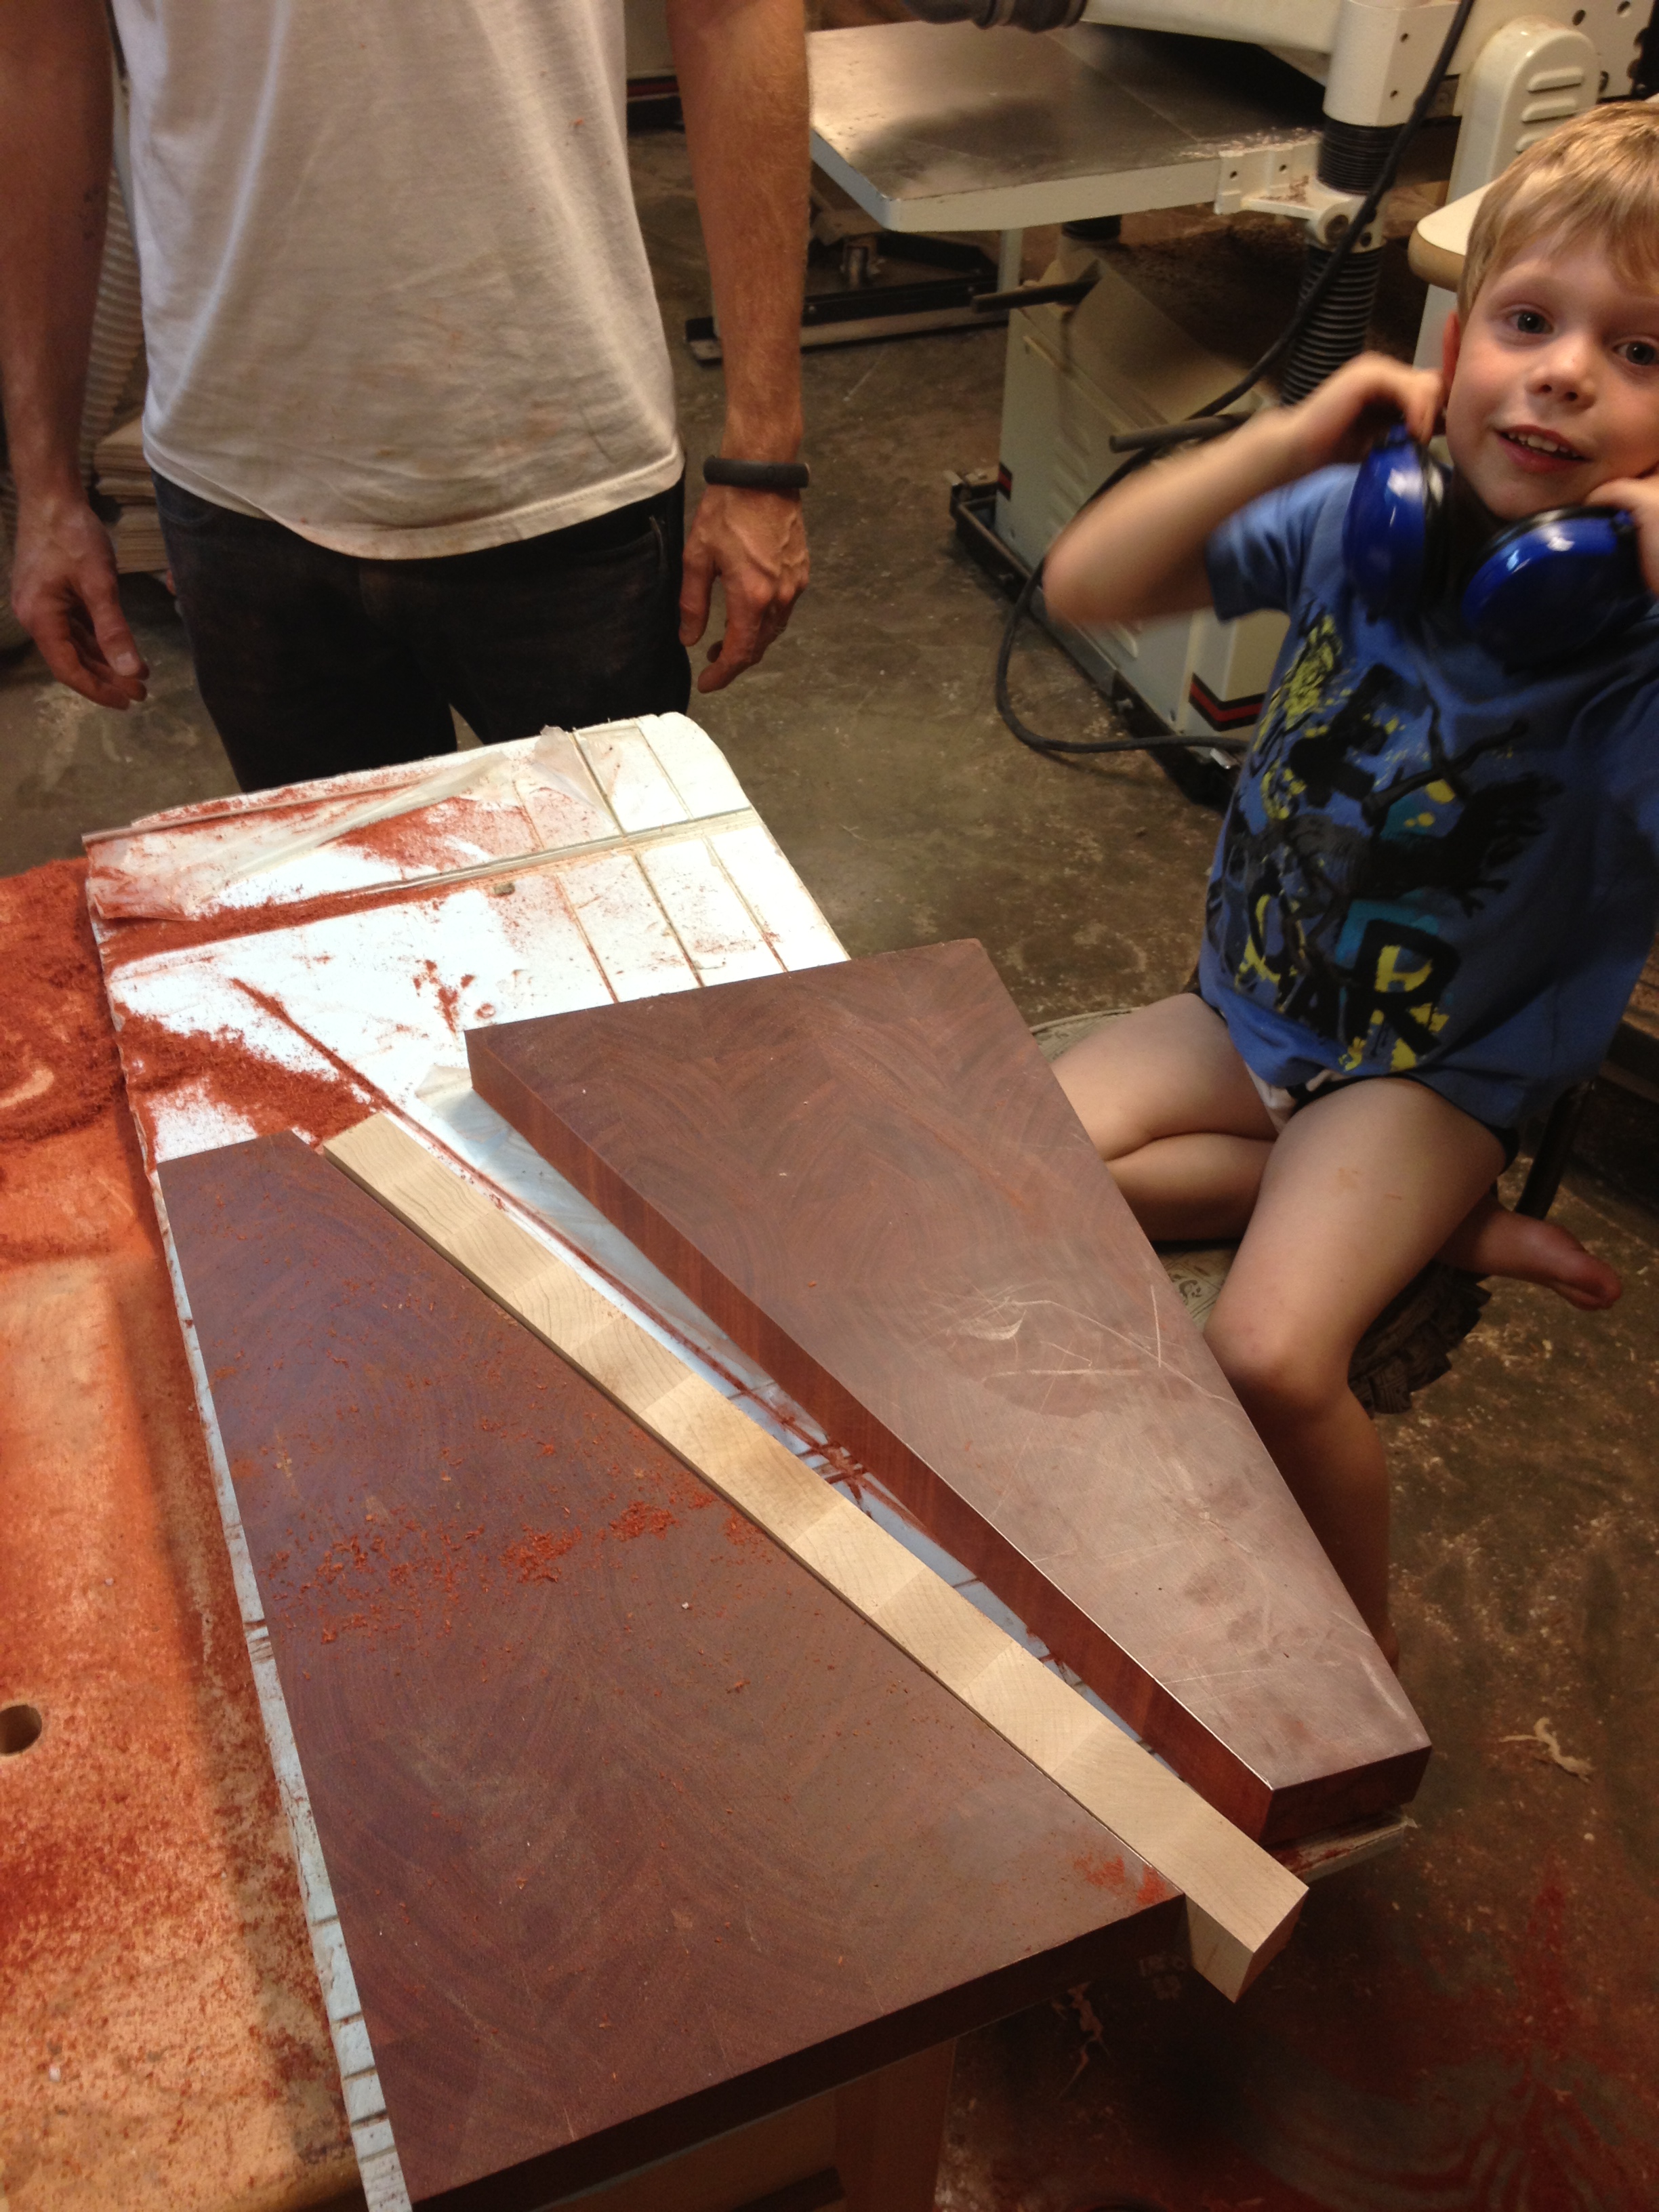
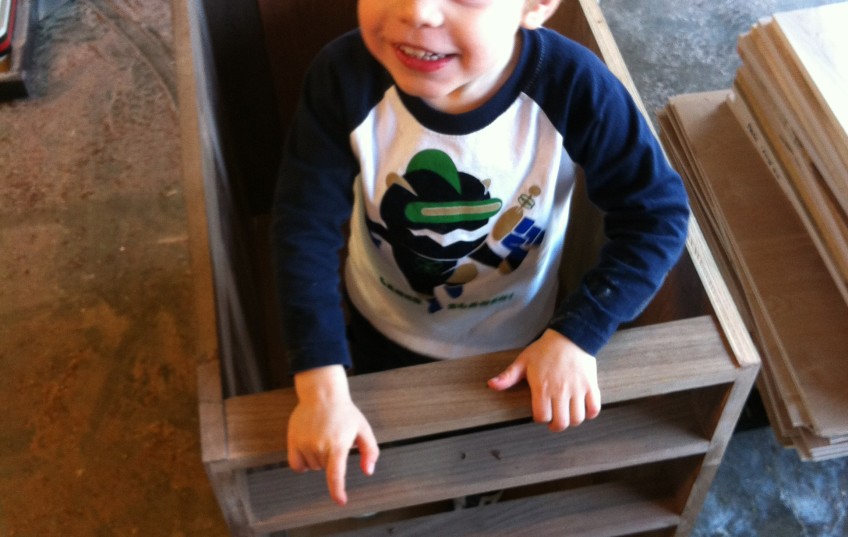
The boss inspecting my work
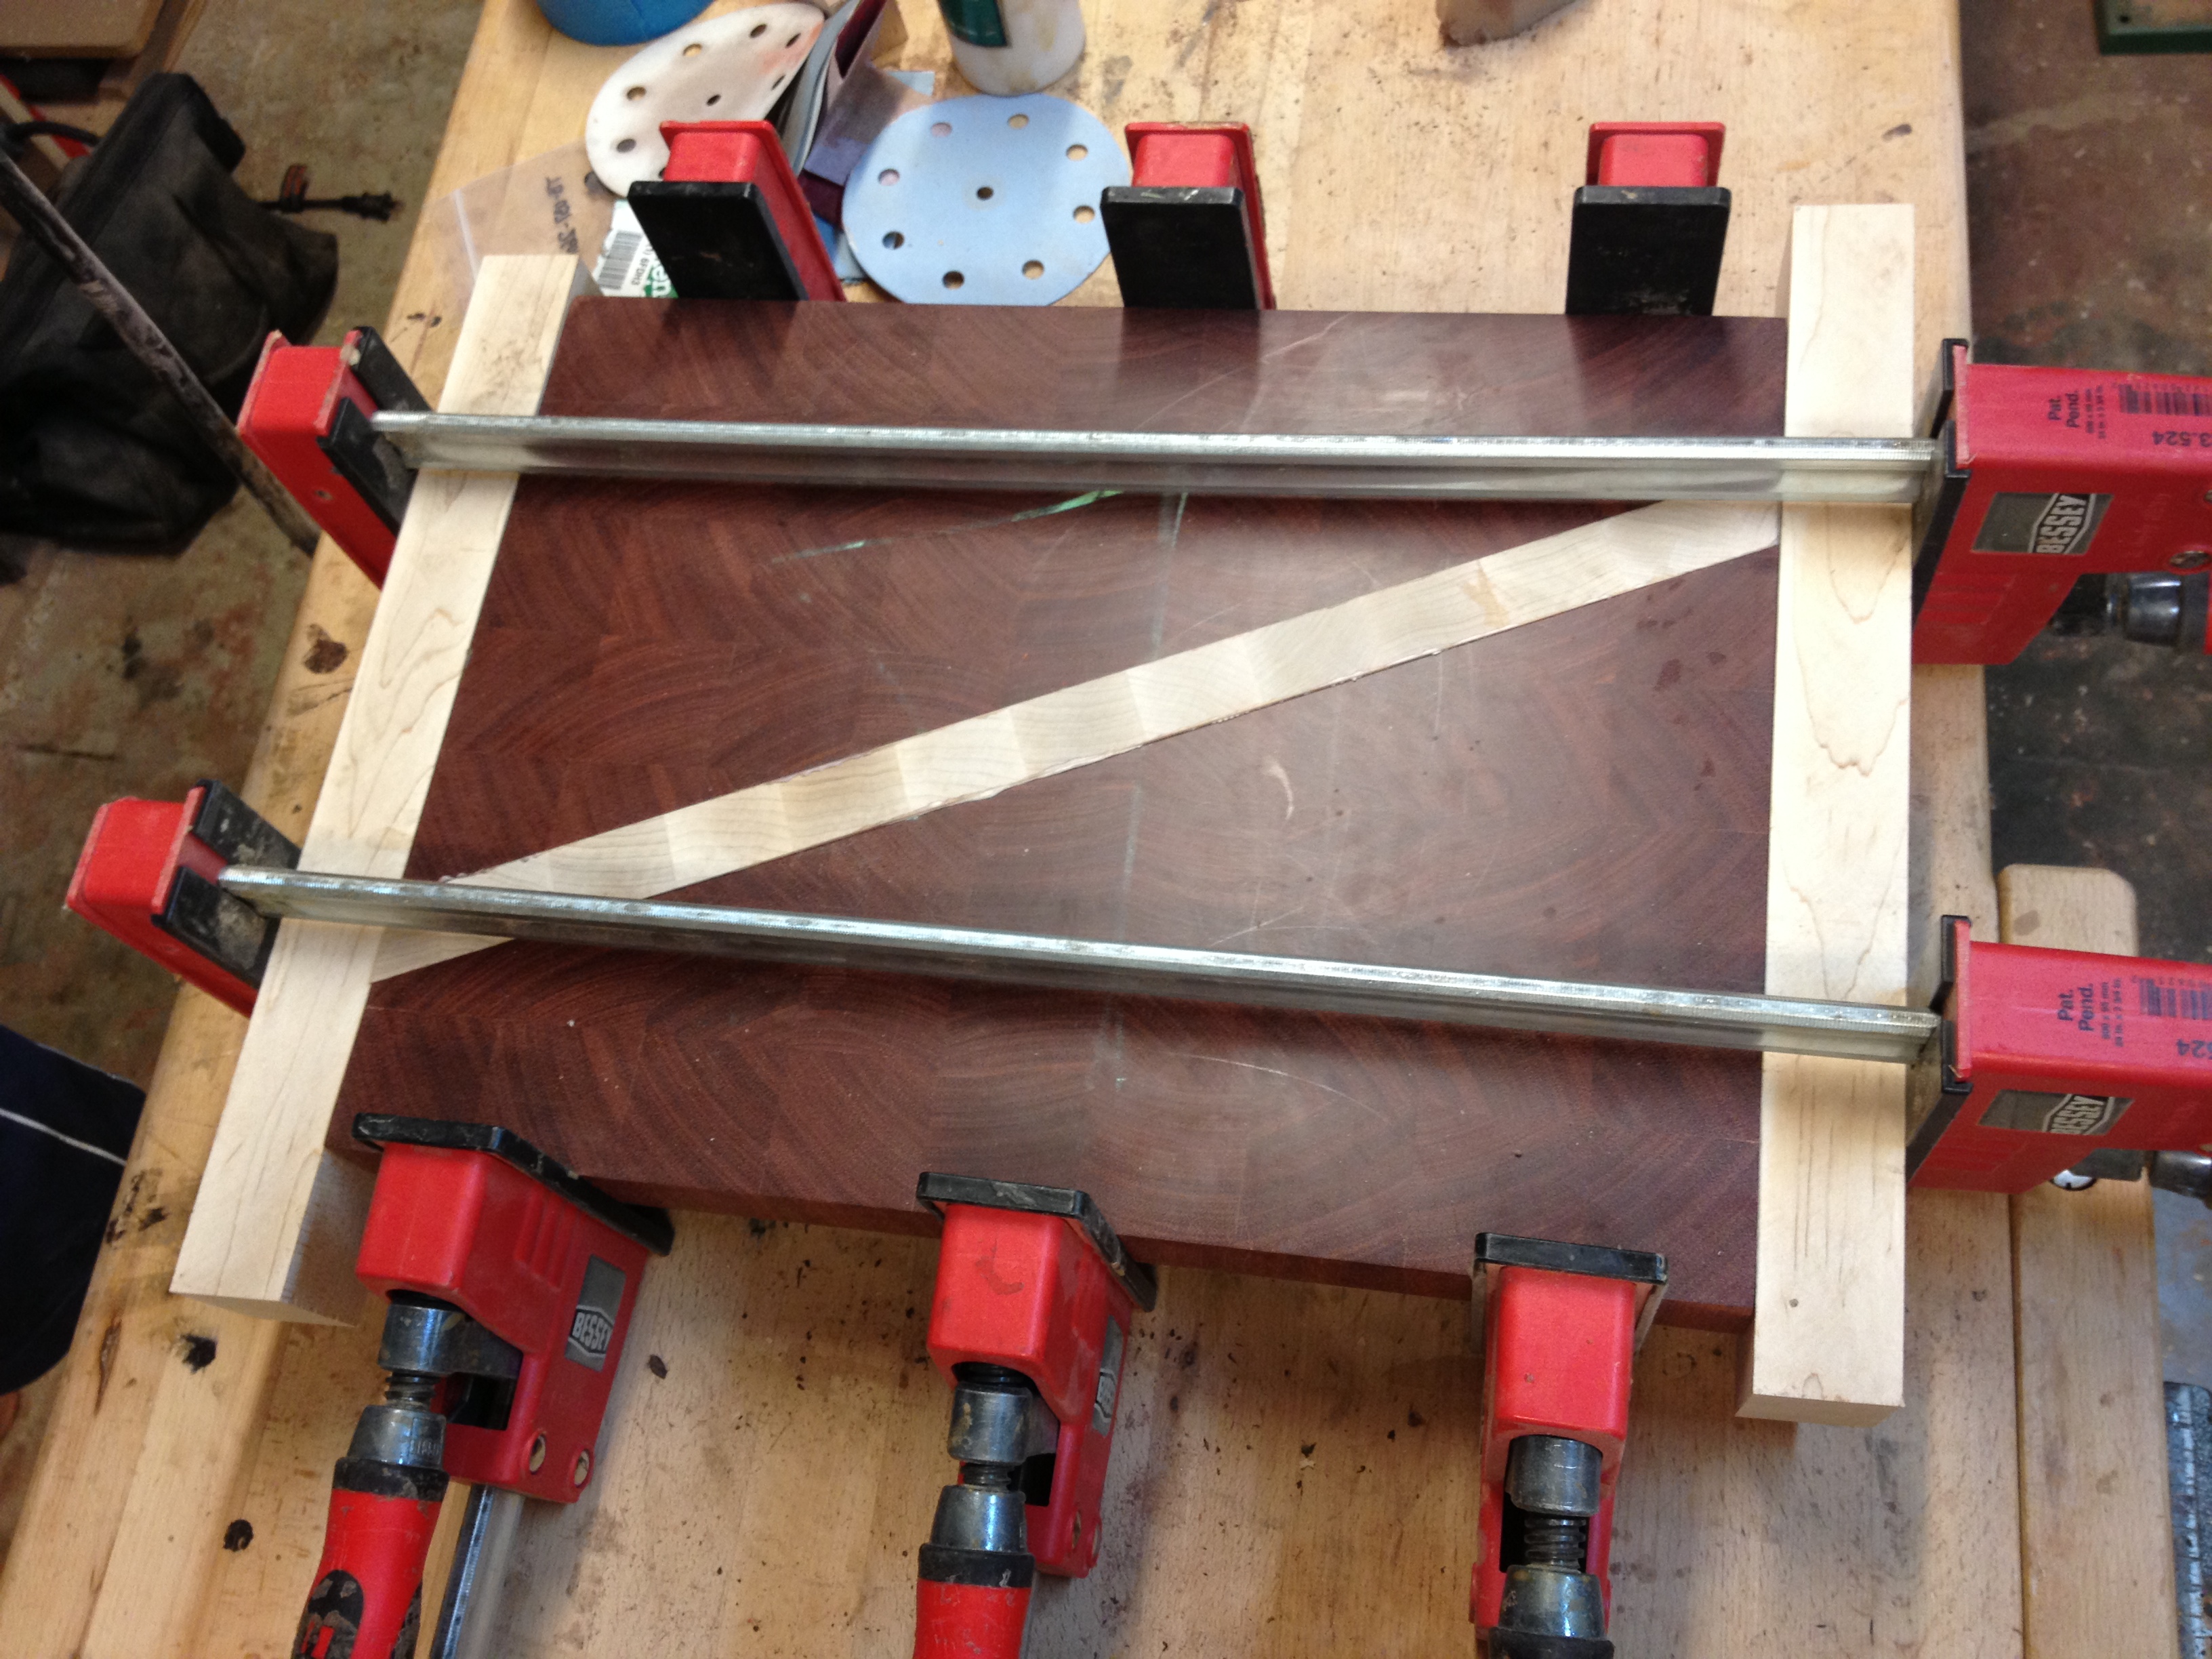
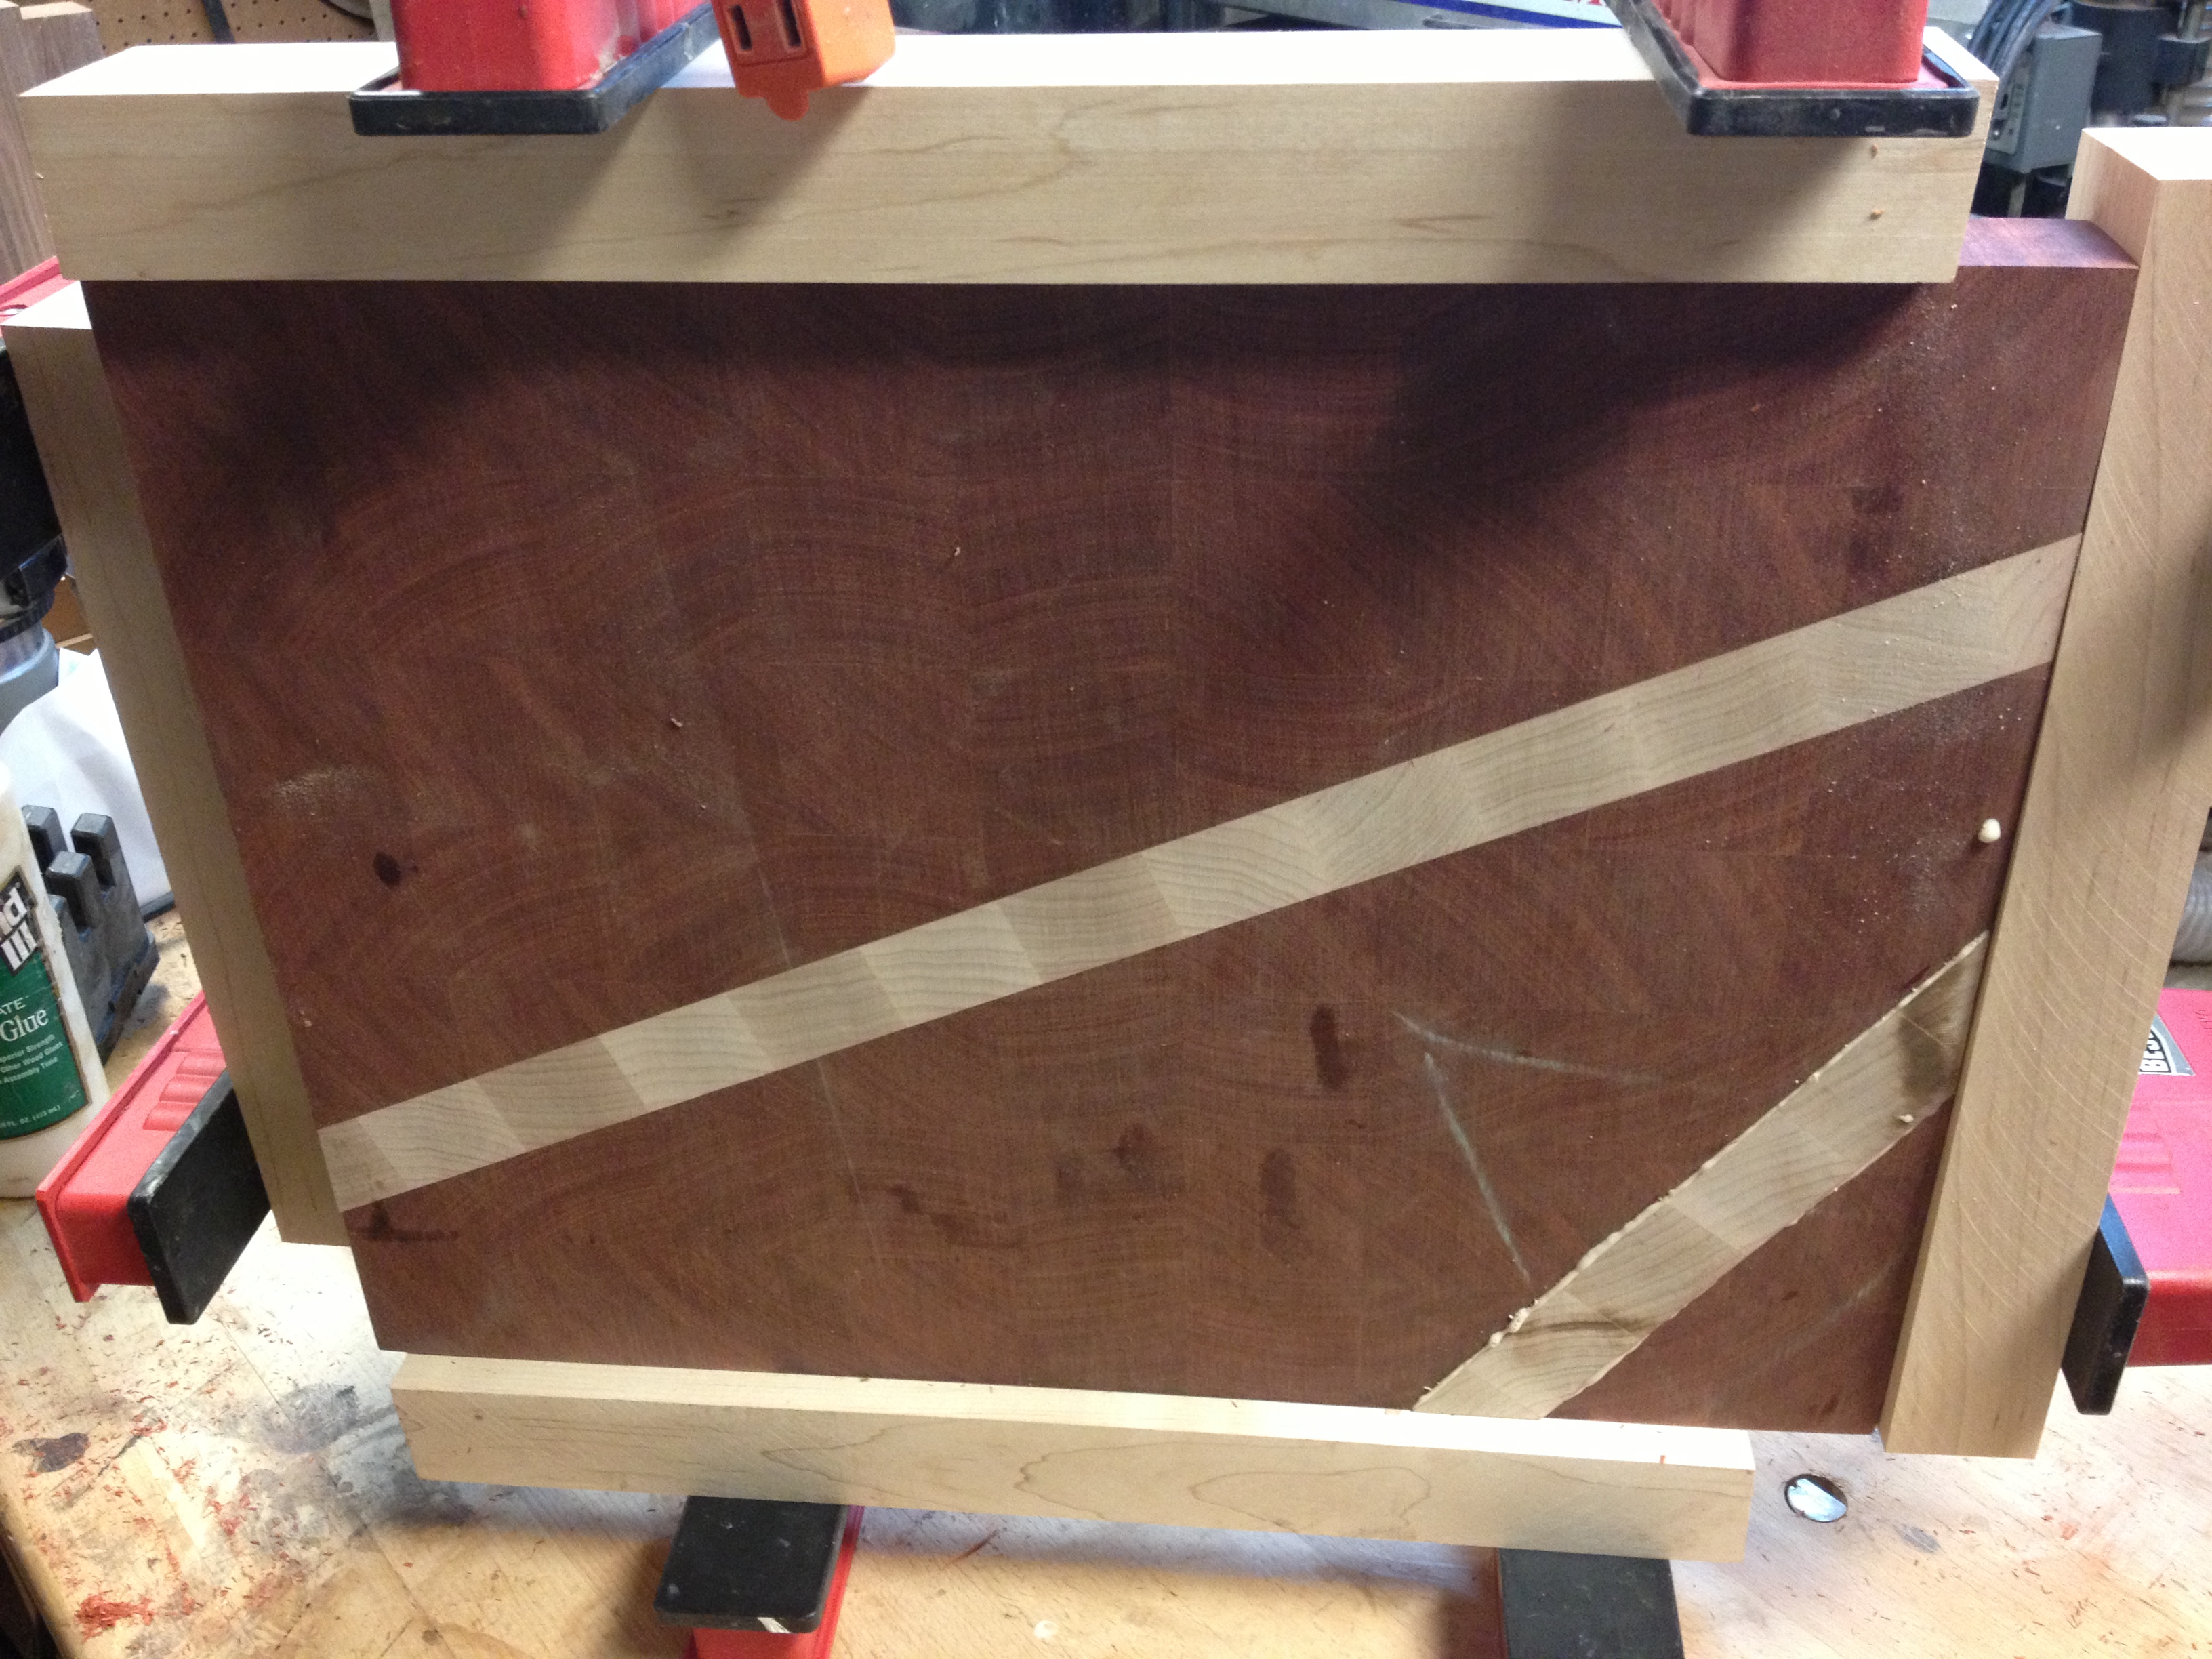
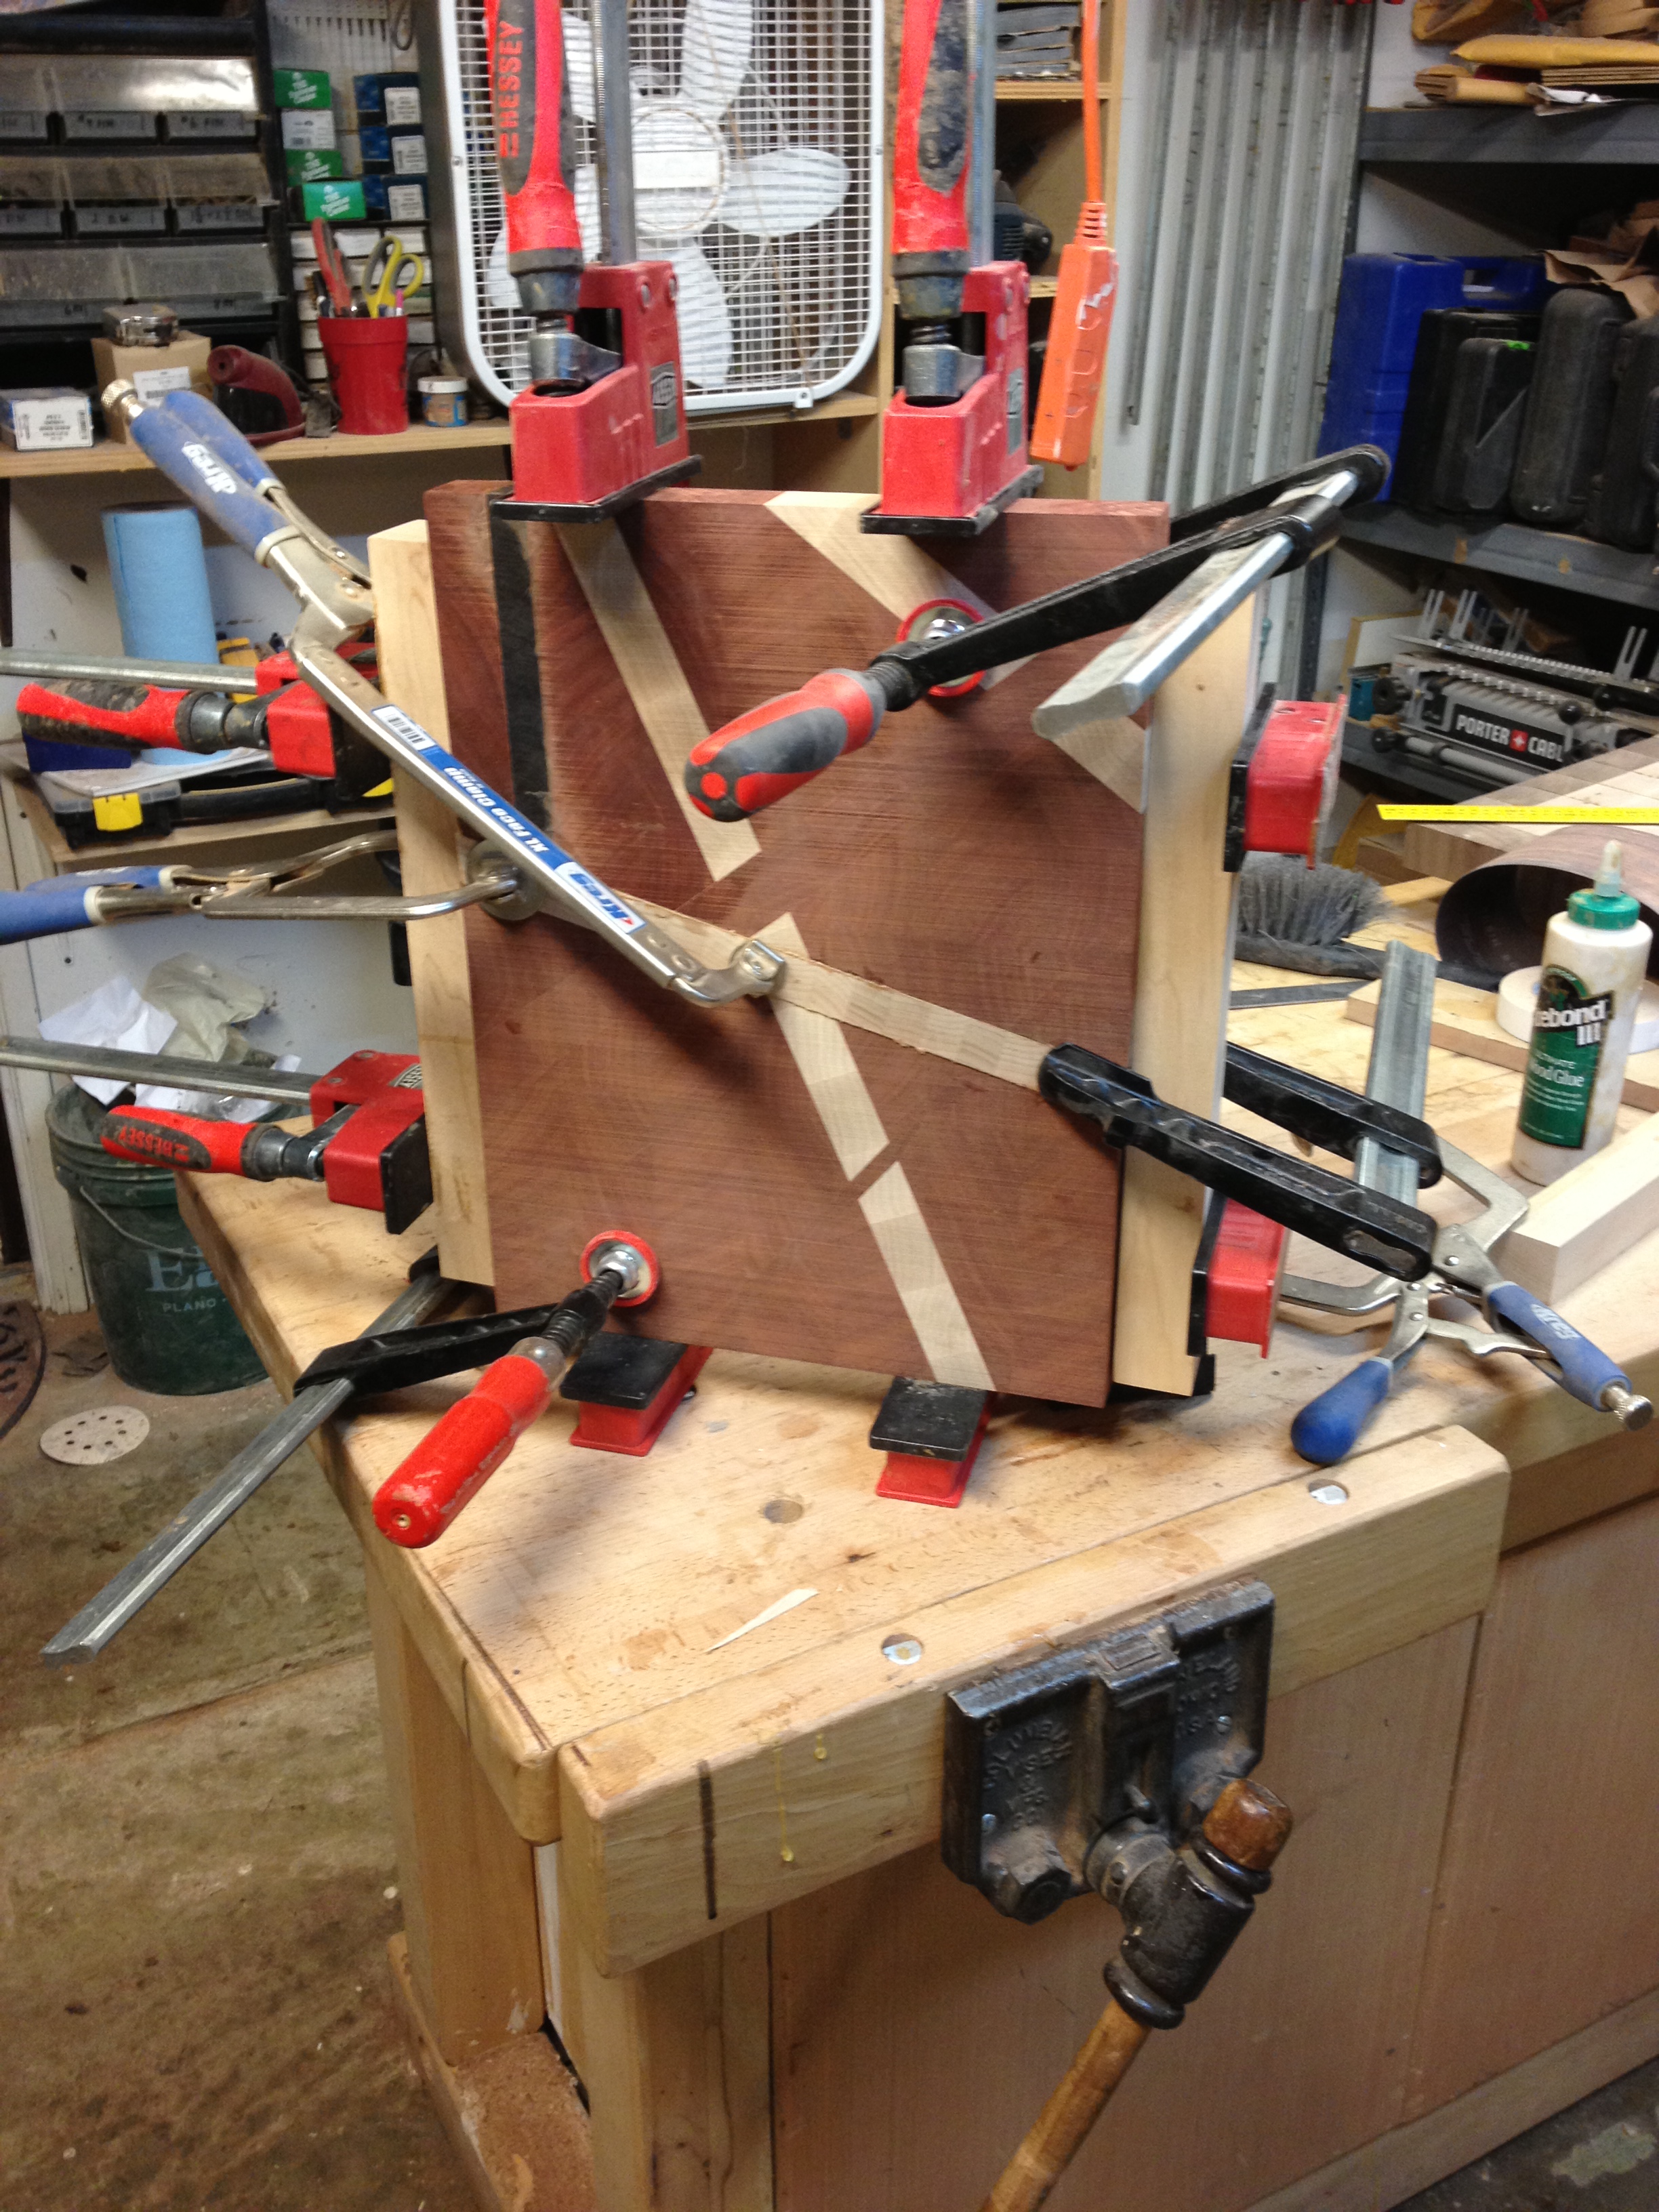
clamping it up
Note to woodworkers: clamping these angled cuts up is a complete pain in the rear. Nothing wants to stay square. You have to flush trim the edges of the stripe first, then clamp it together using cauls. You need 2-3 people to do this. Cussing optional.
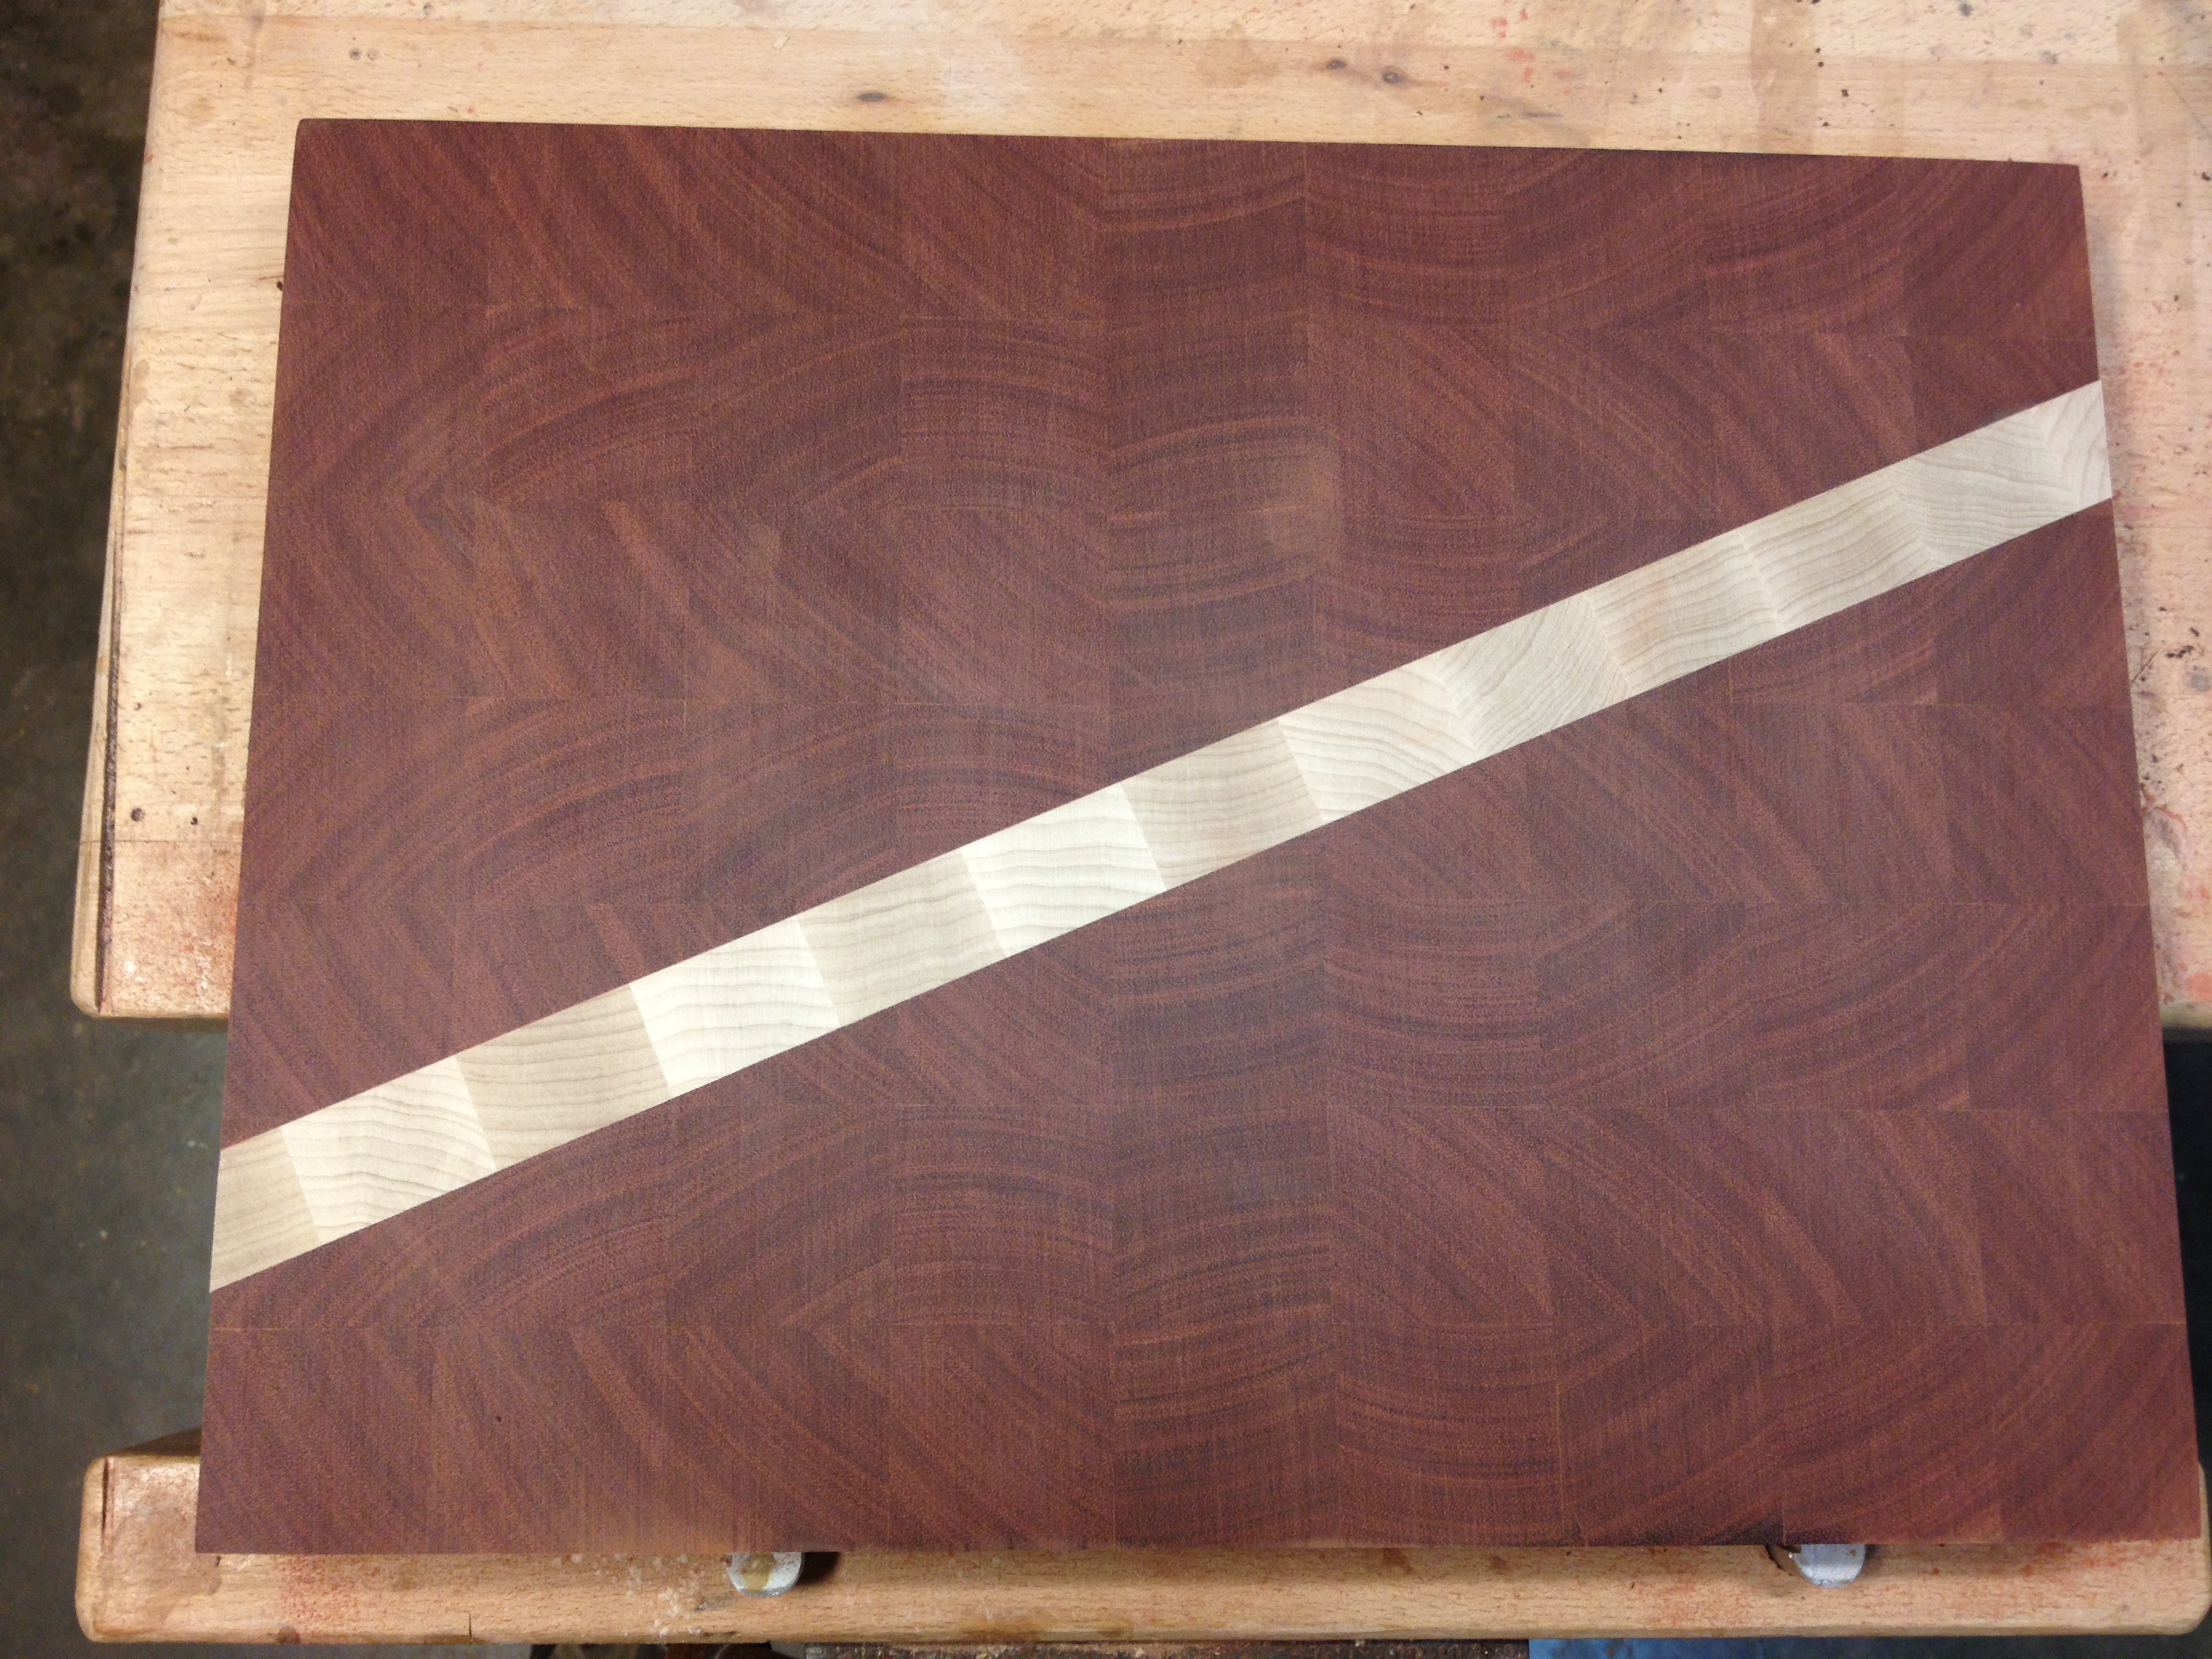
Ready to scuba dive
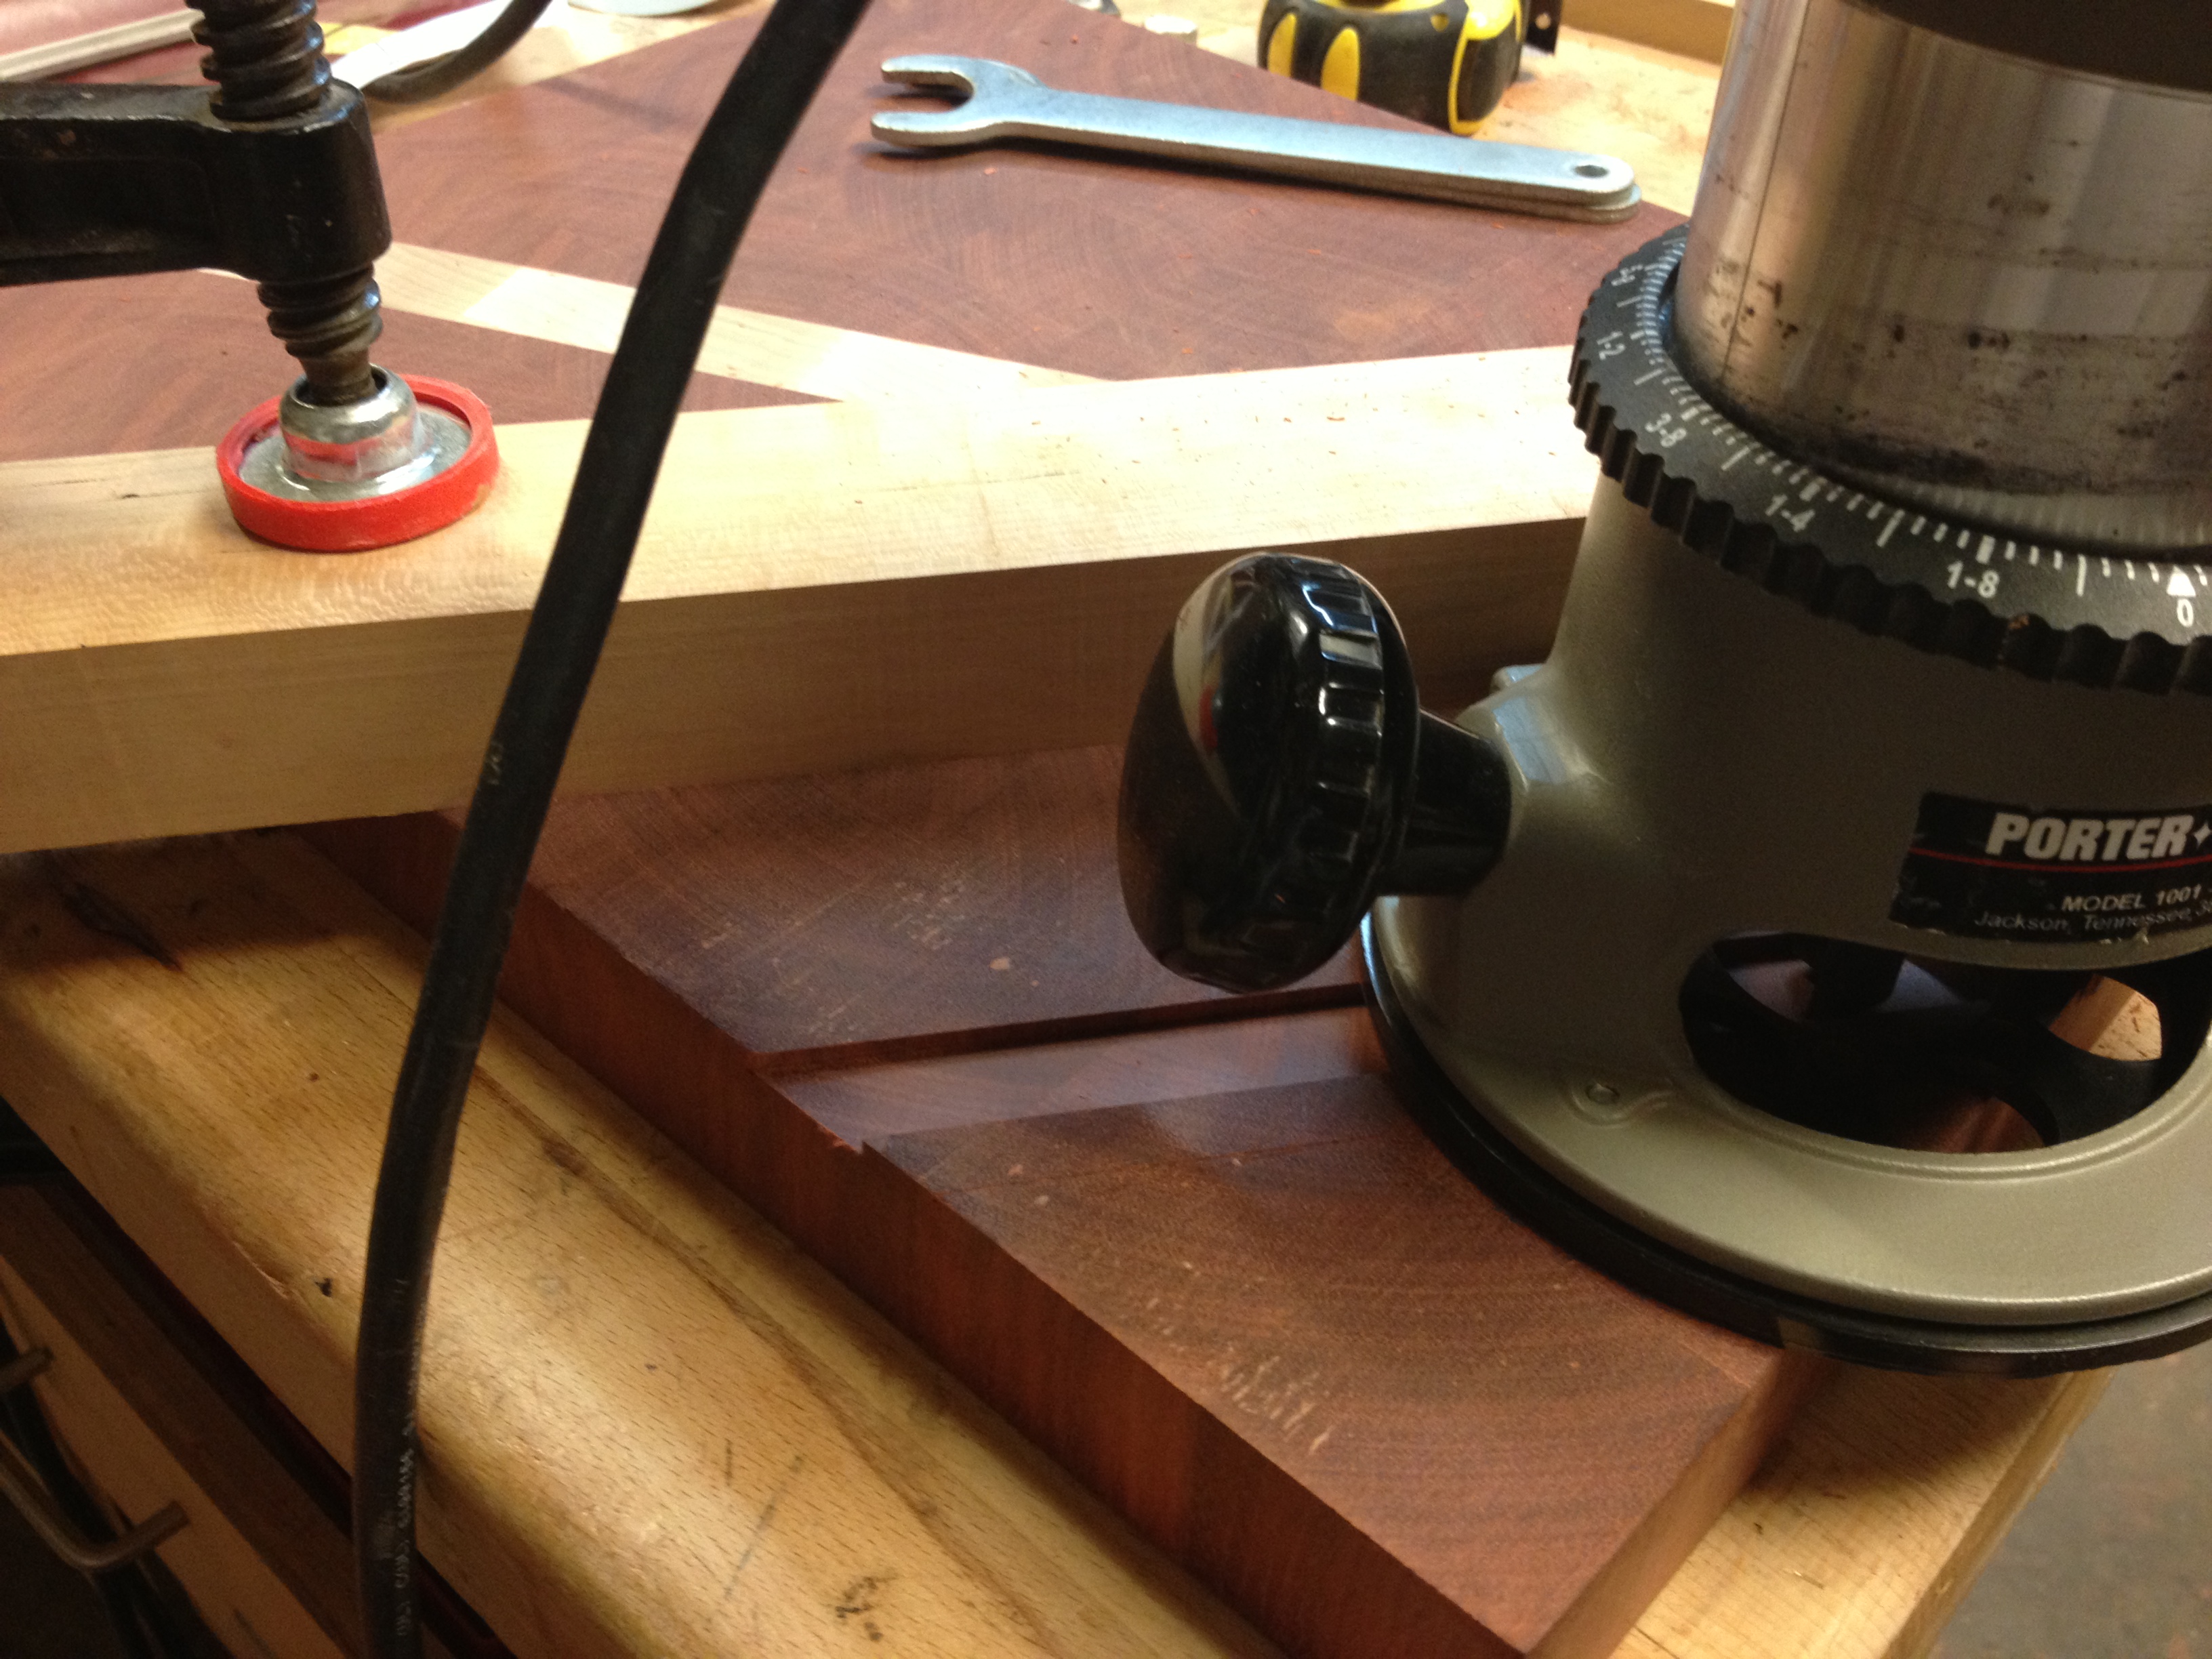
Routing the groove for the next strip

bandsawing it close to the line
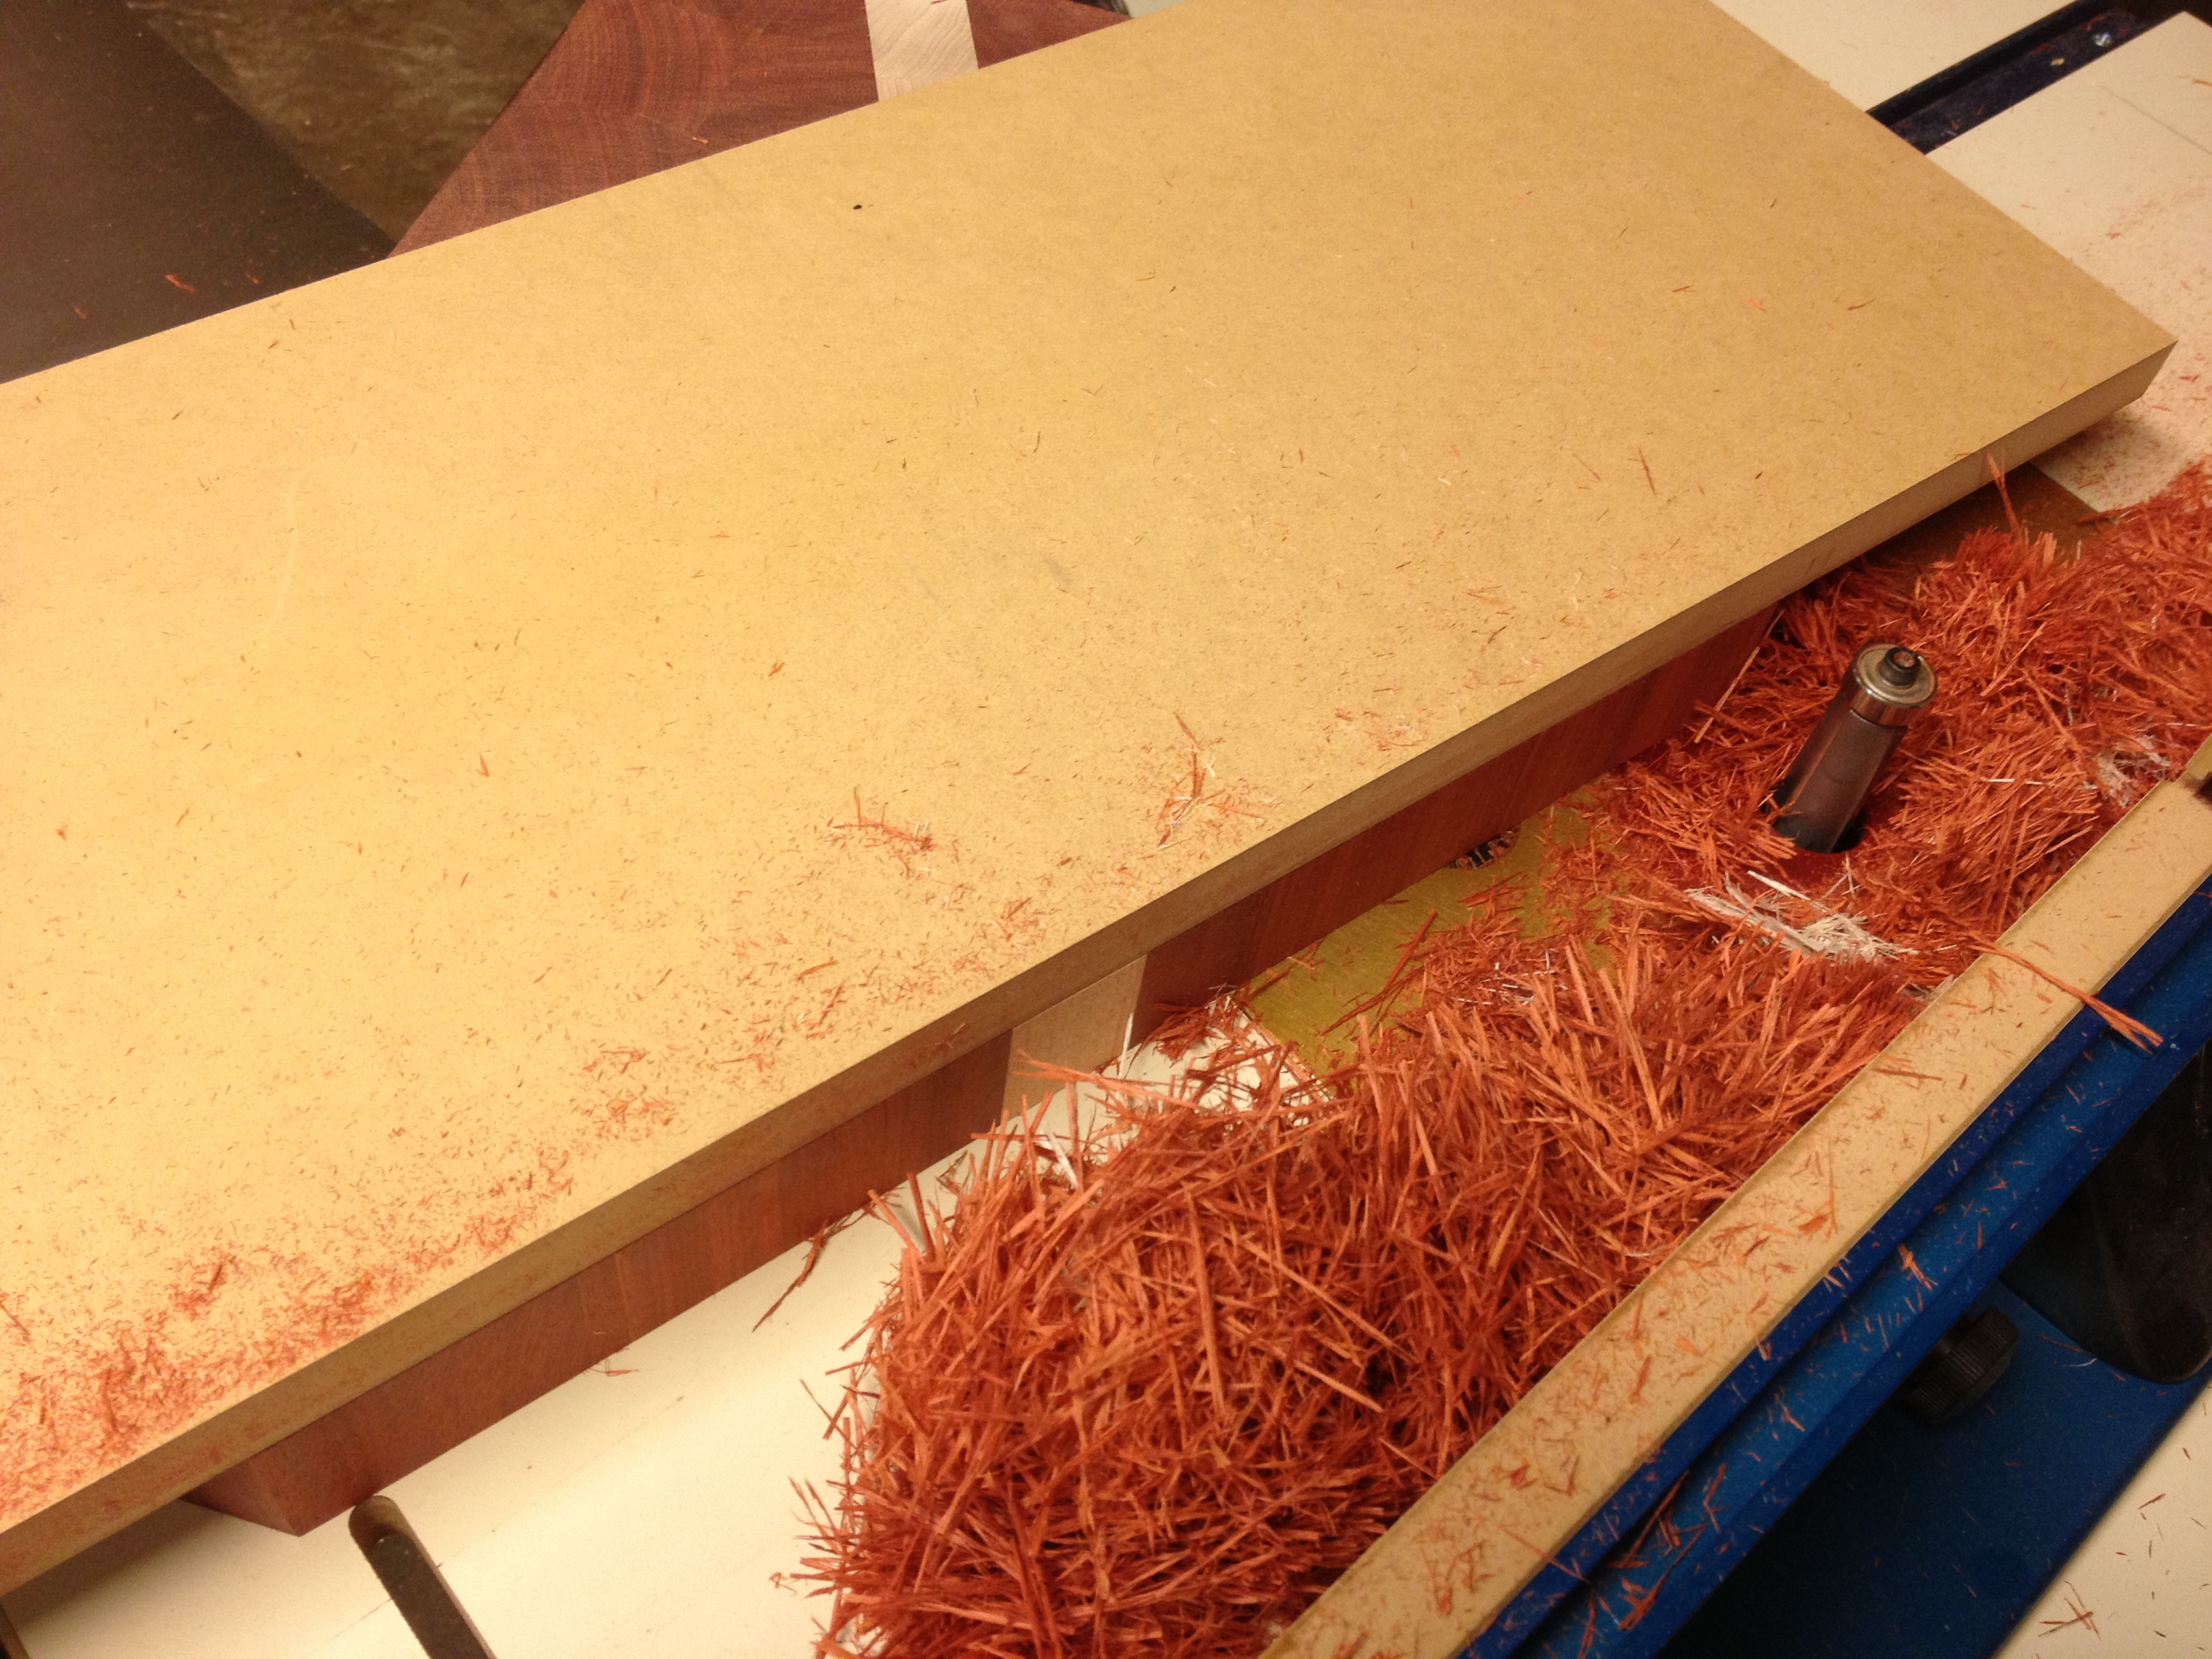
Note for woodworkers: There are a couple ways to do the cut-outs for the stripes. You can route a shallow groove, then bandsaw it close to the edges of the groove, then flush trim it on the router table. Or you could use a Festool track saw with a good rip blade (this is a rip cut) if you have one. I tried it both ways, and thought the groove/bandsaw/flush trim method was more precise.
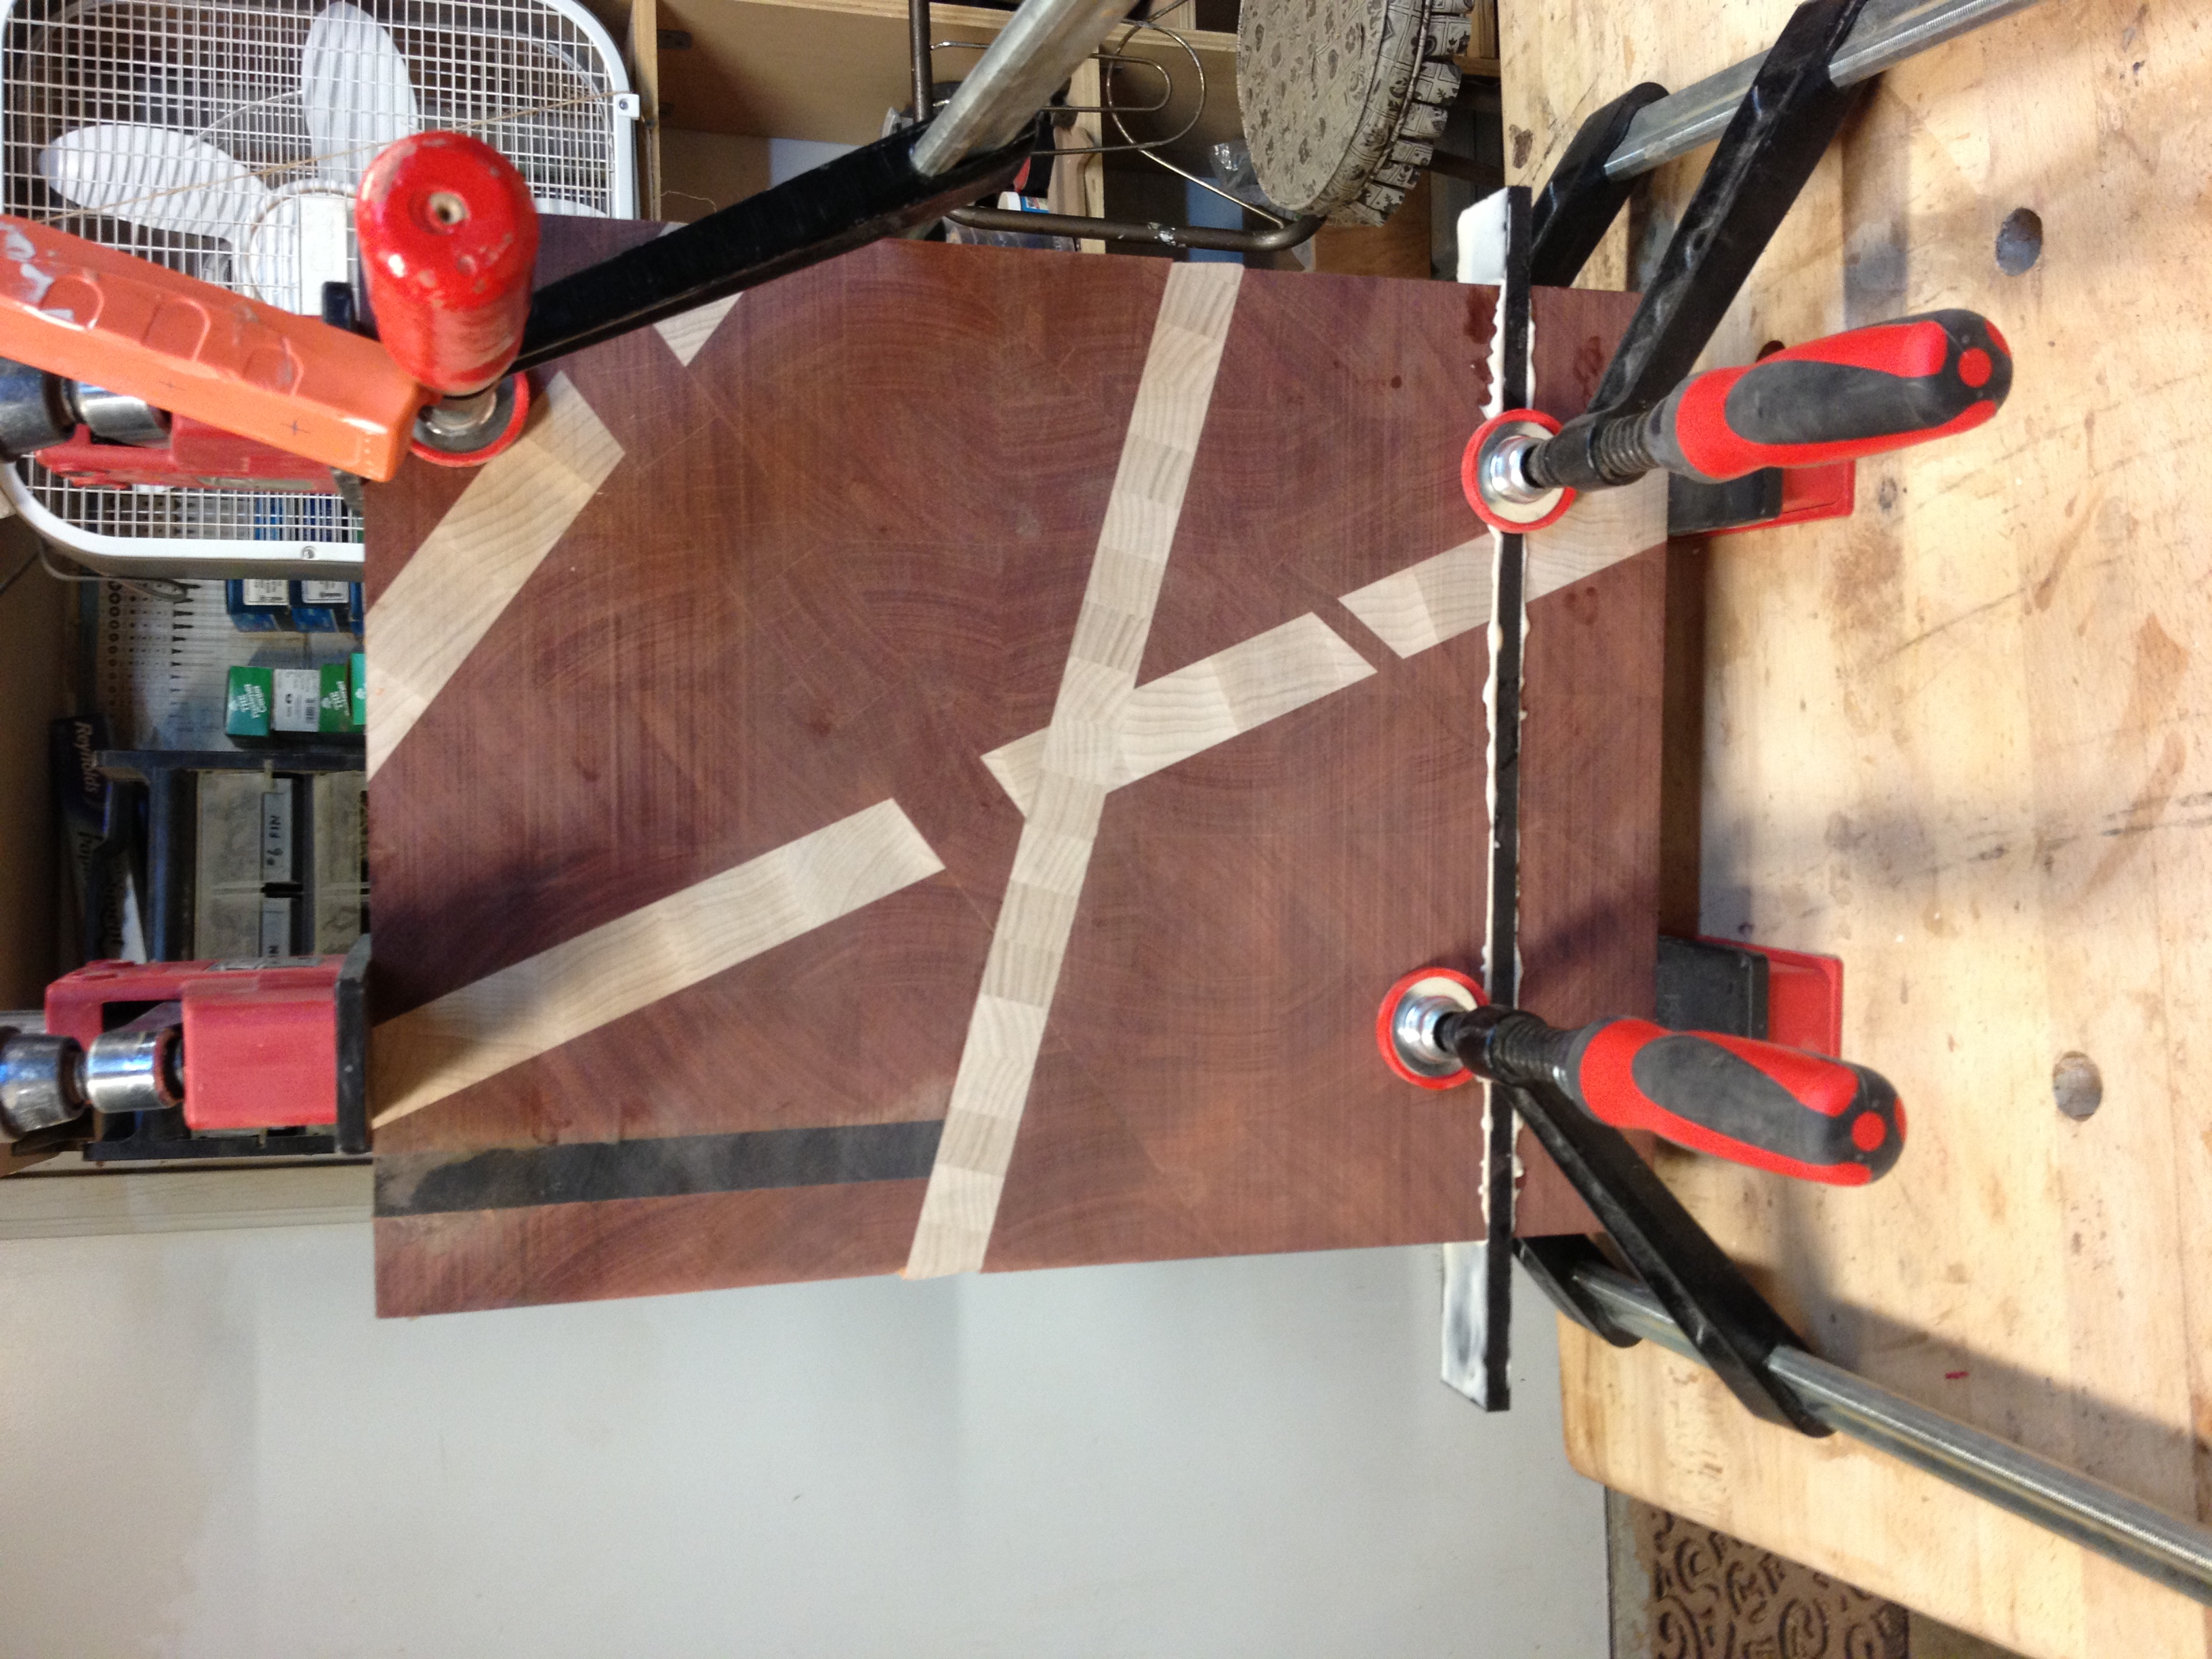
clamping

Fourth stripe
clamping the fourth stripe
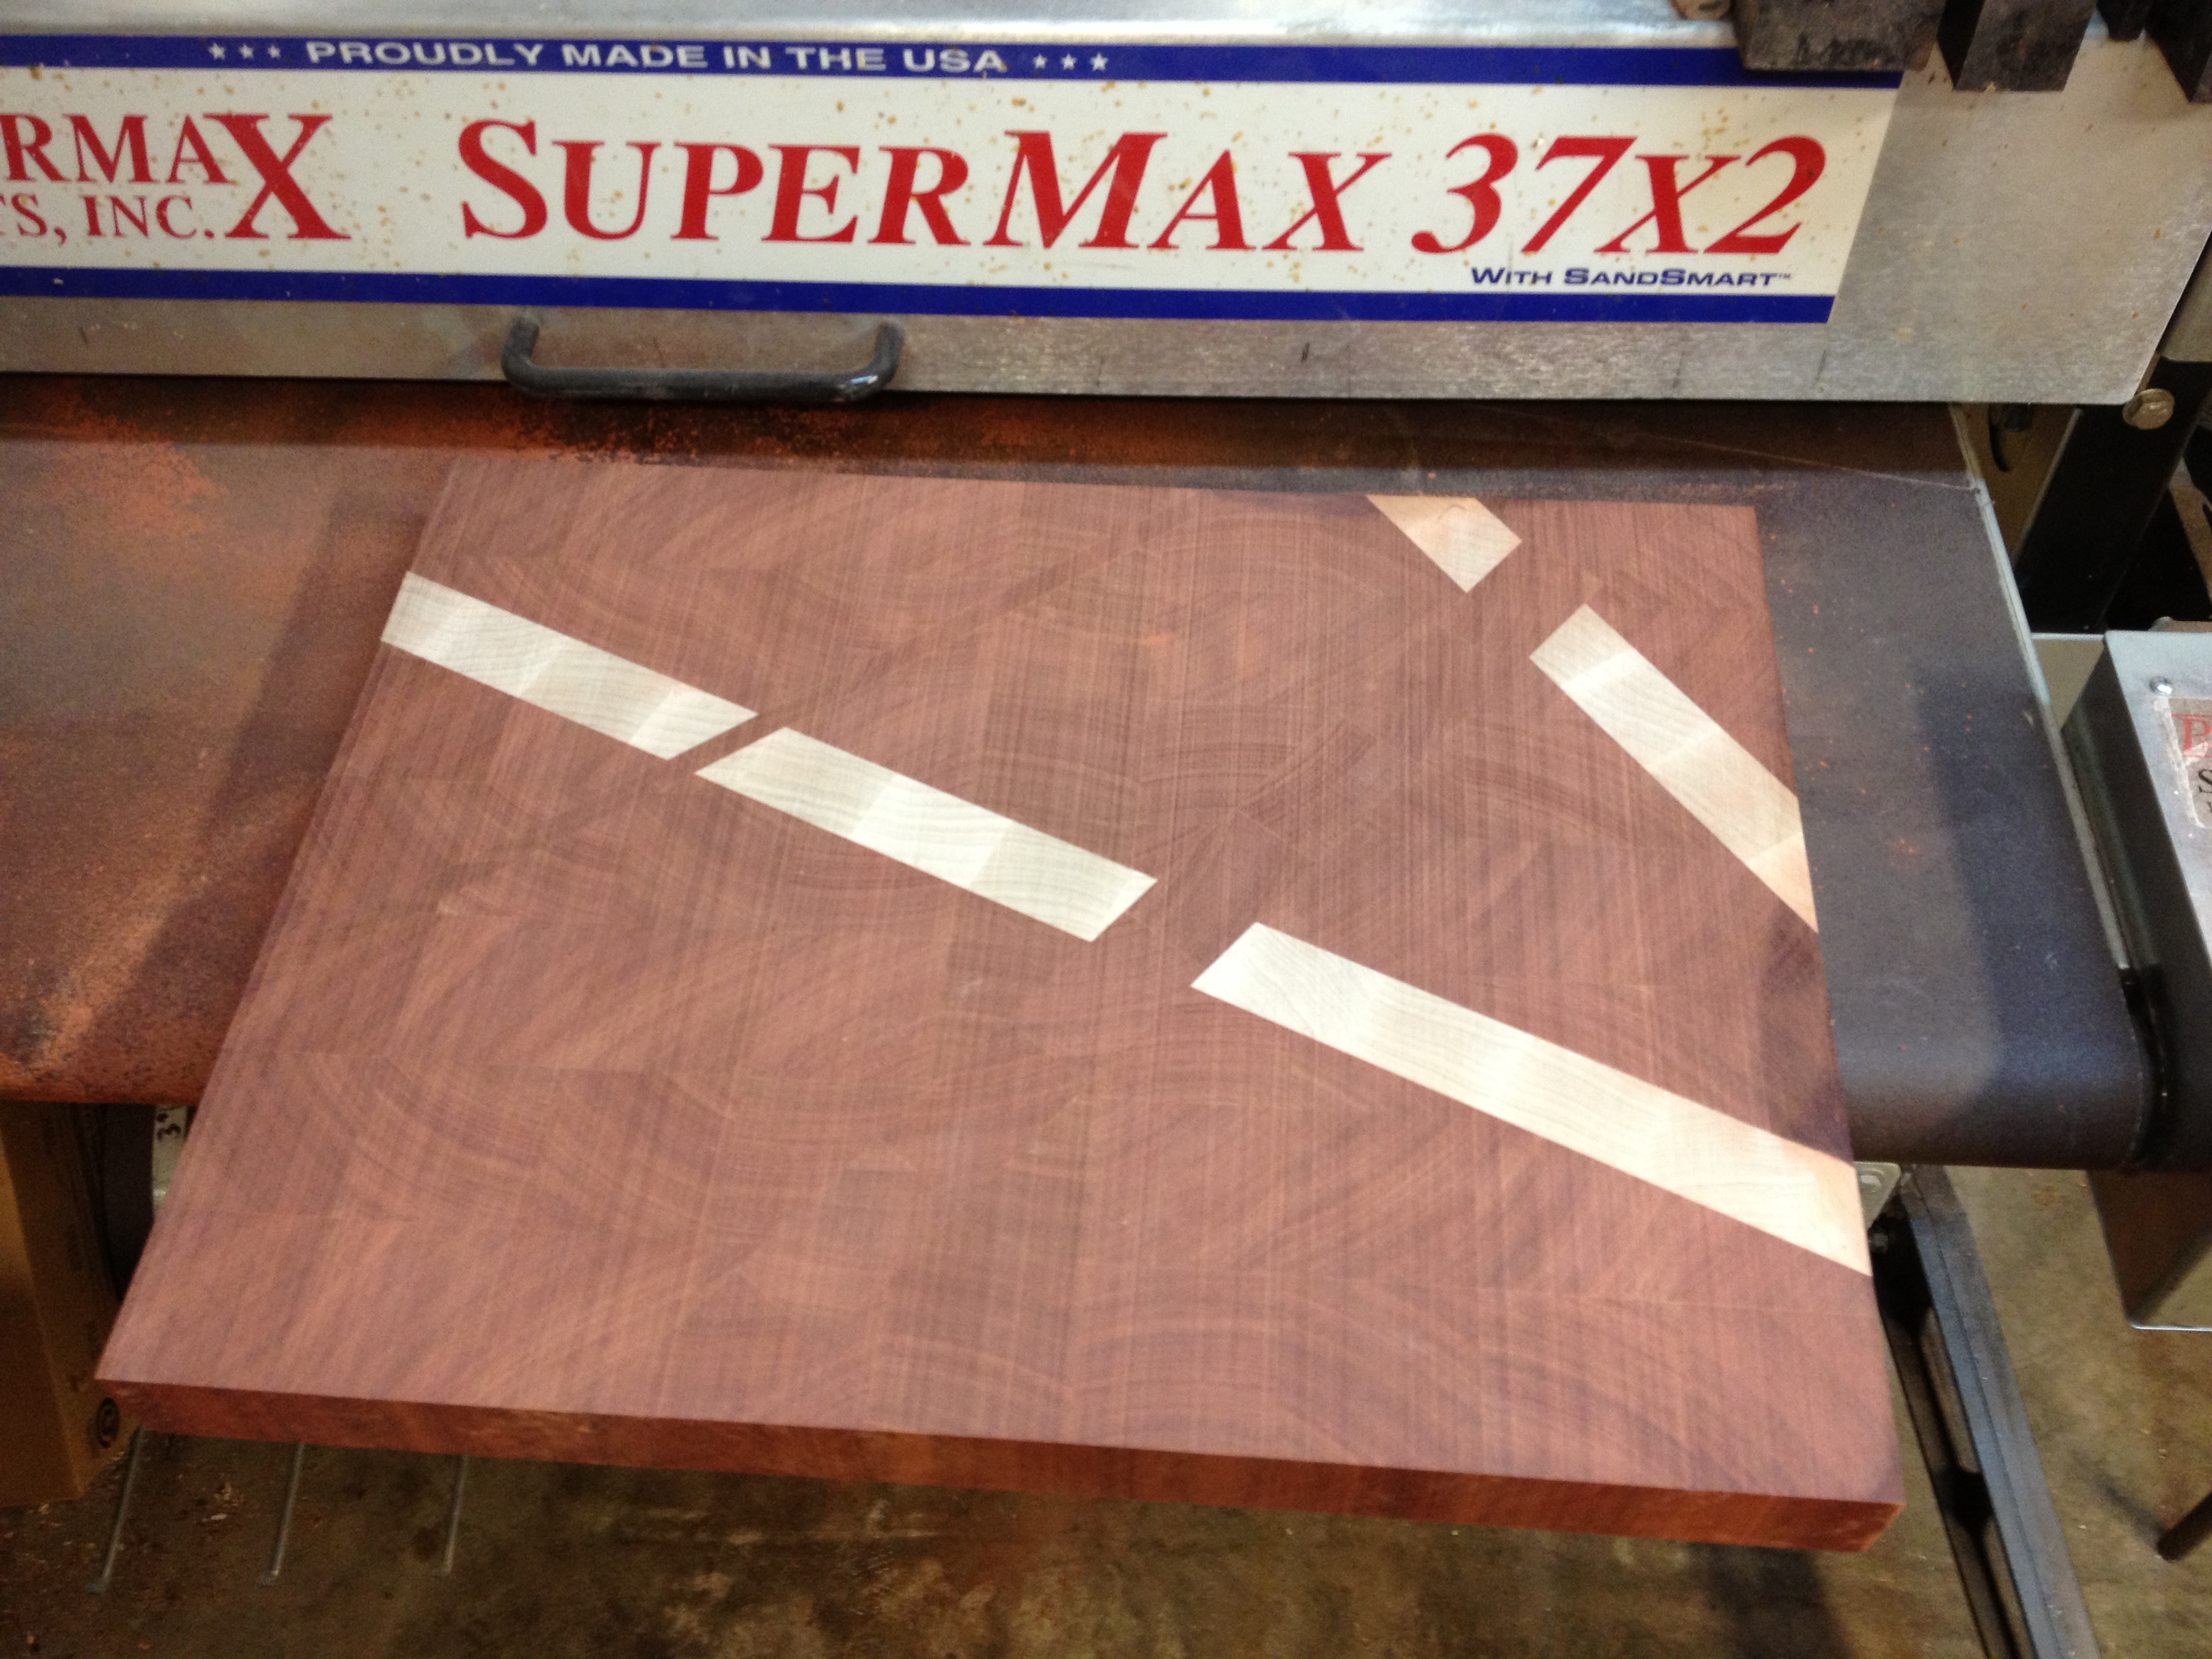
drum sanding again
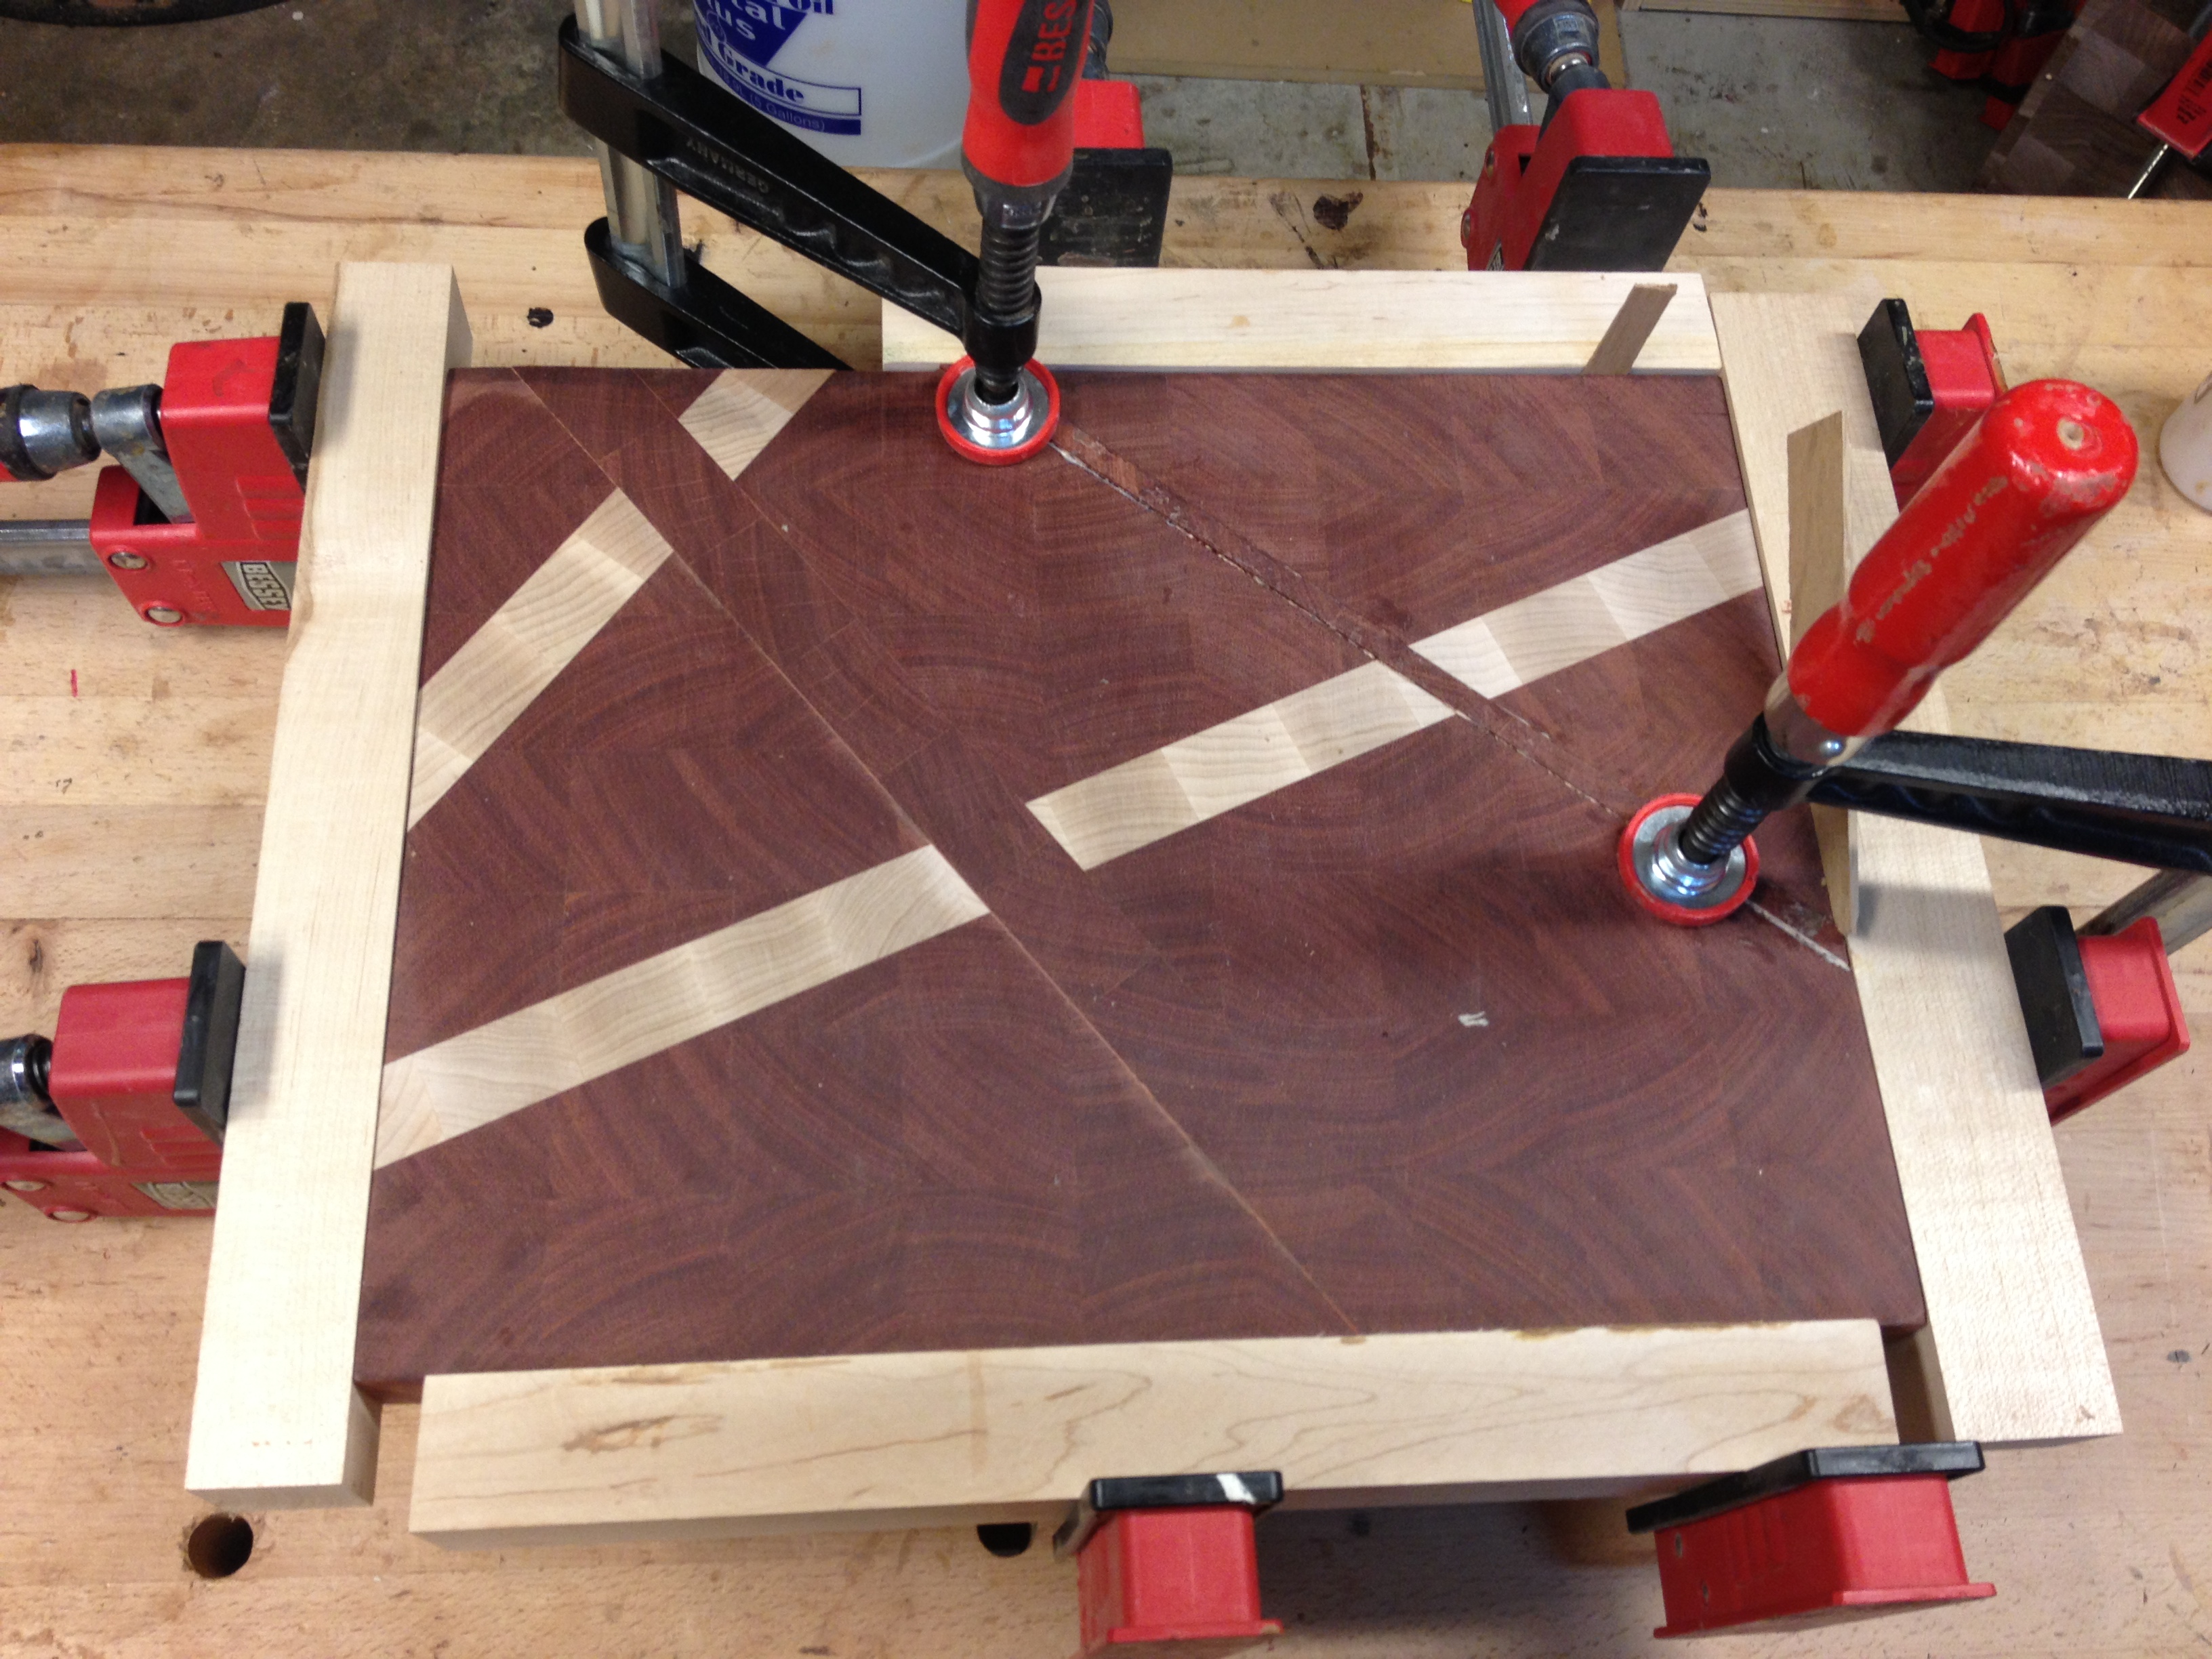
fifth stripe
Lots of clamps
final stripe
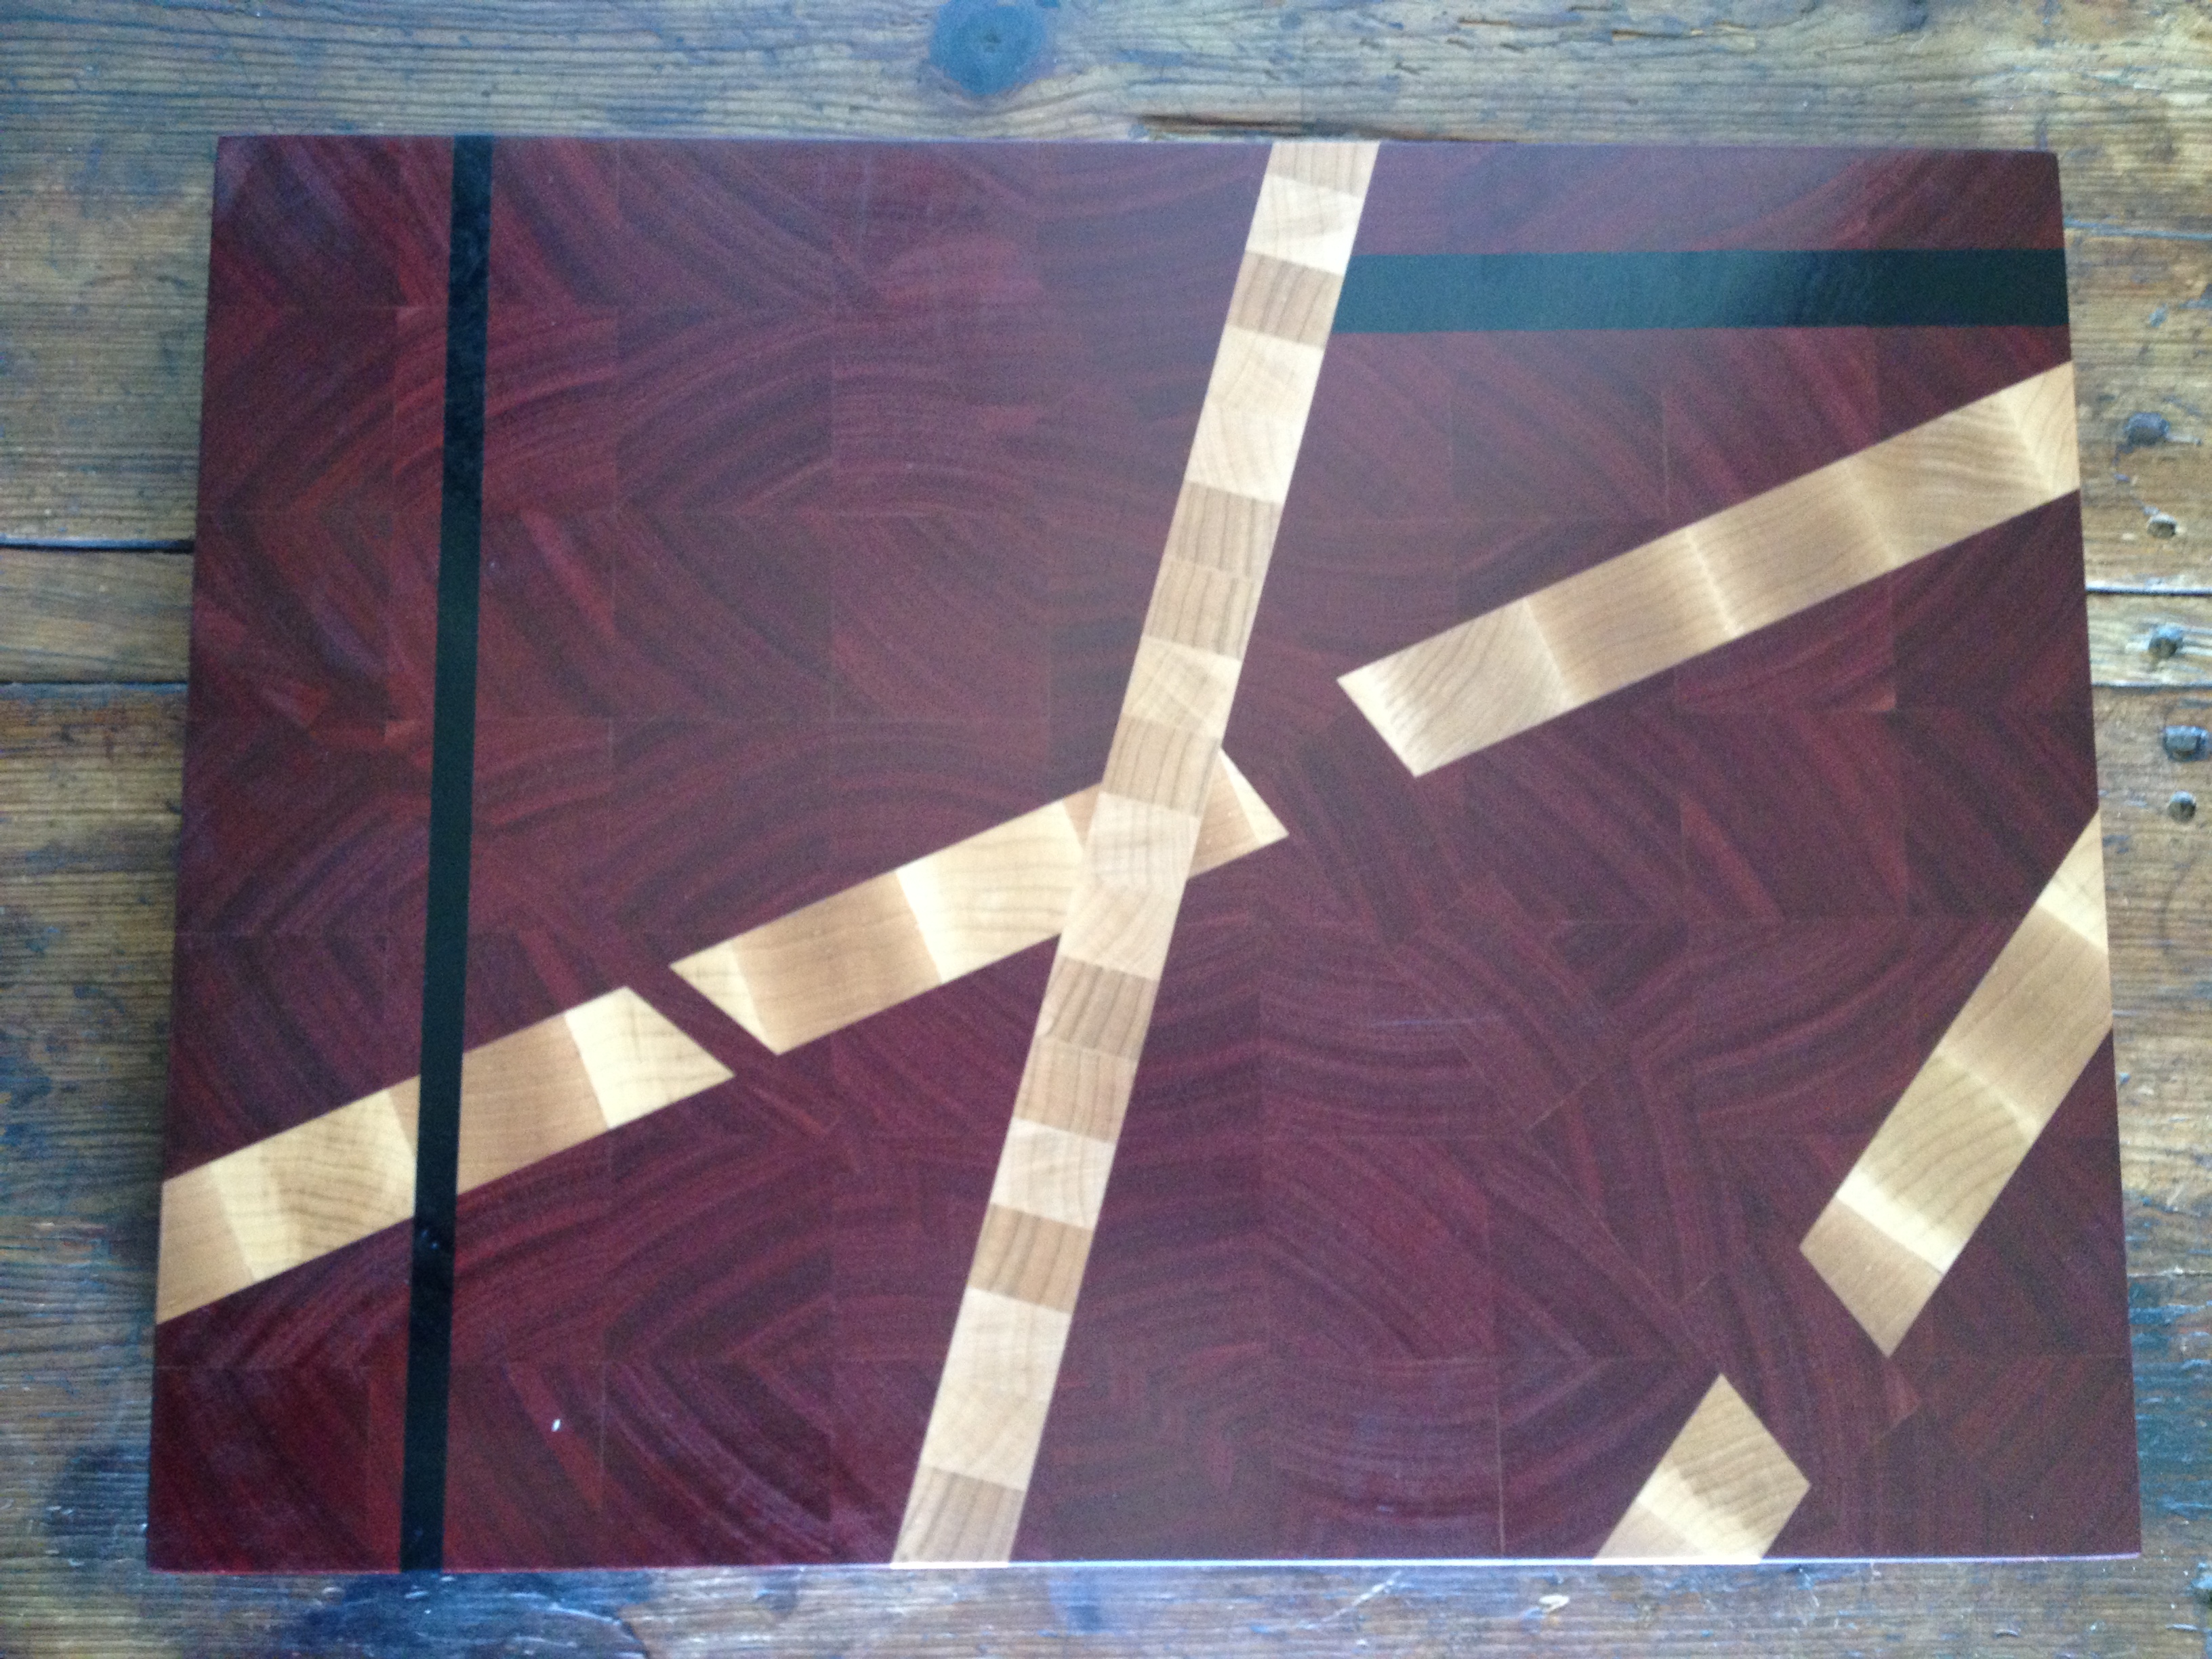
final sanding
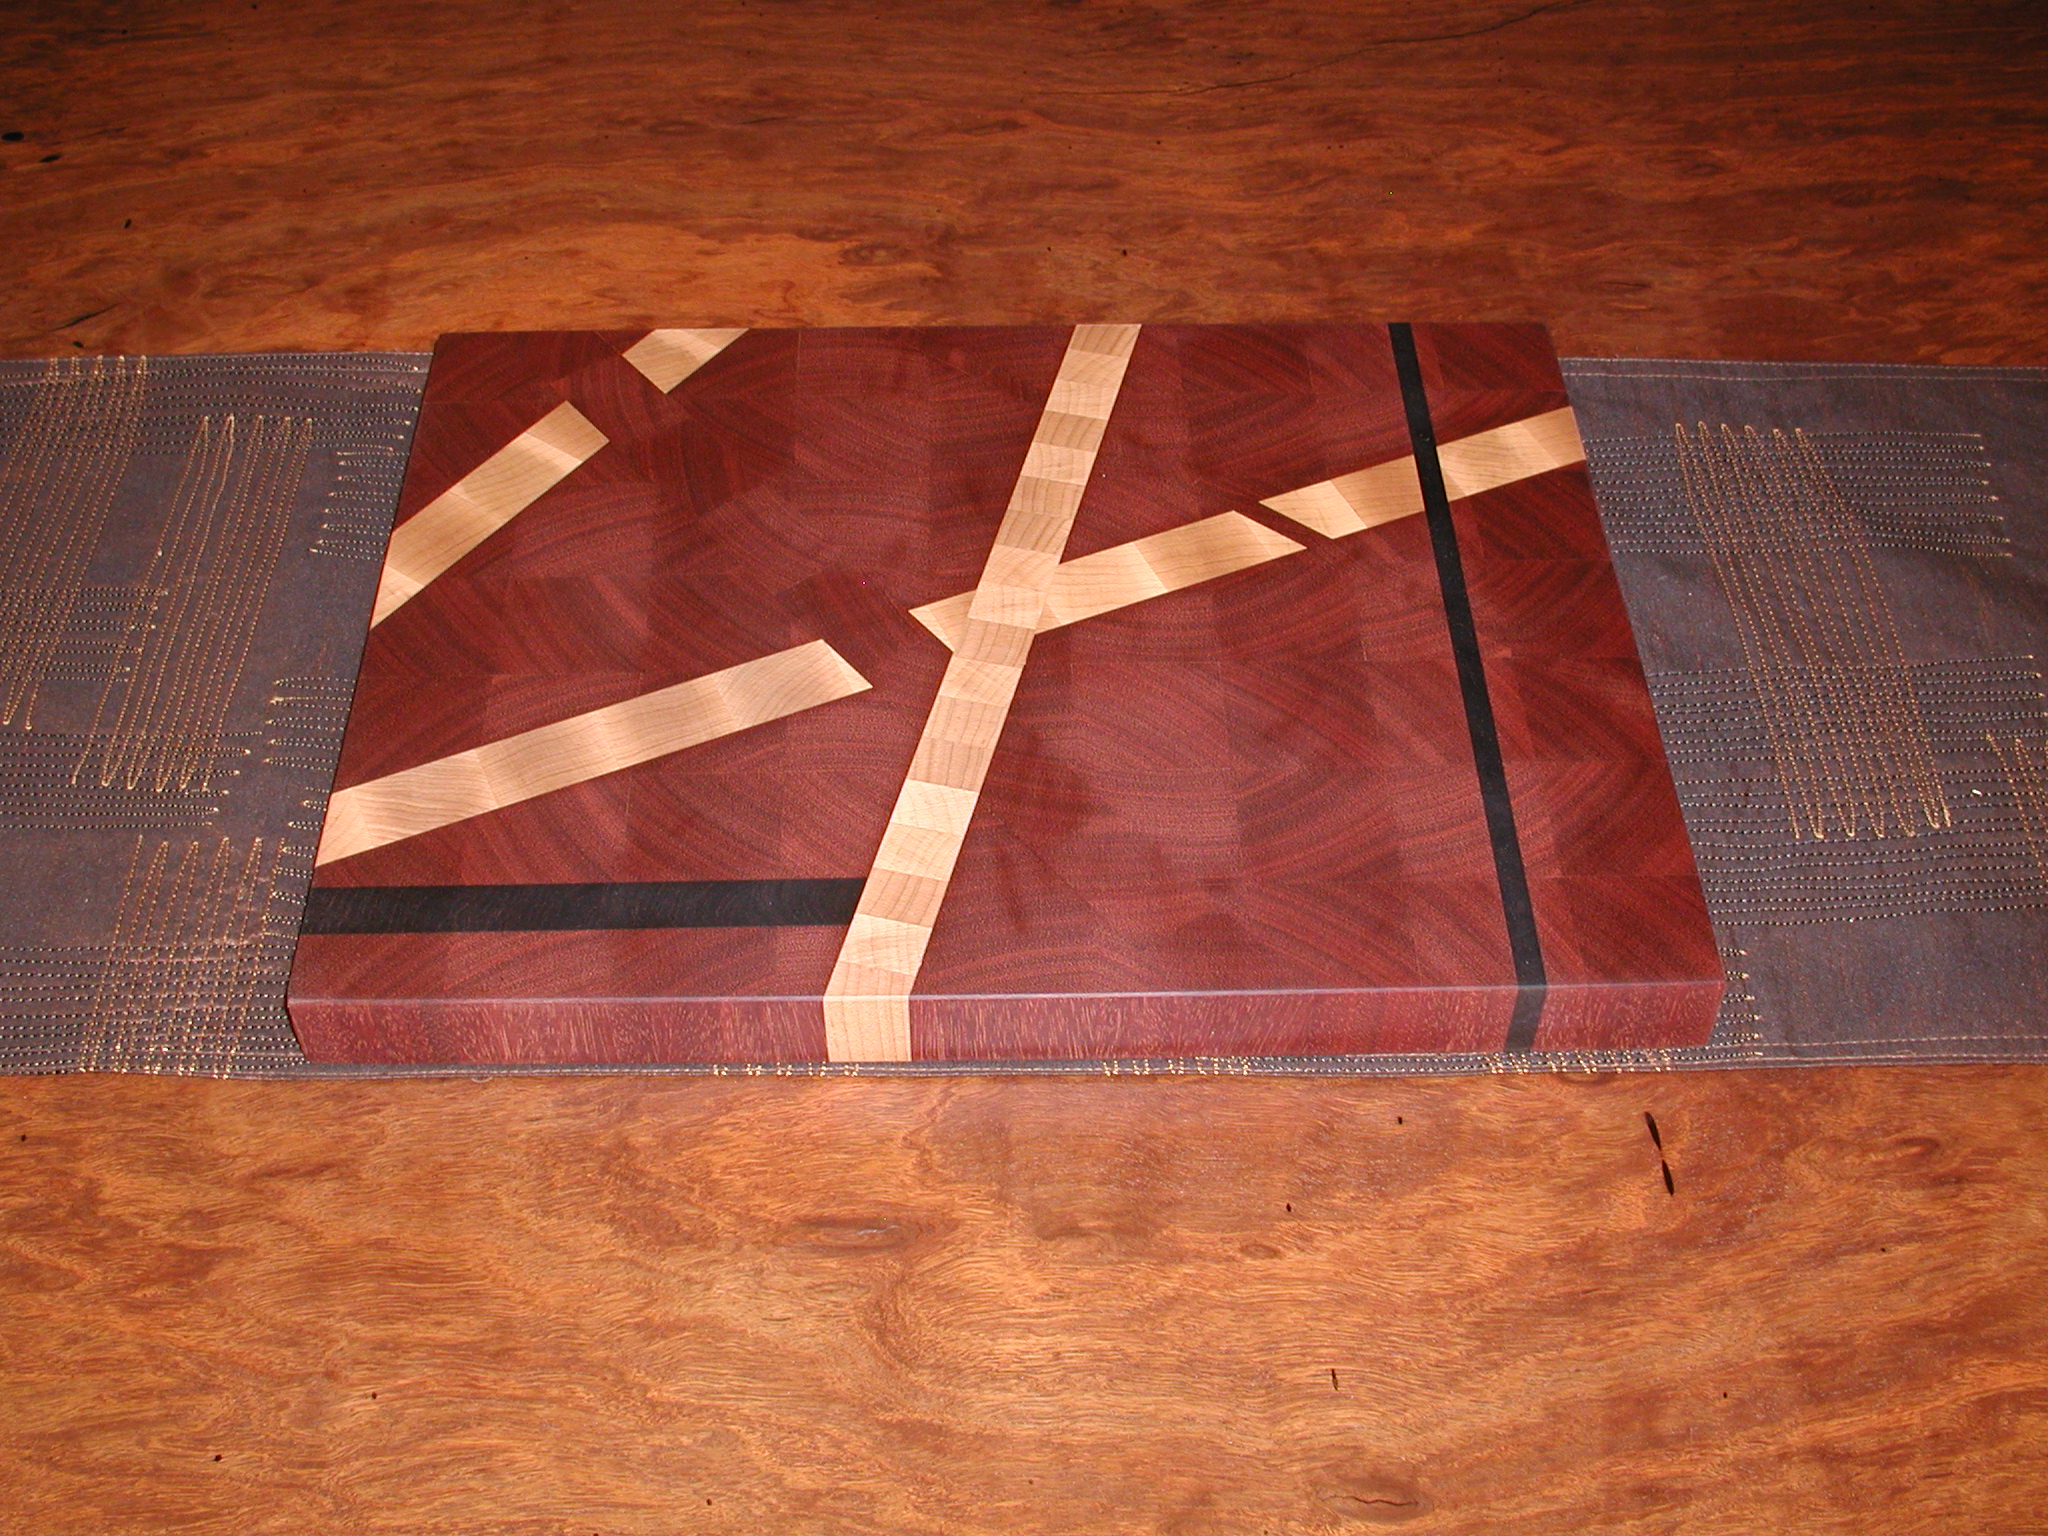
Cutting board in its final home in San Francisco, CA
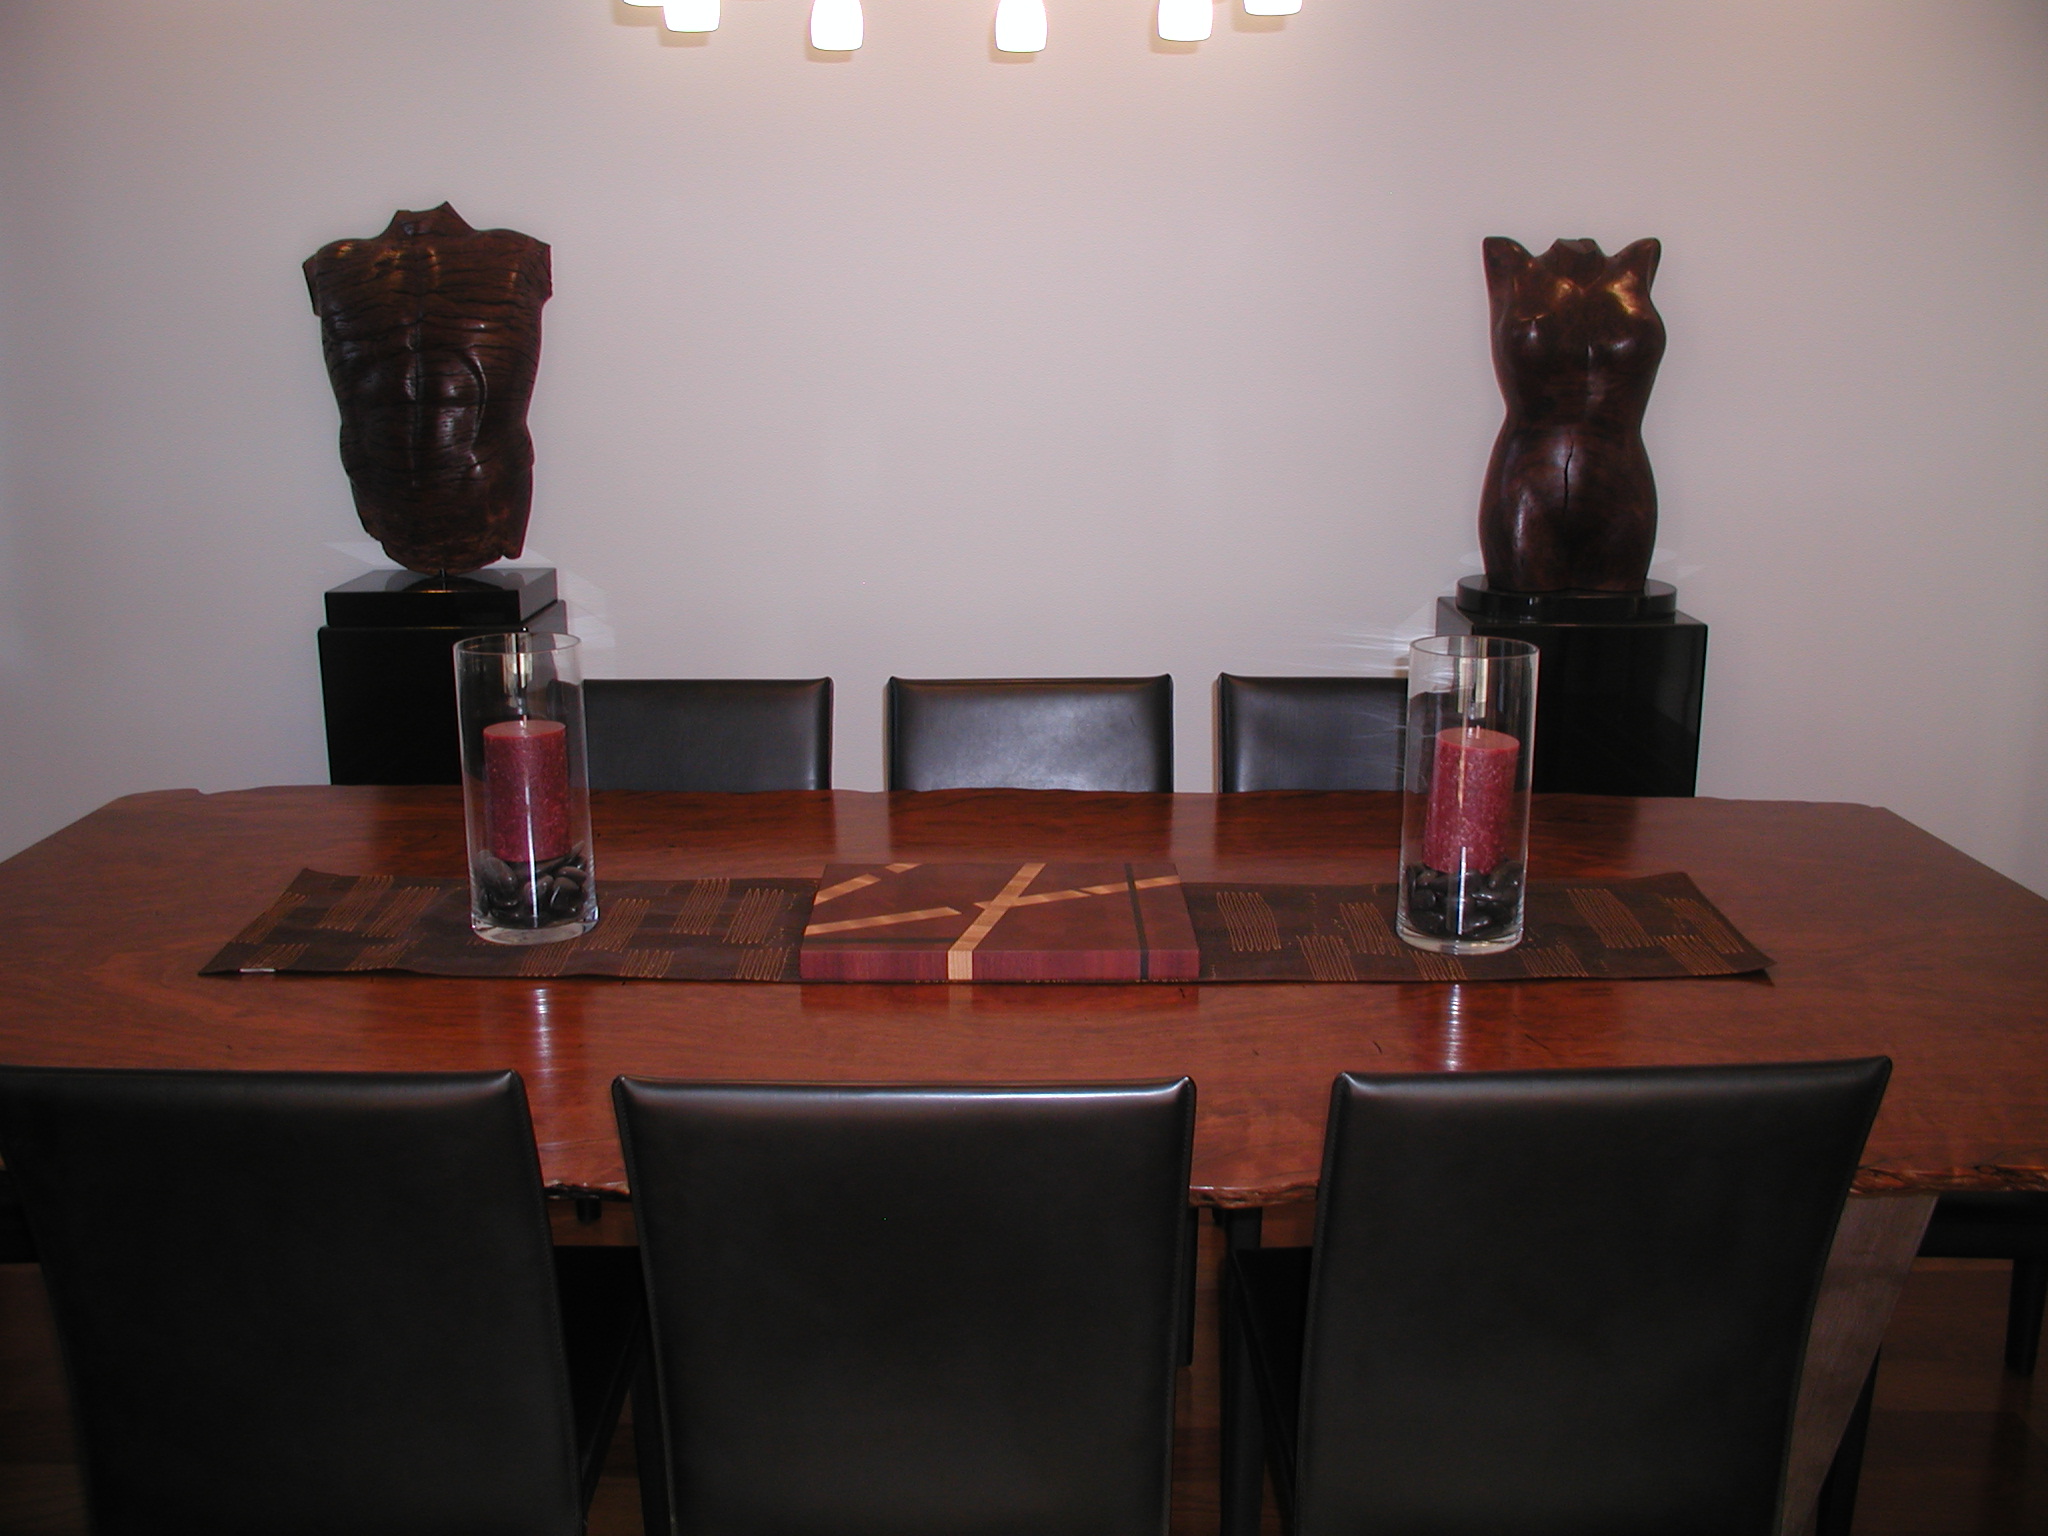
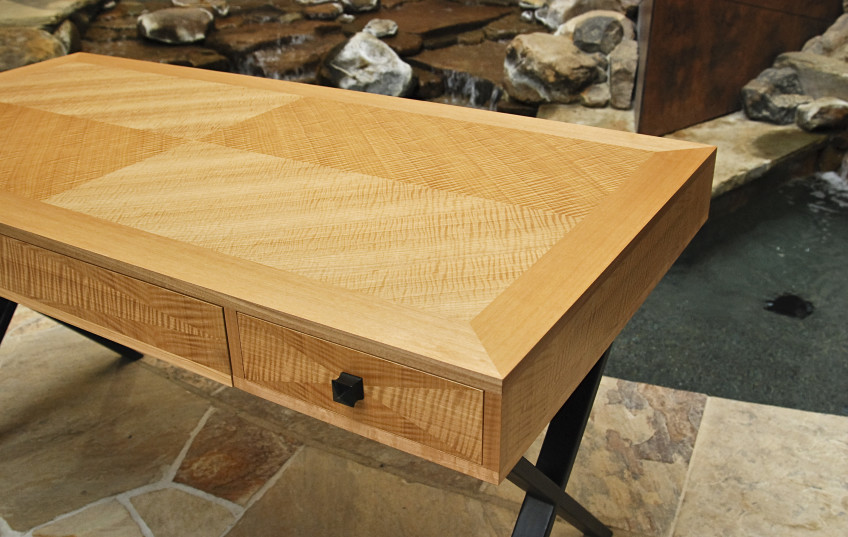
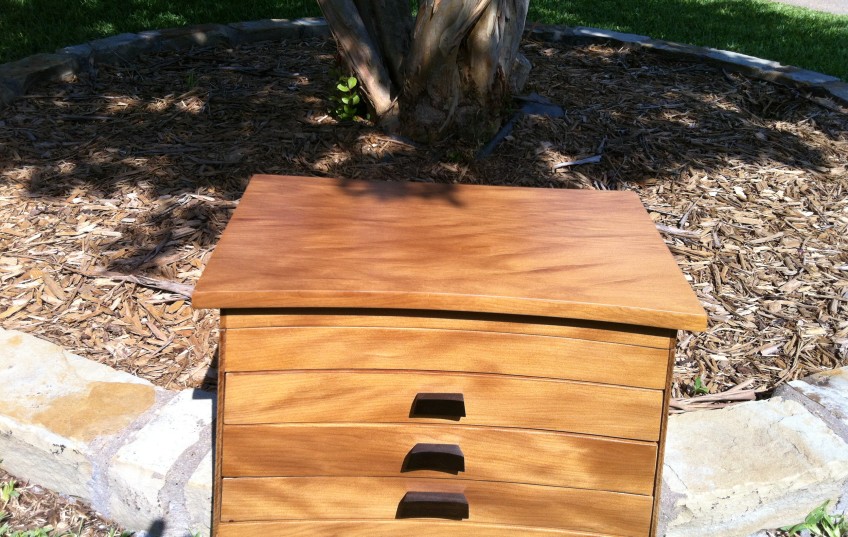
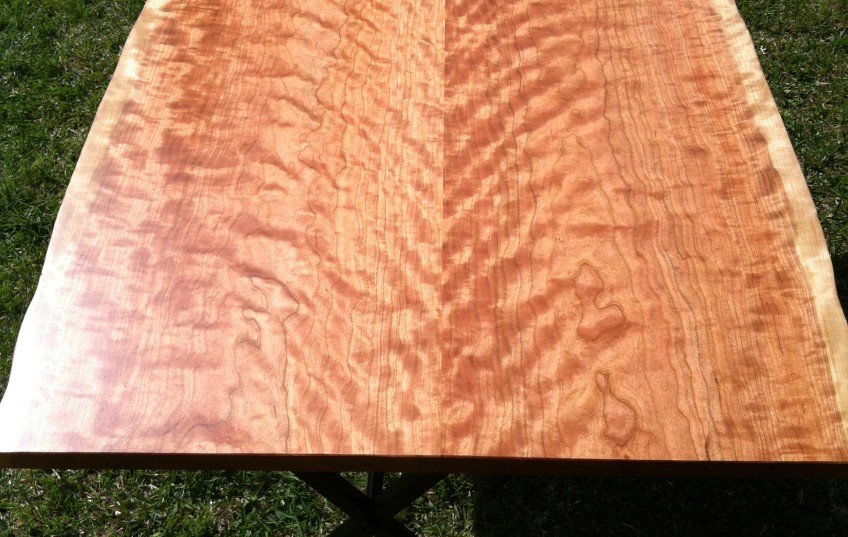
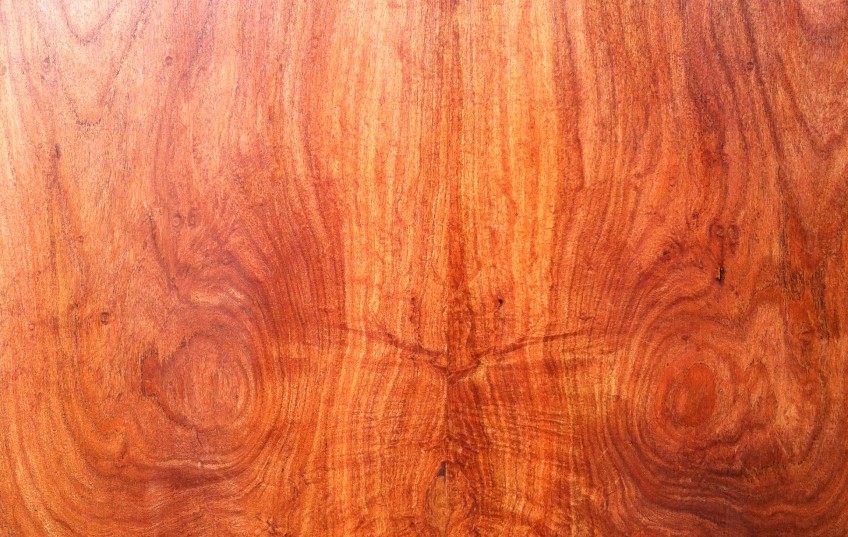
Cutting board in its final home in San Francisco, CA… sitting on a gorgeous table made of jarrah